
.webp)
How to Set Up Webhooks for Lead Forms


Webhooks let your lead forms send data directly to your CRM or marketing tools in real-time, removing delays and manual input. Here's a quick breakdown of how to set them up:
- Understand Webhooks: They send data via HTTP POST requests to a specific URL when an event occurs (e.g., form submission).
- Prepare Your System: Choose a CRM or platform that supports webhooks, and generate a secure URL to receive the data.
- Set Up in Your Form Builder: Access your form platform's integration settings, enter the webhook URL, and map form fields to match your CRM's requirements.
- Test the Integration: Send test data to ensure everything works, verify responses, and troubleshoot any errors.
- Secure and Monitor: Use HTTPS, authentication tokens, and logging to keep your data safe and track activity.
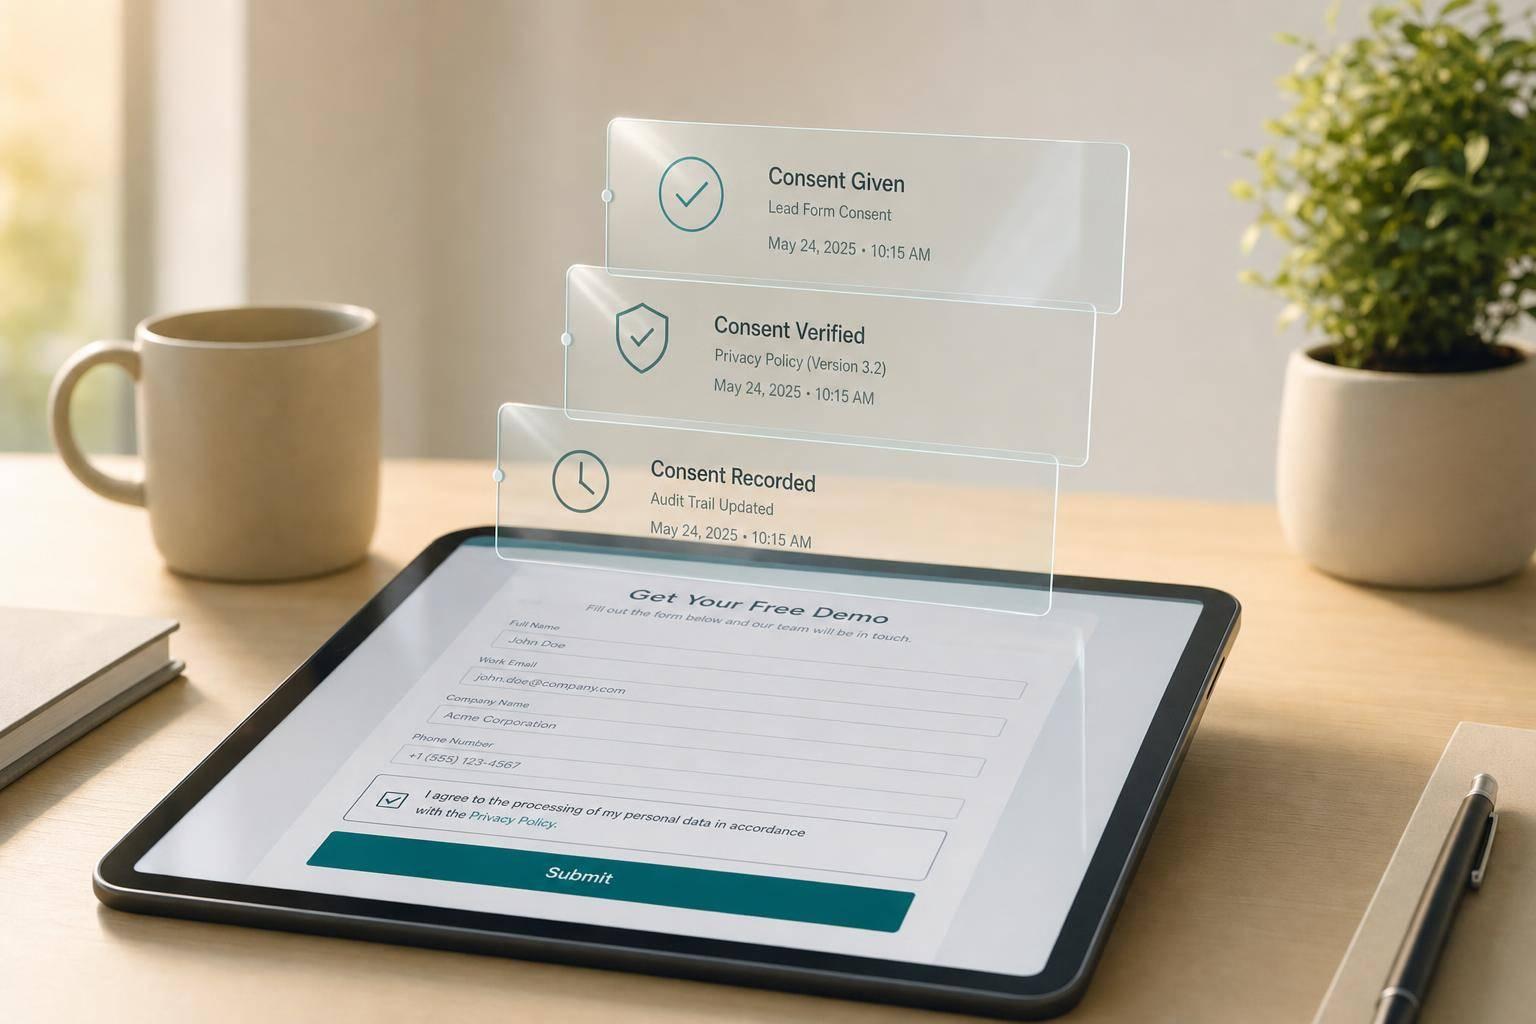
Webhooks streamline lead management, ensuring data is transferred instantly and securely. Platforms like Reform make the process simple, even for users without coding experience.
How to Set-Up Webhook Inside LeadGen App?
Preparing for Webhook Setup
Before diving into webhook configuration, it’s important to get a few things in place. Start by identifying the system that will receive your lead data and generating the webhook URL. These initial steps are key to ensuring a smooth integration process with your lead forms.
Choose Your Target CRM or System
First, decide where your lead data will be sent. This could be a CRM, a marketing platform, or even a custom application. The key is that the system must support webhooks, which allow real-time lead data to be pushed directly into your tools.
Most modern CRMs and marketing platforms are equipped to handle webhooks, though the setup process can differ. Some platforms provide ready-to-use webhook endpoints, while others may require you to configure custom integrations through their API settings.
When selecting your target system, think about your data flow needs. For instance, how quickly does your team need access to new lead data? What specific fields will you be capturing? How will the data be utilized once it arrives? If your sales team relies on immediate alerts for high-priority leads, make sure your CRM can trigger notifications based on incoming webhook data.
Also, check if your system supports necessary authentication methods, such as signed JWTs, to ensure secure data transfer.
Create a Webhook URL
After identifying your target system, the next step is to generate a webhook URL. This URL acts as the endpoint where your lead form data will be sent. When a lead form is submitted, it triggers an HTTP POST request that delivers the data directly to this URL.
You can create a unique webhook URL from your system’s integrations page. Once generated, secure it and test it using tools like RequestBin. Since this URL connects your lead form to your target system and contains sensitive information, it’s crucial to store it safely and only share it with trusted individuals.
To protect your data and system, use HTTPS and implement strong authentication measures. The webhook URL will receive POST requests with JSON payloads, which can be processed by any programming language or web application, regardless of where it’s hosted.
Setting Up Webhooks in Your Lead Form Platform
Now that you have your webhook URL and your target system configured, the next step is setting up the webhook integration in your lead form platform. This involves accessing the right settings, entering the webhook details, and mapping your form fields to ensure data flows seamlessly to the destination system. Let’s dive into how you can configure this within Reform.
Find Integration Settings
Most lead form platforms keep webhook options under their integrations or connections sections. In Reform, this process is simple. Log in to your Reform account, head to your dashboard, and click on the Integrations section in the main menu. Here, you’ll find all the connections between Reform and external systems, including the webhook option.
"Access the Integrations section in your Reform dashboard and locate the webhooks option."
Enter Webhook Details
Once you’ve found the webhook integration option, activate it by selecting Webhook and entering your destination details. Click on "Add Integration" to begin setting it up.
"A webhook integration allows you to automatically send information from one app to another using a unique URL."
Be sure to enter the webhook URL exactly as it’s provided - any mistake here can disrupt the integration. If your target system has supplied an API key or secret token for added security, input that information in the designated field. Reform also allows you to configure custom headers and security settings to safeguard your data during transmission. After completing these steps, proceed to map your form fields to ensure the data is routed correctly.
Map Form Fields to Your System
Properly mapping your form fields is key to ensuring the data reaches the right place in your target system. This step requires the webhook field names to match the internal field names used by your CRM. Start by identifying these internal field names - commonly used fields include first name, last name, email address, phone number, and company name.
For a basic contact form, begin by mapping essential fields like name, email, and phone number. Test these mappings with a live form submission (data won’t post from preview mode) to confirm they’re working as expected. Once the core fields are functioning correctly, you can map additional custom fields tailored to your business needs.
If your form includes dropdowns or multiple-choice fields, navigate to the response settings for those questions. Scroll down to the advanced options under Webhook Settings and input the field name that matches the format expected by your target system.
Field mapping might require some fine-tuning, so keep your target system’s field requirements handy. If you hit any roadblocks, consult the system’s documentation or reach out to their support team for guidance.
sbb-itb-5f36581
Testing Your Webhook Integration
Once you've set up your webhook configuration and mapped your form fields, the next step is to test the integration. This ensures that everything runs smoothly before real submissions start coming in. Testing helps you catch and fix any issues early, ensuring a seamless data flow.
Send Test Data
Many lead form platforms, such as Reform, include a built-in testing feature to help you verify your webhook setup. Look for a "Send test data" button in your webhook configuration interface. Clicking this sends a sample HTTP POST request to your webhook URL, mimicking a real form submission.
When you use this feature, the platform generates a sample payload with mock data based on your form's structure. After sending the test data, carefully review your server's response to identify and resolve any potential problems.
Check Responses and Fix Errors
If the test doesn’t produce the expected results, it’s time to troubleshoot. Start by double-checking your webhook URL - something as simple as a typo can derail the process. Also, make sure your destination server is up and running.
Your server should return a 2xx status code if everything is set up correctly. If it doesn’t, examine your field mappings to ensure they match what your target system expects. Authentication errors are another common issue - confirm that your API key or secret token is configured correctly and has the necessary permissions.
Network issues can also block webhook delivery. If no requests are coming through, check your webhook provider's system status page to see if there’s an outage. Some platforms even provide status notifications to alert you about delivery failures. Once you've resolved any errors, test again to confirm that everything is working.
Confirm Data in Your Target System
Testing isn’t done until you verify that the data is correctly received and processed by your target system. After sending test data, log into the destination system and check if the test record appears as expected. This ensures that your webhook is not only receiving data but also storing it properly.
Go through the test record to confirm that all key details - like the contact's name, email, phone number, and custom fields - are accurate and formatted correctly. For example, check that phone numbers and dates align with your system's formatting requirements.
If your webhook triggers additional actions, such as sending notifications or creating tasks, test these workflows too. A successful integration should handle the entire process, from data transfer to any follow-up actions.
Best Practices for Webhook Management
Once your webhooks are set up, keeping them secure and functioning smoothly is vital. These practices build on your initial setup to ensure your integration remains reliable over time.
Secure Your Webhook Endpoints
Protecting your webhook endpoints should always come first. Use HTTPS to encrypt communication and implement measures like HMAC signing, authentication tokens, and source IP allowlists to verify incoming messages. Adding timestamps can prevent replay attacks, and regularly rotating secrets strengthens security. For advanced protection, consider mutual TLS (mTLS) and certificate pinning to authenticate both parties. Configure your system to reject unauthenticated or malformed requests immediately. Avoid sending highly sensitive data such as passwords or credit card details through webhooks. Instead, use identifiers that allow your system to securely retrieve sensitive information when needed.
Track and Log Webhook Activity
Monitoring webhook activity is just as important as securing it. Comprehensive logging helps you troubleshoot issues and keep track of performance. Log critical details like timestamps, IP addresses, hostnames, HTTP status codes, and error messages for every webhook request and response. To protect sensitive data, limit log exposure by avoiding headers or body content in user-facing logs - stick to HTTP status codes.
Error handling is also key. Ensure your system gracefully manages failed webhooks and returns the correct HTTP status codes so providers can determine if a webhook was processed successfully. Many webhook providers include retry mechanisms that resend failed webhooks based on these status codes. Build self-healing processes into your system to reduce the need for manual fixes, ensuring continuous operation with minimal human oversight. For high-traffic scenarios, distribute webhook requests across multiple servers to handle the load efficiently.
Maintain Data Compliance
Security isn’t the only concern - staying compliant with data regulations like GDPR and the California Privacy Rights Act (CPRA) is equally important. Use compliance webhooks to manage data requests, such as retrieving stored customer data (customers/data_request), deleting customer data (customers/redact), or erasing shop data (shop/redact). These webhooks should handle POST requests with a JSON body and a Content-Type header set to application/json. If a request comes with an invalid HMAC header, return a 401 Unauthorized status; for valid requests, acknowledge receipt with a 200-series status code and complete the action within 30 days.
Protect personally identifiable information (PII) by enforcing robust data protection measures - think of practices used by financial institutions to safeguard sensitive data. Even if your forms don’t collect personal data directly, you might still need to respond to data subject requests, depending on your platform. Some platforms require GDPR compliance for all users and mandate compliance webhook responses for app activation. Regularly review your data handling practices to ensure they meet current regulations and adapt as laws evolve.
Conclusion
By following the outlined steps - selecting your target system, setting up a secure webhook URL, configuring your lead form platform, mapping fields, and testing the integration - you can automate your lead management system for smoother operations. Webhooks revolutionize how you handle incoming leads, creating a direct, automated connection between form submissions and your CRM. This process eliminates the need for manual data entry and ensures faster response times.
Once the basic setup is complete, enhancing your integration with strong security measures and monitoring tools is essential. Use HTTPS, HMAC verification, and authentication tokens to safeguard your data. Implement retry logic and logging to handle potential failures effectively.
Platforms like Reform simplify this process with built-in webhook functionality and a no-code form builder. Features such as multi-step forms, conditional routing, and real-time analytics allow for easy CRM integration, ensuring you capture high-quality leads without unnecessary complexity.
A well-executed webhook setup doesn’t just save time - it boosts accuracy and improves the way you nurture leads. By automatically sending enriched lead data to your CRM, your sales team can focus on turning prospects into customers. With the right tools and security practices in place, webhooks can become the cornerstone of a scalable, automated lead management system that supports your business as it grows.
FAQs
What security steps should I follow when setting up webhooks for lead forms?
To safeguard your webhooks, always use HTTPS to encrypt data during transmission. This ensures that the information remains secure while traveling between systems. Implement secret tokens or basic authentication to validate incoming connections, and use signed hashes like HMAC to verify the authenticity of webhook payloads.
Including timestamps in requests is a smart way to defend against replay attacks, as it ensures requests are processed within a specific time frame. Additionally, keeping logs of webhook activity helps you spot any unusual or suspicious behavior. Make it a habit to periodically review and update your security measures to keep sensitive lead data protected.
How do I make sure webhook data is correctly mapped to my CRM fields?
To make sure webhook data aligns perfectly with your CRM fields, begin by checking your CRM's field specifications and defining clear mapping rules. Take the time to standardize and validate the incoming data so it matches the required formats, ensuring consistency across all records.
Thoroughly test your webhook integration to identify and resolve any mapping issues early on. It's also a good idea to periodically review and adjust your mappings to keep them accurate and maintain a smooth data flow into your CRM. This approach not only boosts data quality but also keeps your workflows running efficiently.
What should I do if my webhook test data isn’t working as expected?
If your webhook test data isn’t delivering the results you expect, the first step is to verify that your webhook endpoint is both accessible and correctly configured. Take a close look at your server or API logs for any errors or exceptions that could be causing the issue.
Try recreating the error in a controlled environment so you can thoroughly examine the request and response. Pay attention to details like data formatting or unexpected responses from the endpoint. Also, ensure your server is sending back the right HTTP status code (usually 200) and any necessary confirmation messages.
If the issue continues, think about adding a retry mechanism to handle temporary errors and maintain data accuracy. Testing under different scenarios can also help you identify the root cause and ensure your webhook integration runs smoothly.
Related posts
Get new content delivered straight to your inbox

The Response
Updates on the Reform platform, insights on optimizing conversion rates, and tips to craft forms that convert.


Drive real results with form optimizations
Tested across hundreds of experiments, our strategies deliver a 215% lift in qualified leads for B2B and SaaS companies.
