
.webp)
Integrating Accessibility Testing: Step-by-Step Workflow


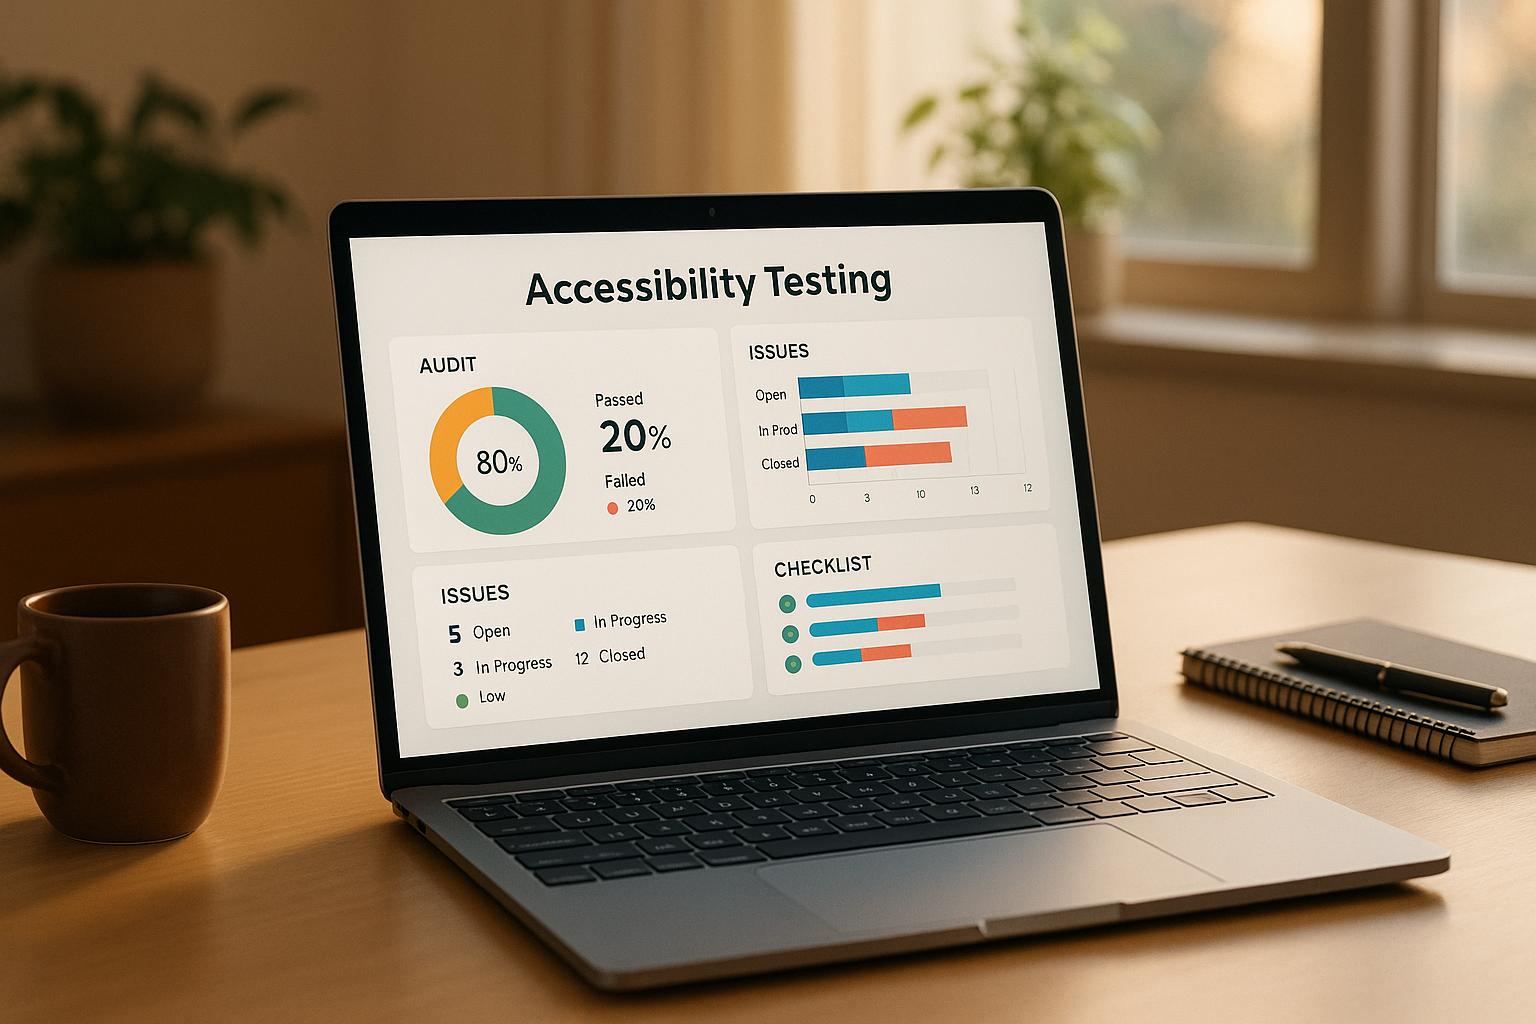
Accessibility testing ensures digital products are usable for everyone, including individuals with disabilities. Despite widespread awareness, 96% of top websites in 2023 had accessibility issues. This article outlines a clear, actionable workflow to incorporate accessibility testing into development, saving costs and improving usability.
Key Steps:
- Plan Early: Define goals based on WCAG 2.1 or Section 508, allocate resources, and train teams.
- Design Thoughtfully: Use proper color contrast, readable fonts, and clear navigation.
- Code Smartly: Stick to semantic HTML and ensure keyboard navigation works.
- Test Thoroughly: Combine automated tools (like Axe) with manual testing (screen readers, keyboard navigation).
- Maintain Post-Launch: Regularly audit, monitor analytics, and gather user feedback to address new issues.
Why It Matters:
- Fixing issues during development is 30x cheaper than after launch.
- Accessibility benefits all users, not just those with disabilities.
- Legal compliance (e.g., WCAG, Section 508) is mandatory for many organizations.
By embedding accessibility into every phase, you can create products that work for everyone while avoiding costly fixes later.
A11y beyond the theory: Integrating accessibility testing into your workflow
Planning for Accessibility Testing
Getting accessibility testing right starts in the planning phase. Early preparation ensures a smoother workflow and avoids the high costs of addressing accessibility issues after launch. By integrating accessibility considerations from the start, you can better manage timelines and budgets.
Setting Accessibility Goals
Start by defining clear, measurable goals based on established standards like WCAG 2.1 AA or Section 508. These goals might include labeling all form fields, enabling full keyboard navigation, and maintaining a minimum color contrast ratio of 4.5:1. It’s also important to identify your target user groups so you can tailor requirements to their needs.
Document these goals as part of your project's "definition of done." This ensures accessibility remains a priority and isn’t pushed aside when deadlines loom. Once your goals are set, the next step is preparing your team with the right skills and tools.
Training Teams and Allocating Resources
With accessibility goals in place, focus on equipping your team to achieve them. Start by assessing their current knowledge of accessibility practices. Identify gaps and determine what kind of training is needed to fill them.
From the outset, allocate a budget for both training and tools. Offer hands-on workshops, online courses, and regular sessions to share knowledge. Keep training updated as standards and tools evolve to ensure your team stays current.
Invest in tools that cover both automated and manual testing. Automated solutions like Axe, WAVE, or Pa11y can quickly identify common issues, while manual testing is essential for uncovering more complex problems that require human judgment.
Accessibility testing isn’t a one-time task - it needs ongoing attention throughout the project lifecycle. Plan for regular training, update tools as needed, and schedule time for testing at each phase of development. Integrate these requirements into your project documents to ensure accessibility remains a core focus.
Adding Accessibility to Project Documentation
Make accessibility a central part of your project documentation. For instance, embed specific criteria into user stories and acceptance tests. Examples include requiring "all form fields to be labeled for screen readers" or ensuring "error messages are announced by assistive technology." Reference established standards in your documentation to guide both development and testing.
Some tools, like Reform, can help streamline this process. Reform emphasizes accessible form design, allowing teams to include features - such as labeled fields and keyboard navigation - directly in their project documentation. This approach ensures accessibility is built into both the planning and implementation stages.
Developing accessibility personas can also be helpful. These personas should describe users' assistive technologies, common tasks, and potential challenges. Including these personas in your documentation keeps accessibility needs front and center throughout the project.
| Documentation Type | Accessibility Integration Examples |
|---|---|
| User Stories | "As a screen reader user, I need all form fields properly labeled so I can complete the registration process independently." |
| Acceptance Criteria | "All images must have descriptive alt text; forms must be navigable using keyboard only; error messages must be announced by assistive technology." |
| Definition of Done | "Code passes automated accessibility scans; manual keyboard navigation testing completed; color contrast meets WCAG AA standards." |
Track your planning efforts with specific metrics. Measure the number of accessibility issues found during each development phase, monitor compliance with your chosen standards, and log the time spent on training and testing. These insights can help refine your planning process and highlight the benefits of addressing accessibility early on.
Building Accessibility into Design and Development
After planning, the next step is turning ideas into reality by designing and developing interfaces that are accessible from the start. This requires designers and developers to work closely together, ensuring that accessibility is woven into every design choice and line of code. The goal is to make accessibility an integral part of the creative process, not an afterthought.
Accessible Design Principles
A key aspect of accessible design is color contrast. To meet WCAG 2.1 AA standards, normal text should have a contrast ratio of at least 4.5:1, while large text requires a minimum of 3:1. Tools like the WebAIM Contrast Checker can help you confirm that your color combinations meet these guidelines. Additionally, avoid relying solely on color to convey information - use icons, patterns, or text labels to provide additional clarity.
Typography also plays a vital role in readability. Set body text to at least 16px and ensure there's enough line spacing to aid legibility, especially for users with visual impairments. Stick to clean, easily readable fonts for most content and save decorative typefaces for less critical elements.
When it comes to navigation, consistency is key. Use logical tab orders that match the layout of the interface, and include visible focus indicators so keyboard users can easily see which element is active. Features like skip links allow screen reader users to bypass repetitive content and jump straight to the main sections of a page.
Forms deserve special attention since they often present accessibility challenges. Clearly label all input fields and group related elements using fieldsets with legends. Provide concise instructions and actionable error messages to guide users effectively.
Writing Accessible Code
The foundation of accessible interfaces lies in semantic HTML. Use elements like <nav>, <main>, <header>, and <footer> to define key sections of your page. Choosing the right HTML elements - such as <button> for actions and <a> for navigation - helps assistive technologies interpret your content accurately.
If standard HTML doesn't meet the needs of your design, you can enhance it using ARIA roles and attributes. For example, an aria-label can describe elements without visible text, while aria-describedby links form fields to helpful instructions. However, ARIA should complement - not replace - semantic HTML.
Keyboard navigation is another critical factor. Test your interfaces to ensure all interactive elements are accessible using only the keyboard (e.g., Tab, Shift+Tab, Enter, and Space keys). Make sure visible focus indicators are present so users know where they are on the page.
By combining semantic HTML and thoughtful coding practices, you lay the groundwork for accessible interfaces. To streamline the process, you can also leverage specialized tools.
Using Accessible Tools Like Reform

Once your design and code are accessibility-friendly, tools like Reform can help speed up implementation. Reform provides pre-built, compliant form components that can be seamlessly integrated into your workflow.
With multiple integration options - such as code snippets, iframes, or modern web components - teams can easily add accessible forms without starting from scratch.
sbb-itb-5f36581
Running Automated and Manual Accessibility Tests
After incorporating accessibility into your design and development process, the next step is ensuring your work meets the mark. Automated tools are great for quickly spotting common issues, while manual testing uncovers more subtle problems that require a human touch. Interestingly, automated tools catch only about 30–40% of accessibility issues, which makes manual testing indispensable for thorough coverage.
Start with automated tests to identify frequent violations, then move on to manual methods to validate the overall user experience.
Automated Accessibility Testing
Automated tools like Axe, Lighthouse, WAVE, and Pa11y act as your first line of defense. They help detect issues such as missing alt text on images, poor color contrast, incorrect heading structures, and ARIA attribute misuse. The real power of these tools lies in their ability to integrate into your CI/CD pipeline. For instance, you can use Jenkins or GitHub Actions to run these tests automatically, catching problems early and reducing the cost of fixes.
Take advantage of configurable options, like setting Axe to fail builds when critical accessibility violations are found. These might include missing form labels or barriers that prevent users with disabilities from completing essential tasks. This way, inaccessible code is stopped before it ever reaches production.
However, automated tools have their limits. They can’t evaluate context-dependent issues, such as whether link text makes sense, if the tab order flows logically, or whether interactive elements are truly usable for people with disabilities. These are the kinds of challenges that require human insight and judgment.
Manual Testing Methods
Manual testing bridges the gaps that automated tools can’t cover. It involves techniques like keyboard-only navigation, screen reader evaluations, and cognitive walkthroughs to assess usability in real-world scenarios. Including users with a range of disabilities in this process can uncover barriers that might otherwise go unnoticed.
For example, a login form might pass all automated checks for properly labeled fields, but manual testing could reveal issues like an illogical tab order or error messages that aren’t announced by screen readers. Best practices include using screen readers like NVDA or JAWS, navigating solely with a keyboard, and observing users as they complete critical workflows. This user-focused approach helps teams prioritize fixes based on actual experiences rather than just technical compliance.
While manual testing takes more time, focusing on key user journeys - like signing up, checking out, or consuming content - can significantly improve accessibility. Together, automated and manual methods provide a well-rounded view of your product’s accessibility.
Automated vs. Manual Testing Comparison
Knowing when and how to use each method helps teams allocate resources wisely and achieve comprehensive accessibility.
| Aspect | Automated Testing | Manual Testing |
|---|---|---|
| Speed | Fast and scalable | Time-intensive |
| Coverage | Identifies common code-level issues | Detects complex user-experience issues |
| Cost | Lower per test | Higher due to skilled labor |
| Accuracy | May overlook context-sensitive issues | Provides context-aware insights |
| Best Use Cases | Routine and regression checks | Usability validation and compliance |
| Tools | Axe, Lighthouse, WAVE, Pa11y | Screen readers, keyboard testing, user studies |
The best results come from combining these approaches. Run automated tests on every code commit to catch technical violations early, and conduct manual testing on critical user flows before major releases. This layered strategy ensures both technical compliance and a positive user experience.
Don’t stop there - ongoing monitoring is crucial. Schedule regular automated scans to catch new issues as your product evolves. Additionally, repeat manual testing after significant updates or design changes to maintain high accessibility standards.
Maintaining Accessibility After Launch
Ensuring accessibility doesn’t end with a website’s launch - it’s an ongoing commitment. As features evolve and user needs shift, maintaining accessibility requires consistent effort. WebAIM's 2023 report revealed that 96.3% of home pages had detectable WCAG 2 failures, underscoring the persistence of accessibility issues, even on well-established sites.
Addressing accessibility problems after launch can be significantly more expensive - up to 30 times more costly - than addressing them during development. This highlights the importance of regular audits and a proactive approach to accessibility.
Monitoring and Fixing Issues
Post-launch monitoring builds on pre-launch testing to ensure accessibility remains intact. Conduct quarterly accessibility reviews using both automated tools and manual testing to catch issues early, before they affect users. Automated tools like Axe, WAVE, and Lighthouse are invaluable for continuous monitoring and should be integrated into your CI/CD pipeline to detect regressions with every code deployment.
A 2022 case study demonstrated that incorporating automated accessibility testing into the CI pipeline not only reduced regressions but also sped up the resolution of issues.
To manage issues effectively, prioritize them based on severity and user impact. For example, critical problems like a broken form submission process should take precedence over less urgent issues, such as minor color contrast problems on decorative elements. Keep detailed records of identified issues and the steps taken to resolve them. This documentation ensures accountability and helps track progress over time.
Using Analytics for Accessibility Insights
Analytics can uncover hidden accessibility barriers by analyzing user behavior patterns. Key metrics to monitor include form completion rates, error rates, drop-off points, and device/browser usage trends. Sudden spikes in drop-offs or error reports often signal underlying accessibility problems.
Real-time analytics can highlight problem areas, such as steps where users struggle or error messages that cause confusion. A/B testing is particularly helpful for refining accessibility. For instance, experimenting with different error message formats or form layouts can reveal what works best for users with disabilities. Reform’s A/B testing tools are especially effective for comparing design options and measuring their impact on user experience.
The University of Iowa provides a great example of how analytics and regular audits can drive improvements. In 2023, they combined quarterly accessibility audits with analytics monitoring, achieving a 40% reduction in reported accessibility issues over 12 months. This approach also improved their compliance with WCAG 2.1 standards. Their success shows how data-driven strategies can lead to measurable progress.
Gathering User Feedback and Making Improvements
Automated testing and analytics are valuable, but they can’t replace direct user feedback. Accessible feedback channels, such as forms compatible with screen readers and keyboard navigation, encourage input from all users. Structured surveys, interviews, and usability testing with users with disabilities provide deeper insights into their experiences.
Focus on key user journeys - like account creation, purchasing, or content consumption - to identify areas for improvement. Users often flag specific issues, such as confusing navigation, unclear error messages, or missing alternative text, that automated tools might miss.
Acting on feedback promptly and communicating changes back to users builds trust. When users see their suggestions implemented, they’re more likely to continue providing valuable input. This creates a positive feedback loop that drives ongoing improvements.
Conclusion
Incorporating accessibility testing at every stage - from initial planning to ongoing maintenance - ensures digital experiences are inclusive for everyone. The steps we’ve discussed outline a practical approach: planning for accessibility early, weaving it into design and development, conducting both automated and manual tests, and maintaining accessibility long after launch.
The numbers speak for themselves. Fixing accessibility issues after launch can cost as much as 30 times more than addressing them during development. This highlights the importance of proactive planning. Teams that integrate accessibility into user stories, acceptance criteria, and their "Definition of Done" create workflows that catch issues before they ever reach users.
A balanced mix of automated and manual testing offers the most thorough coverage. Tools like Axe and WAVE are excellent for quickly spotting common issues and can easily integrate into CI/CD pipelines. However, manual testing and user feedback are essential for uncovering more complex barriers that automated tools might overlook. Together, these methods ensure no stone is left unturned.
Platforms like Reform showcase how accessible design can enhance both compliance and usability. With features like proper form labeling, keyboard navigation, and real-time validation, Reform helps teams meet WCAG 2.1 standards while improving the user experience for everyone. Its no-code approach also empowers non-technical team members to contribute, making accessibility more achievable across entire organizations.
Accessibility isn’t a one-time task; it’s an ongoing commitment. From planning to testing and beyond, continuous monitoring through analytics and user feedback is essential. By embedding accessibility into every phase, teams can deliver better experiences while meeting both legal requirements and ethical responsibilities.
FAQs
Why is it beneficial to integrate accessibility testing early in the development process?
Integrating accessibility testing at the start of the development process can save money and improve usability. Tackling accessibility issues early means you avoid costly redesigns and complicated fixes later, which can become more challenging once features are fully developed.
By testing early, your product is more likely to meet accessibility standards, ensuring it's usable for a wider audience, including individuals with disabilities. This approach doesn’t just boost inclusivity - it also enhances user satisfaction, engagement, and reach. In fact, accessible designs often improve the overall experience for everyone, resulting in higher task completion rates and better-quality leads.
What’s the difference between automated and manual accessibility testing, and why should you use both?
Automated accessibility testing offers speed and consistency, making it great for catching common issues like missing alt text or incorrect heading structures. However, it often misses more subtle challenges, like ineffective keyboard navigation or unclear visual indicators.
On the flip side, manual testing dives deeper by mimicking real user interactions, giving you a better understanding of usability. While it takes more time, combining both approaches ensures you address a wider range of accessibility concerns, creating a more inclusive and user-friendly experience while staying compliant with standards.
Why are ongoing monitoring and user feedback important for maintaining accessibility after launch?
Ongoing monitoring and gathering user feedback are essential for keeping accessibility on track. They help spot and fix issues as they come up, ensuring your product stays easy to use, meets accessibility standards, and adjusts to evolving user needs.
Paying attention to user input can reveal challenges that might not have been apparent during the initial development phase. This process of constant refinement helps ensure your forms and workflows remain inclusive and straightforward for all users.
Related Blog Posts
Get new content delivered straight to your inbox

The Response
Updates on the Reform platform, insights on optimizing conversion rates, and tips to craft forms that convert.


Drive real results with form optimizations
Tested across hundreds of experiments, our strategies deliver a 215% lift in qualified leads for B2B and SaaS companies.
