
.webp)
Trigger Rules for Form Submissions


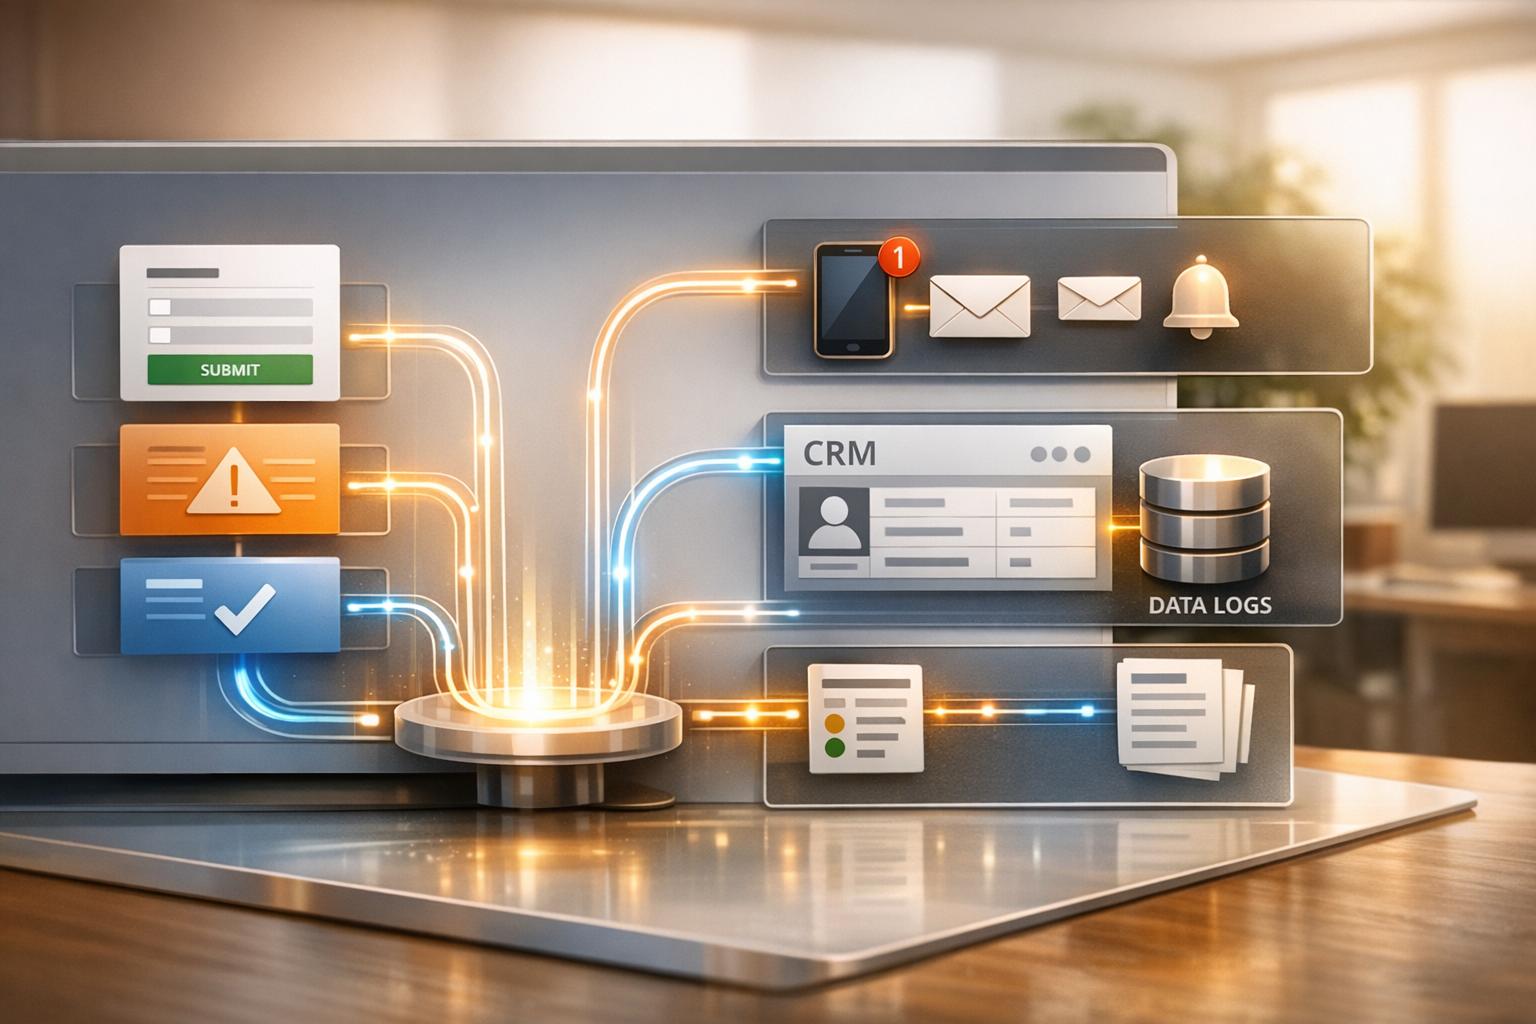
Trigger rules automate tasks the moment someone submits a form, eliminating manual work and enabling instant actions like sending alerts, updating CRMs, or starting email campaigns. These rules streamline lead management, ensuring faster follow-ups and better organization.
Key Benefits of Trigger Rules:
- Automatically notify your team (e.g., via Slack or email) when forms are submitted.
- Sync responses directly to CRMs like HubSpot or Salesforce.
- Organize data in tools like Google Sheets or Airtable.
- Set conditions to prioritize leads (e.g., based on company size or revenue).
- Use webhooks to connect with thousands of apps for custom workflows.
How to Get Started:
- Ensure you're on Reform's Pro Plan or higher.
- Link your form to an integration (e.g., Zapier, Google Sheets, HubSpot).
- Create trigger rules in the Reform dashboard under Integrations → Automation Rules.
- Add conditions to refine triggers (e.g., notify only for high-value leads).
- Test the setup to confirm data flows correctly.
Trigger rules save time, reduce errors, and help you focus on what matters most - acting on leads quickly and effectively.

How to Set Up Trigger Rules for Form Submissions in 5 Steps
Automate Based on Google Form Response
Setting Up Trigger Rules in Reform

Reform's no-code dashboard makes creating trigger rules straightforward. Everything is managed through dropdown menus and visual tools, so you can set up fields and conditions without touching a single line of code. Here's what you need to know to get started.
What to Have Before You Begin
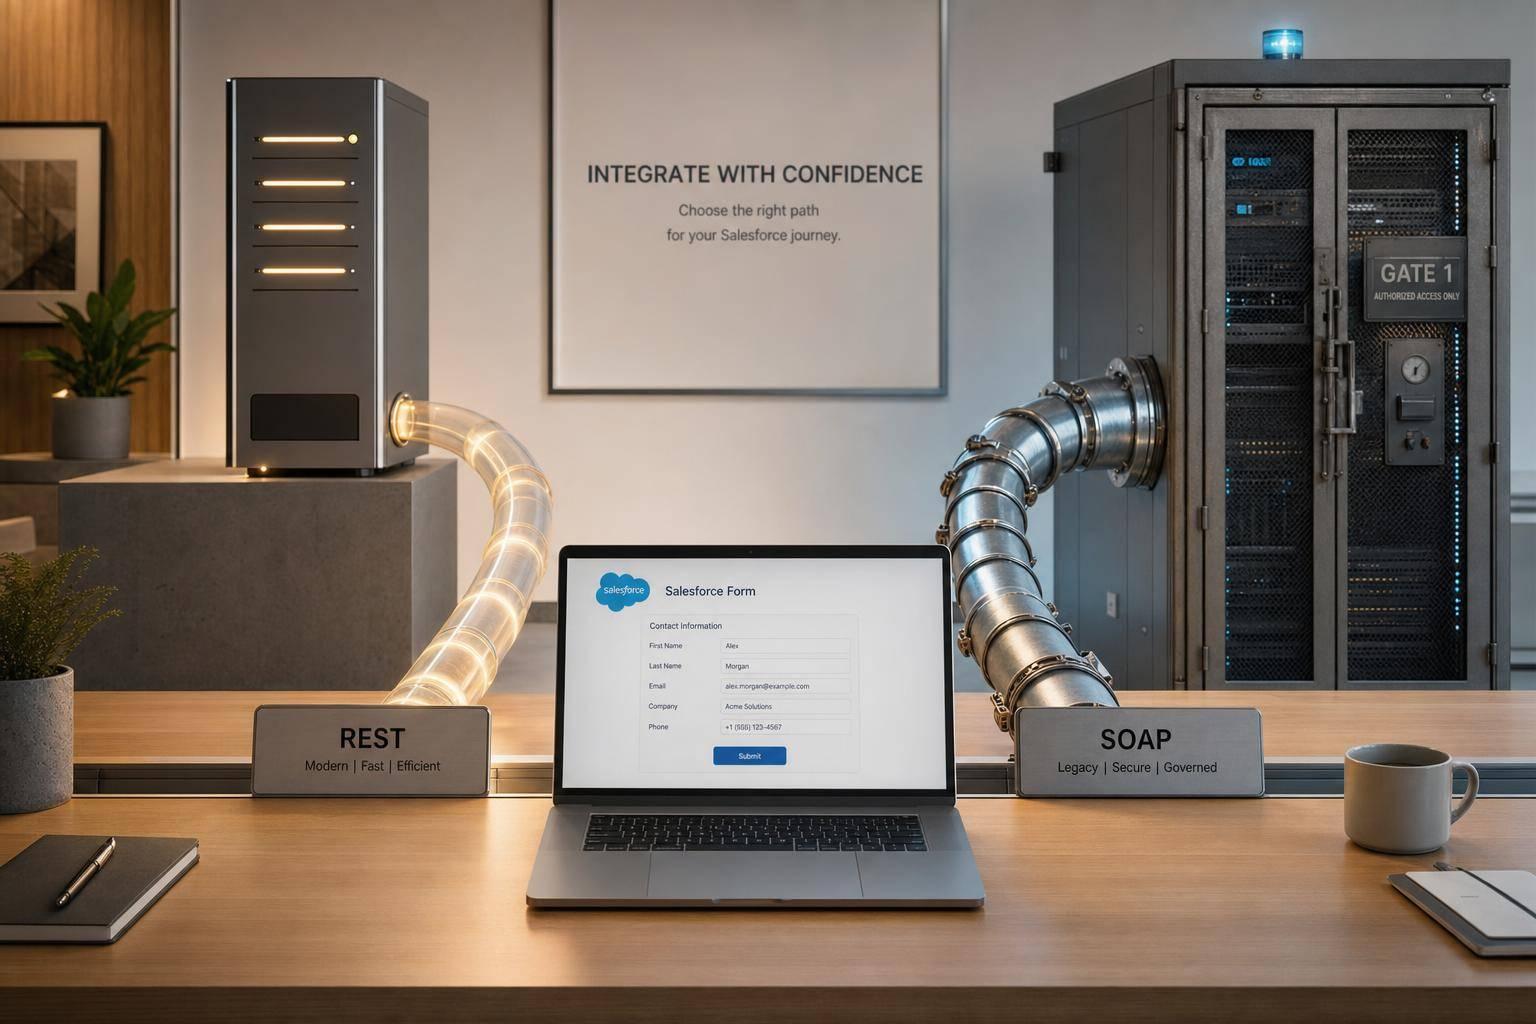
Before setting up trigger rules, ensure you're on the Reform Pro Plan or higher. This plan gives you access to advanced features like conditional triggers and premium integrations, including HubSpot, Salesforce (coming soon), and Close. You'll also need at least one active integration linked to your form, such as Zapier, Google Sheets, or HubSpot.
Your form should be published and actively collecting responses. If you want to capture data from incomplete submissions on multi-step forms, make sure your form has multiple pages configured.
Steps to Create a Trigger Rule
To set up a trigger rule, head to your Reform dashboard, open the form, and go to Integrations → Automation Rules. From there, choose "Form Submitted" as your trigger event.
Next, connect your trigger to your preferred tool for data mapping. For instance, if you're using HubSpot, map form fields like Email, Name, and Company Size to their corresponding CRM properties. For Zapier, select "Webhooks by Zapier" to connect Reform with thousands of other platforms.
Once your mapping is set, test the trigger (or "Test Zap" for Zapier) to ensure the data is flowing correctly.
Adding Conditions to Triggers
To make your triggers more specific, you can add conditions in the "Add condition" section. These rules follow the format "When [Question] [Condition] [Value]". For example, you could configure a Slack notification to trigger only when the "Company Size" field "is" "100+."
Available conditions include "is", "is not", "is empty," and "is not empty." You can also combine multiple conditions using "And/Or" operators. Use "And" when all conditions need to be true or "Or" if just one condition is enough.
For multi-step forms, enable the "partial form submissions" option in your integration settings to capture leads even if users don’t complete the entire form. To minimize spam, add reform.app to your analytics tracking domain lists in tools like HubSpot, ensuring legitimate responses aren’t flagged as bots.
Configuring Actions After Triggers Fire
Once your trigger rules are in place, the next step is deciding what happens when those triggers activate. With Reform, you can set up automated actions for everything from notifying your team to updating your CRM.
Common Actions to Automate
After setting up triggers, choose actions that handle important tasks automatically.
Internal notifications are a great way to keep your team informed as soon as a form is submitted. You can send email alerts to specific team members or push notifications to Slack channels. For high-priority leads, you can even set up team-wide email notifications to ensure everyone stays on the same page, reducing the chance of missed opportunities.
CRM and sales management tasks can also be automated. Sync form data directly with tools like HubSpot, Salesforce, or Close to create or update lead records instantly. This allows you to assign leads to the right sales reps and even generate follow-up tasks automatically.
Email marketing workflows let you add new leads to platforms like ConvertKit or Marketo as soon as they submit a form. This ensures they’re added to nurturing sequences without delay.
Data organization becomes seamless with actions that log submissions into tools like Google Sheets or Airtable. This makes it easier to track and manage lead data collaboratively. For more advanced workflows, webhooks allow you to send real-time data to any endpoint, enabling custom integrations. Unlike polling methods that check for updates periodically, webhooks push data instantly, ensuring no delays.
Connecting Triggers to Your Tools
Reform offers direct integrations with platforms like HubSpot, Salesforce, and Close (available on Pro plans), making it easy to sync form responses without needing additional tools. For other apps, the Zapier integration connects you to over 5,000 options. To set it up, create a "Catch Hook" trigger in Zapier, copy the webhook URL it generates, and paste it into Reform under Integrations → Add Integration → Webhooks. Then, define what action you want Zapier to handle, such as updating a Google Sheet or sending a Slack message.
Always test your triggers and actions before going live. This ensures the data is mapped correctly and sent to the right fields. If you're using webhooks for custom actions, secure your data by verifying its source with SHA-256 HMAC signatures. You can also configure multiple webhook URLs to trigger actions across different systems simultaneously - like sending a Slack alert while updating your CRM.
For actions that impact users directly, Reform’s logic-based redirects allow you to guide respondents to specific URLs or show personalized thank-you pages based on their answers. This creates a tailored experience for high-value leads immediately after they submit.
sbb-itb-5f36581
Best Practices for Trigger Rules
Creating effective trigger rules involves eliminating duplicates, thorough testing, and prioritizing high-value leads.
Preventing Duplicate Triggers
Duplicate notifications can waste time and reduce efficiency. A common issue arises when triggers fire multiple times for the same submission.
To avoid this, if you're using Google Tag Manager with Reform, set the "Tag firing options" to "Once per page" in GTM settings. For email notifications, double-check that the same recipient isn't listed in both your form-level and team-level settings.
When setting up conditional rules with "And" operators, ensure multiple criteria are required before a trigger activates. For instance, you might configure a rule to trigger only when a user is both a "Member" and uses a specific "Promo Code", preventing it from firing under broader, less specific conditions. If you're working with Zapier webhooks, use the "Pick off a Child Key" field to filter out unnecessary parts of the JSON payload, ensuring your automation processes only relevant data.
Testing and Tracking Your Triggers
Before launching your form, test every possible scenario. This includes trying out all form paths with varied responses. For forms with conditional logic - like "Skip this page" or "Jump to" options - test each route to confirm users are directed to the correct pages based on their answers.
Use Zapier's "Test Trigger" feature to pull recent submission data and verify that fields are captured and mapped correctly. Built-in testing tools can also help validate custom scripts and responses. Additionally, enabling form-level or team-level email notifications ensures you receive immediate alerts for submissions, acting as a manual check to confirm your triggers are functioning as intended.
Once you've verified all trigger paths, refine your approach by focusing on high-value leads.
Focusing on High-Value Leads
Not every lead requires the same level of attention. Use conditional routing to separate high-priority prospects from others. For example, leads reporting over $10 million in annual revenue can be directed to a scheduling page, while those between $1 million and $10 million might receive tailored resources and a demo option.
You can set up "Jump to" rules to send top-tier leads directly to a page with a calendar link for scheduling a conversation with a sales representative. Alternatively, configure a webhook via Zapier to post high-value lead details directly to your sales team's Slack channel. Conditional thank-you pages can also be customized to guide premium prospects toward exclusive next steps. For even more precision, combine multiple conditions with "And/Or" operators to create advanced lead-scoring systems. For instance, a trigger could activate only when a respondent meets both a revenue threshold and a specific industry criterion.
Conclusion
Trigger rules take the hassle out of lead management by automating key processes and ensuring no opportunity slips through the cracks.
With trigger rules, submissions are automatically sent to CRMs like HubSpot, Salesforce, and Close, keeping your data organized and accessible instantly. Your team can act fast on high-value leads thanks to real-time Slack or email notifications.
They also allow for smart routing - premium leads can be directed to scheduling pages, while lower-priority prospects are guided to self-service options. Plus, with tools like webhooks and Zapier, you can connect your data with thousands of apps effortlessly.
FAQs
How can I avoid duplicate notifications when setting up trigger rules for form submissions?
To avoid sending duplicate notifications, make sure your trigger rules are configured to activate only once per submission. For instance, set your automation tool to respond to the initial submission rather than any resubmissions. In Reform, this can be managed by enabling a single notification rule per form and combining recipients into one notification to prevent overlaps.
If your setup requires more customization, tools like Zapier can help. Use filters or assign unique identifiers to block repeated triggers. Alternatively, you can create custom logic to track submissions and ignore duplicates. Always test your setup with a new submission to ensure it sends just one notification for each form entry.
How can I set up conditional triggers to identify and prioritize high-value leads?
To set up conditional triggers for high-value leads effectively, start by establishing clear criteria. For example, you might target leads with an annual revenue exceeding $10,000,000 or a budget of at least $50,000. Using Reform’s conditional logic tools, you can create rules that guide these respondents toward tailored outcomes, such as a personalized thank-you page featuring premium content or scheduling options.
Keep your triggers straightforward by sticking to one condition per rule. This approach minimizes conflicts and simplifies troubleshooting. Combine this logic with real-time integrations like Webhooks or Zapier to automatically feed high-value leads into your CRM or sales pipeline. To gain better insights, leverage tools like Google Tag Manager to monitor lead progress and pinpoint where users drop off. Lastly, test your setup with sample submissions to fine-tune the logic and optimize conversion rates for your most valuable prospects.
How can I test if my form's trigger rules are working correctly?
To check if your form's trigger rules are working, start by submitting a test entry with sample data that aligns with the conditions you've set. For instance, if a particular response is meant to activate an action, include that exact response in your test.
Once you've submitted the test, review the outputs to verify everything is functioning as expected. If you're testing webhooks, confirm that the correct data was sent to the designated endpoint. For email notifications, check that the appropriate email was delivered. If you're working with integrations like Zapier, look at the task history to ensure the data was processed as intended. If something isn't right, tweak the rules and run the test again until the results meet your expectations.
By carefully testing and analyzing each step, you can make sure your trigger rules operate smoothly and deliver the results your users need.
Related Blog Posts
Get new content delivered straight to your inbox

The Response
Updates on the Reform platform, insights on optimizing conversion rates, and tips to craft forms that convert.


Drive real results with form optimizations
Tested across hundreds of experiments, our strategies deliver a 215% lift in qualified leads for B2B and SaaS companies.
