
.webp)
5 Steps to Automate Emails After Form Submissions


Automating email responses to form submissions saves time and ensures leads are engaged immediately. Here's how you can set up an efficient system without any coding using Reform's no-code platform:
-
Step 1: Build a Lead Generation Form
Create a user-friendly form that matches your brand. Use features like multi-step forms, conditional questions, and real-time email validation to collect accurate and relevant data. -
Step 2: Set Up Workflow Triggers
Link your form to email automation tools. Use triggers to send personalized emails based on user responses, leveraging Reform's Liquid syntax for dynamic customization. -
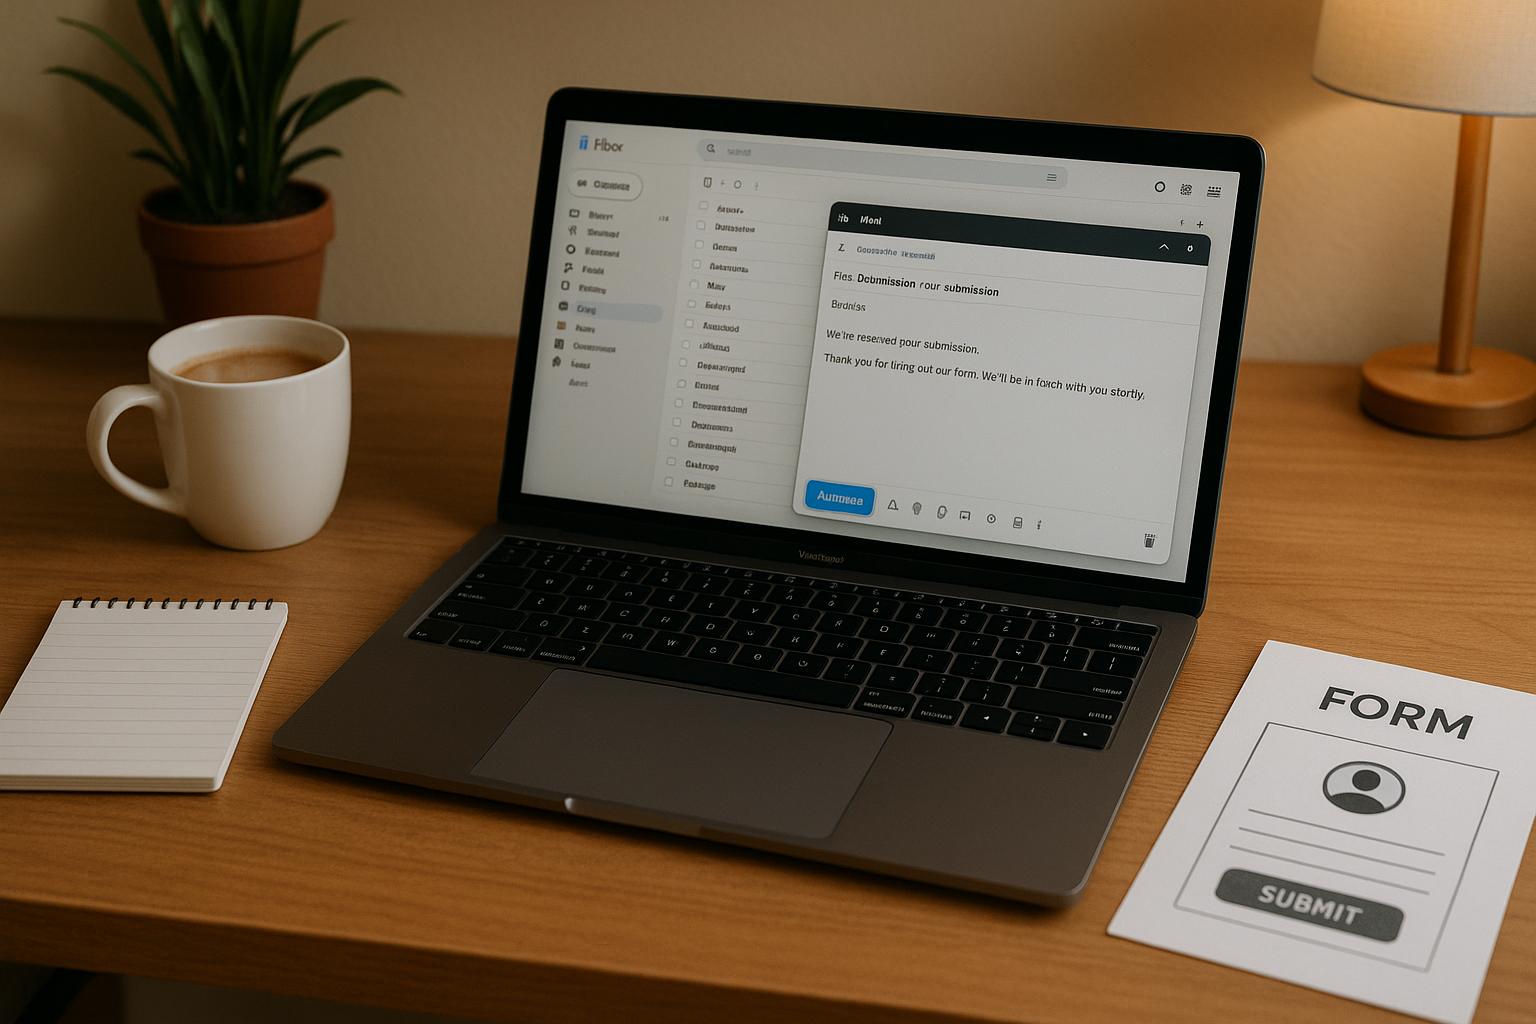
Step 3: Design Email Templates
Create branded, professional email templates with personalized content. Use recipient-specific details, conditional blocks, and clear calls-to-action to make your emails stand out. -
Step 4: Connect CRM and Tools
Sync your form with CRMs like HubSpot or Salesforce to ensure seamless data flow. Use Zapier for advanced automations and integrations with other tools. -
Step 5: Test and Monitor
Test every aspect of your workflow to ensure accuracy. Use analytics to track open rates, click-through rates, and conversions, and adjust your strategy as needed.
Automated email workflows can improve response times and increase conversions, with email marketing offering a high ROI of $36–$45 for every $1 spent. Reform simplifies the process, making it easy to engage leads effectively.
Step 1: Build Your Lead Generation Form
A well-crafted form is your starting point for gathering quality leads and kickstarting personalized email automation. The better your form, the smoother your follow-up process will be.
Design Your Form
Create a user-friendly, conversion-focused form using Reform's drag-and-drop builder. Make sure it matches your brand’s style and offers a seamless experience. The goal is to collect the information you need without overwhelming users.
Consider using multi-step forms to keep users engaged. Start with simple fields like name and email, and then gradually ask for more details. This approach reduces the risk of users abandoning the form halfway through.
Take advantage of conditional routing to tailor the form experience. For example, if someone identifies as part of an enterprise, you can display enterprise-specific questions. This ensures you’re gathering relevant information while keeping the process personalized.
Your form’s design should feel like a natural part of your website. Use your brand’s colors, fonts, and styling to maintain consistency. Reform allows you to customize every aspect of the form, so it blends seamlessly with your site instead of feeling like a generic add-on.
Finally, make your call-to-action button stand out. Replace boring phrases like “Submit” with action-oriented ones like “Get My Free Consultation” to encourage clicks.
Now, let’s talk about ensuring the data you collect is accurate.
Add Data Quality Features
Good data is the backbone of effective lead generation. Reform’s built-in features help you capture reliable, high-quality information from the start.
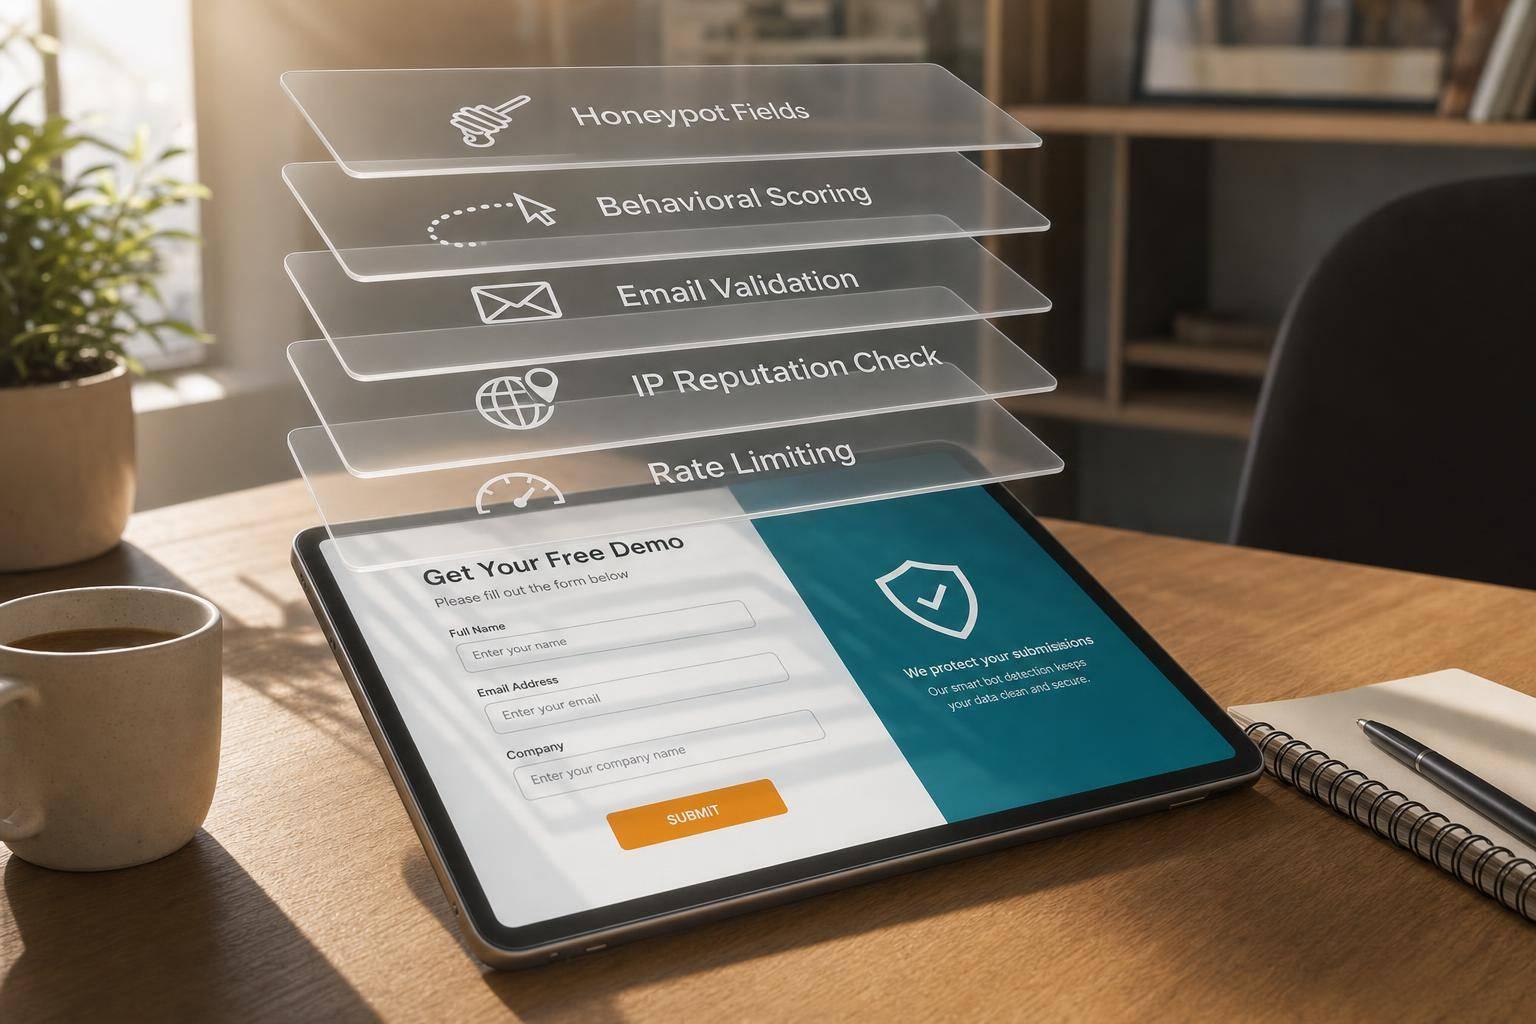
- Real-time email validation: Catch typos like missing “@” symbols to ensure emails are deliverable.
- Spam prevention: Filter out fake entries and bot traffic to focus on genuine leads.
- Lead enrichment: Collect extra details to personalize your follow-ups. Combine this with conditional logic to qualify leads. For example, if a prospect selects “I’m ready to buy” instead of “I’m just researching,” you can ask different follow-up questions and direct them to the right email sequence.
Be mindful about required fields. Only ask for essential information - like name, email, and one qualifying question - to avoid scaring off potential leads.
The quality of the data you collect at this stage is crucial. Clean, well-structured information allows you to craft more relevant and targeted email campaigns, boosting your chances of turning leads into loyal customers.
Step 2: Set Up Workflow Triggers
Link your form to your email automation system to turn it into a dynamic tool that instantly responds to submissions. This step is key to creating a seamless lead-nurturing process.
Configure Trigger Events
With Reform's Email Automation Integration feature, you can automatically send personalized emails to respondents based on their form submissions. While this feature is currently in Beta, you can request access through the Email Automation Integration page.
"Email Automation is a powerful feature that allows you to automatically send personalized emails to respondents based on their form submissions." - Reform Help
Once you have access, open your form, navigate to the "Integrations" section, select "Email Automation", and click "Add integration." This setup ensures that every form submission triggers an automatic email - no complicated conditions required.
For users with more advanced needs, Reform also supports webhooks. These can be configured to respond to specific form events, like submissions or updates, or even to trigger actions based on conditional logic tied to form responses. You can manage these webhooks directly from the Integrations page, offering a simple way to enable or disable them as needed.
Now, take it a step further by tailoring these automated triggers to match the unique needs of each respondent.
Personalize Workflows by Response
Customizing your email workflows makes a huge difference in how well you engage with leads. By segmenting respondents based on their form answers, you can deliver content that feels personal and relevant. Reform makes this easy with its Liquid template syntax, which allows you to reference specific form responses for highly targeted follow-ups.
"Use Liquid template syntax to reference form answers within your email's address, subject line, and message fields." - Reform Help
To get started, collect the Block ID for each form field by clicking the ⚙️ icon and selecting "Copy ID." Then, use the syntax (e.g., {{ answers.BLOCK_ID }}) to dynamically insert respondent details into your emails.
For example, if a respondent selects "I need help with lead generation", you can send them a series of emails focused on conversion optimization. On the other hand, someone who chooses "I want to improve customer retention" might receive content tailored to loyalty-building strategies. Thoughtful segmentation like this ensures your emails resonate with each recipient's specific needs.
Advanced configuration options also allow you to customize data payloads and headers, ensuring smooth integration with your existing marketing tools. This keeps your messaging consistent across all channels.
Finally, don’t skip the testing phase. Always send test emails to confirm that your Liquid syntax works as intended and that the personalized details appear correctly. This step helps you catch and fix any issues, such as broken tokens or mismatched recipient information, before your emails go live.
Step 3: Create Email Templates
Now that your workflows are in place, it’s time to design email templates that reflect your brand and connect with your leads. Branded templates not only establish your identity but also build trust from the very first interaction.
Design Branded Email Templates
Your email templates should be a natural extension of your brand. Incorporate your logo, brand colors, fonts, and footer details to ensure a consistent look and feel across all communications. Any updates to these elements can automatically refresh your templates, keeping everything aligned.
Place your logo prominently at the top of the email. Use your brand colors to highlight calls-to-action, making them stand out. Don’t forget to add alt text to images to ensure they display correctly across different email clients.
"Consistency & Branding – Ensures uniform messaging across all touchpoints." – Saffron Edge
Consider creating different templates for various types of follow-ups. For example, a welcome email template might include a friendly introduction and a brief overview of your company, while a product demo template could focus on scheduling and preparation details. Tailored templates help keep your messaging relevant and purposeful.
Your layout should feature a clear hierarchy, starting with your logo, followed by bold call-to-action buttons, and finishing with branded social media icons. These elements not only reinforce your brand but also provide recipients with multiple ways to engage with your business.
Add Personalized Content
To truly connect with your audience, your email templates need to feel personal. Customization is key to driving engagement.
Use Liquid syntax to dynamically include recipient-specific details in your emails. Starting with simple personalization, such as addressing recipients by their name or company, can make a big difference. Instead of a generic "Hello there", greet them with "Hi Sarah" or "Hello John from TechCorp."
Go beyond the basics by referencing specific interests or needs. For instance, if a lead expressed interest in marketing automation, you could include a line like: "Since you mentioned marketing automation, you might find our recent case study on boosting conversion rates especially helpful."
For B2B campaigns, industry-specific personalization can be particularly effective. If a respondent identifies their industry as "Healthcare", tailor your email to highlight compliance features, share relevant testimonials, or showcase use cases that address common challenges in that field.
Take it a step further with conditional content blocks. These allow you to display or hide specific sections of your email based on the recipient’s form responses. For example, leads from larger teams (50+ people) might see information about enterprise features and volume pricing, while smaller teams could receive content focused on simplicity and quick setup.
The goal is to create emails that feel like genuine, one-on-one conversations. By showing an understanding of each recipient’s unique situation, your emails will stand out as thoughtful and relevant rather than generic mass communications.
sbb-itb-5f36581
Step 4: Connect CRM and Marketing Tools
Linking Reform to your existing systems ensures lead data flows seamlessly, cutting down on manual data entry and saving time.
Connect Your CRM
Your CRM is the backbone of your customer relationship management, and syncing it with Reform takes the hassle out of handling leads. Native integrations with platforms like HubSpot and Salesforce allow you to automatically create and update contact records whenever someone submits a form. For instance, the upcoming HubSpot integration will let you map form fields - such as name, email, and any custom details - directly to your CRM’s contact properties. Similarly, Salesforce integration will soon enable you to push form submissions straight to your Salesforce account.
To get started, head to Reform's integrations panel. From there, you can authenticate your CRM, map the form fields, and test the connection to ensure everything runs smoothly. While waiting for native integrations to roll out, you can keep automating your workflows using tools like Zapier.
Use Zapier for Custom Automations
Zapier is an excellent way to connect Reform to your favorite tools through powerful, multi-step automations triggered by form submissions. For example, you can set up a workflow that automatically adds a new lead to your CRM, creates a task in your project management app, sends a Slack notification to your sales team, and enrolls the lead in an email marketing campaign - all without lifting a finger.
Zapier also supports conditional logic, making it easy to customize workflows based on form responses. Let’s say a lead expresses interest in a premium plan: the automation can assign them to a dedicated sales rep and add them to a high-priority prospect list. On the other hand, leads with a different response might be directed to a self-service onboarding sequence.
Beyond CRMs, Zapier lets you connect Reform to other specialized tools in your tech stack. Whether you need to log new rows in Google Sheets, send data to your analytics platform, or trigger a webhook for a custom application, Zapier’s extensive library of integrations has you covered - no coding required.
Start with a simple automation and build out more complex workflows as your needs evolve.
Step 5: Test and Monitor Your Workflow
After setting up and customizing your emails, the next step is to ensure everything runs smoothly. Testing and monitoring are essential to catch any issues before your workflow goes live, helping you maintain a polished and professional communication process.
Test Your Email Automation
Before launching, run tests to simulate different customer scenarios. This could mean submitting forms with both complete and incomplete data to see how your system handles them. Check that personalization fields like [FirstName] or [Company] populate correctly - no one wants to receive an email with broken tokens instead of their name.
Double-check every link in your emails to ensure they work as expected, and confirm that images display properly across various email clients and devices. Think through all potential user interactions: What happens if someone opens your email but doesn’t click? Or clicks a link without converting? Or just ignores the email altogether? Testing these scenarios helps you prepare for every outcome and ensures appropriate follow-ups are triggered.
Track Performance with Analytics
Once your workflow is live, monitoring its performance becomes key to improving results. Reform's real-time analytics can give you the insights you need to fine-tune your email strategy. Pay close attention to open rates (are your subject lines engaging?), click-through rates (does your content inspire action?), and conversion rates (how many recipients are completing the desired action?).
Keep an eye on spam complaints and unsubscribe rates - a sudden increase might signal that your content isn’t hitting the mark or that you’re emailing too frequently. Use Reform's A/B testing tools to experiment with different elements, such as subject lines, send times, or call-to-action buttons, to see what resonates best with your audience.
For a deeper understanding, consider supplementing analytics with quick audience surveys. And don’t forget to schedule regular check-ups on your workflow. This ensures your automation stays effective and adapts to any changes in your business needs.
Conclusion
Automated email follow-ups can significantly enhance both engagement and conversions. By using tools like Reform, businesses can see real, measurable outcomes: automated campaigns deliver a 320% higher ROI and can increase conversion rates by an incredible 2,361%. Plus, email marketing as a whole offers an impressive return - generating between $36 and $45 for every $1 spent.
Reform’s no-code platform makes implementing these strategies straightforward, even for those without technical expertise. Its seamless integration with CRM and marketing tools ensures that your lead generation efforts operate as a unified and efficient system.
Take advantage of Reform's A/B testing features to fine-tune your campaigns - testing alone can boost email marketing ROI by 83%. And don’t forget the long-term benefits: nurtured leads tend to make 47% larger purchases compared to those who aren’t nurtured. Regularly refining your approach ensures that your investment in automation continues to drive growth over time.
FAQs
How can I make sure my email automation works properly after setting it up?
To make sure your email automation is working as it should, begin by sending test emails to see if they’re triggered as planned. Double-check the conditions tied to each trigger to ensure they match your workflow. It’s also a good idea to review automation logs or reports to confirm that everything is running smoothly and emails are being sent without any hiccups.
What are the best practices for creating lead generation forms that capture high-quality data?
To create a lead generation form that works, keep it straightforward and easy to fill out. Use clear, benefit-focused headlines and messaging that explain why someone should share their details. Adding trust elements like privacy statements or testimonials can boost confidence and make users more likely to engage.
Make your call-to-action (CTA) buttons stand out with bold, contrasting colors and action-driven text. Keep the form short by asking for only the most necessary information - this reduces friction and makes it more likely people will complete it. These small adjustments can have a big impact on both the number and quality of leads you collect.
How can I make my email templates more engaging for different audience segments?
To create email templates that truly connect with your audience, focus on personalization. Tailor your emails based on factors like demographics, purchase history, or how engaged someone has been with your brand. This could mean using custom greetings, incorporating dynamic content that speaks directly to each group, or crafting messages that align with their specific interests and behaviors.
On top of that, make it a habit to test and tweak your emails regularly. This helps you fine-tune your content to deliver more meaningful, relevant interactions. When your emails resonate with each segment, you’ll see stronger engagement and build deeper connections with your audience.
Related Blog Posts
Get new content delivered straight to your inbox

The Response
Updates on the Reform platform, insights on optimizing conversion rates, and tips to craft forms that convert.


Drive real results with form optimizations
Tested across hundreds of experiments, our strategies deliver a 215% lift in qualified leads for B2B and SaaS companies.
