
.webp)
Do Not Sell or Share Link: Form Checklist


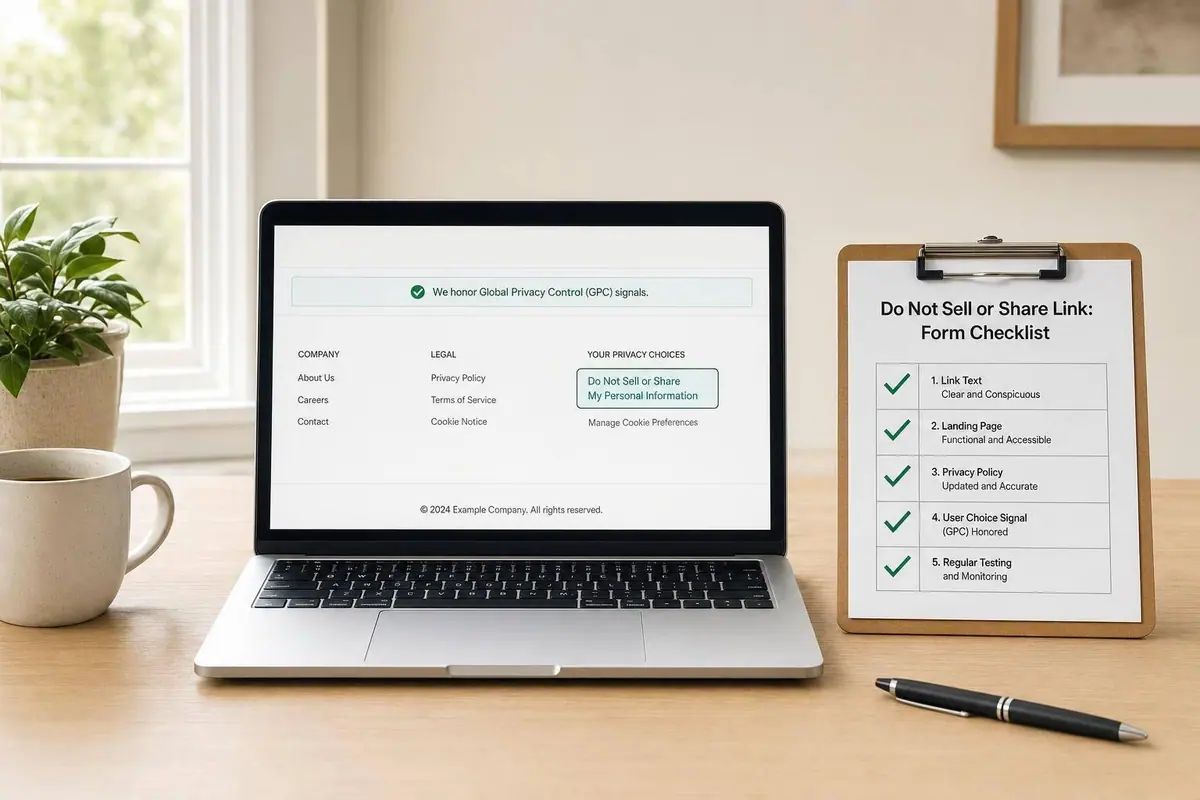
If you sell or share personal information, your opt-out link must be easy to find, easy to use, and processed within 15 business days.
Here’s the short version: I need to place the “Do Not Sell or Share My Personal Information” or “Your Privacy Choices” link on the homepage and on any page where personal information is collected. I also need to make sure it works on mobile, stays visible in multi-step forms, honors Global Privacy Control (GPC), and shows “Opt-Out Request Honored” when that signal is processed as of January 1, 2026.
At a glance, this checklist comes down to four things:
- Place the link where people can see it
- Keep the opt-out path short and clear
- Route requests to the right team and suppress sharing
- Log each request and review the setup on a schedule
A few rules matter most:
- Exact link text matters
- No account creation can be required
- No extra identity checks can be required for the opt-out request
- Processing deadline: 15 business days
- No asking the person to opt back in for 12 months
If I use embedded forms, lead forms, ad pixels, or third-party trackers, this is not just a footer issue. The form flow itself can trigger the rule.
The rest of the article walks through placement, mobile checks, request handling, GPC response, suppression, and audit logs in a simple step-by-step way.
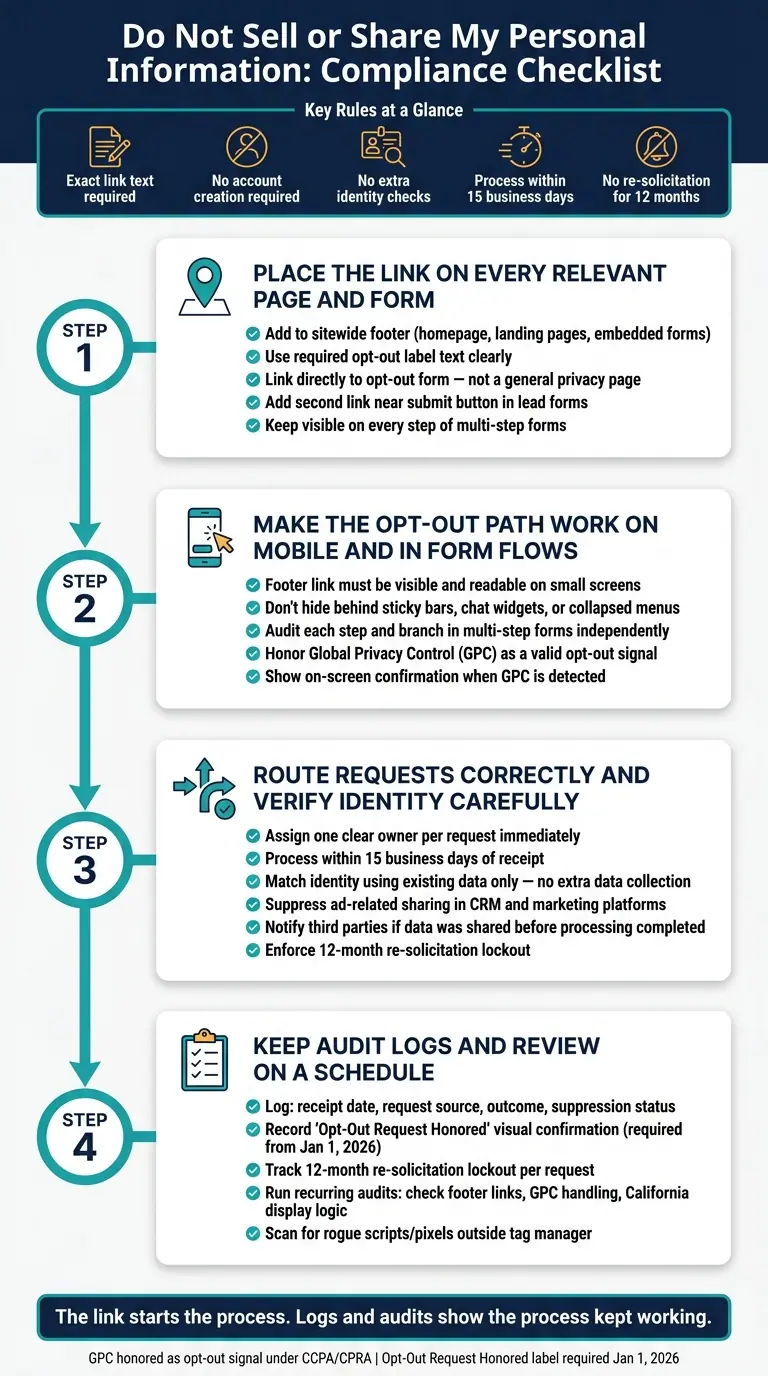
Do Not Sell or Share My Personal Information: Compliance Checklist
Checklist 1: Place the link on every relevant page and form
Start with placement, then check form visibility. Put the link in your sitewide footer and on every page that collects personal information.
Sitewide footer placement across homepages, landing pages, and embedded forms
Your sitewide footer is the starting point. It should include the opt-out link on homepages, landing page forms, and other pages that collect personal information. If a page has an embedded form, show the link near the form or inside the form’s privacy text so people can spot it right where data is being collected.
Use clear link text and point it to the opt-out page
Use the required opt-out label, and if you use a shorter version, make sure it’s just as clear. Keep the wording simple. People should understand it at a glance without having to guess what it means.
Send the link straight to the opt-out form or the opt-out section, not to a general privacy page.
Add a link near data collection points within forms
For high-conversion lead forms, add a second opt-out link near the submit button or in the form’s privacy text. The link should appear before submission and at the point of collection.
In Reform multi-step forms, keep the link visible on every step, not only on the last screen.
Once the link appears everywhere someone can submit data, test it on mobile and across multi-step flows.
sbb-itb-5f36581
Checklist 2: Make the opt-out path work on mobile and in form flows
Next, check that the opt-out path works on mobile and across every form path.
Keep the link visible on mobile layouts
Mobile UI can hide the link fast. Keep it visible in the footer or in the form text. Don’t tuck it behind sticky bars, chat widgets, or collapsed menus.
A few things to check on mobile:
- The footer link stays visible and easy to read on small screens
CCPA/CPRA rules require opt-out notices to appear in a readable format on smaller screens.
Mobile visibility is just one place where things can fail. You also need to check every step and every branch.
Maintain access through multi-step and conditional form flows
When a form loads one step at a time, privacy text from step one often doesn’t carry over. Conditional logic can drop that text too. If a branch sends someone down a different path, the link may never show up.
In Reform multi-step forms, audit each step and branch on its own. Each route needs the link before submission. Don’t assume one step covers the rest. Each route needs its own visible link.
Keep the opt-out path short, clear, and available on every step and branch. A persistent footer is a practical way to keep it accessible across the full flow.
Test how the site responds to browser-based privacy signals
Visible links cover manual opt-outs. GPC covers signal-based opt-outs. California treats GPC as a valid opt-out signal.
When GPC is on, block sale/share tracking on its own and confirm the opt-out on screen. If those scripts still fire, the site is not honoring GPC. A broken GPC response is a CCPA compliance issue.
Once the link and signal work, verify routing, suppression, and logging downstream.
Checklist 3: Route requests correctly and verify identity carefully
The next step is internal processing: each opt-out needs one clear owner and one suppression workflow.
Send requests to the right team and system
Every opt-out request needs a clear owner the moment it arrives. Route it at once to the right privacy or legal workflow based on the request type and the region it came from. If that handoff is messy, requests can sit in inboxes and miss deadlines.
Process each request within 15 business days of receipt. Track status so every request has a timestamp, an assignee, and a completion record. Pass request metadata into your CRM or ticketing system.
Once routed, process the request using only the data already tied to the consumer record.
Verify identity without collecting extra data
Do not require identity verification. Match the request to records already on file, such as an email address, and collect no extra data. Use only the identifiers you already have on file to match the person to your suppression list, and use it only to match and suppress the record.
That means no extra forms, no extra ID checks, and no digging for more personal details. Keep it tight: match the request, suppress the record, and move on.
Then push the opt-out status into all systems that share or use the data.
Set up form routing and suppression rules
Processing the request is only half the job. The other half is making sure downstream systems stop sharing data.
Once an opt-out is confirmed:
- Ad-related sharing must be suppressed
- CRM and marketing platforms must be updated
- The business cannot ask the consumer to opt back in for at least 12 months
If personal information is sold or shared after the request is received but before it is fully processed, the business must notify those third-party recipients that the consumer has opted out and that further sale or sharing is prohibited.
Use routing and integrations to pass opt-out status into CRM and marketing tools so suppression happens automatically.
Checklist 4: Keep audit logs and review the setup on a schedule
After routing and suppression, the next step is simple: write down what happened and check the setup on a set schedule.
Log each request, response, and downstream update
Suppression only holds up if you can show that it ran. For each opt-out request, record the receipt date, the request source, and the outcome. Note whether suppression was applied and, if personal information was sold or shared before the request was processed, whether third parties were told to stop further sale or sharing.
Your logs should also show that no extra data was collected during matching. And if automated signals were processed, the record needs to reflect the required visual confirmation shown to the user, including the phrase "Opt-Out Request Honored" starting January 1, 2026. Track the 12-month re-solicitation lockout too.
In plain English, the log should be complete enough to show:
- when the request came in
- what action was taken
- what changed downstream
Once the log format is locked in, move from recordkeeping to routine checks on the live site.
Audit link visibility, form behavior, and data flows on a set schedule
Run reviews on a recurring schedule. Check that the Do Not Sell or Share link still appears in the footer across all site pages, landing pages, and embedded forms - the same placements covered in Checklist 1. Test California display logic and GPC handling from a California IP and a GPC-enabled browser.
Then confirm that sale/share tracking is suppressed when GPC is active. Also look for scripts or pixels sitting outside your tag manager. Those can slip past suppression rules and keep firing anyway.
Use the record to make sure the full flow still works over time.
Conclusion: The Do Not Sell or Share form checklist at a glance
The link starts the process. Logs and audits show that the process kept working.
FAQs
Who needs this opt-out link?
You need a Do Not Sell or Share My Personal Information link if your business collects personal information and uses it in ways the law treats as selling or sharing. That includes cross-context behavioral advertising, retargeting, and lookalike modeling.
Under state privacy laws like the CCPA, this applies when you share personal data with third parties for targeted advertising. And yes, that can include identifiers such as cookies.
Does GPC replace the link?
No. Global Privacy Control (GPC) does not replace the Do Not Sell or Share My Personal Information link.
A business still has to do both:
- Provide the Do Not Sell or Share My Personal Information link
- Honor GPC signals as a valid opt-out request
GPC is an automated, user-enabled way for people to opt out. But the link still needs to be there as a separate path for consumers to use their rights.
What should I log for each request?
For every Do Not Sell or Share request, keep a precise, tamper-evident audit log. Include the Request ID, intake source, verification method, date received, systems updated, opt-out timestamp, and confirmation that the user was removed from the relevant ad audiences.
If you notify enrichment providers or other vendors, log their acknowledgment as well. Encrypt the logs and store them securely in case a regulator asks to review them.
Related Blog Posts
Get new content delivered straight to your inbox

The Response
Updates on the Reform platform, insights on optimizing conversion rates, and tips to craft forms that convert.




Drive real results with form optimizations
Tested across hundreds of experiments, our strategies deliver a 215% lift in qualified leads for B2B and SaaS companies.
