
.webp)
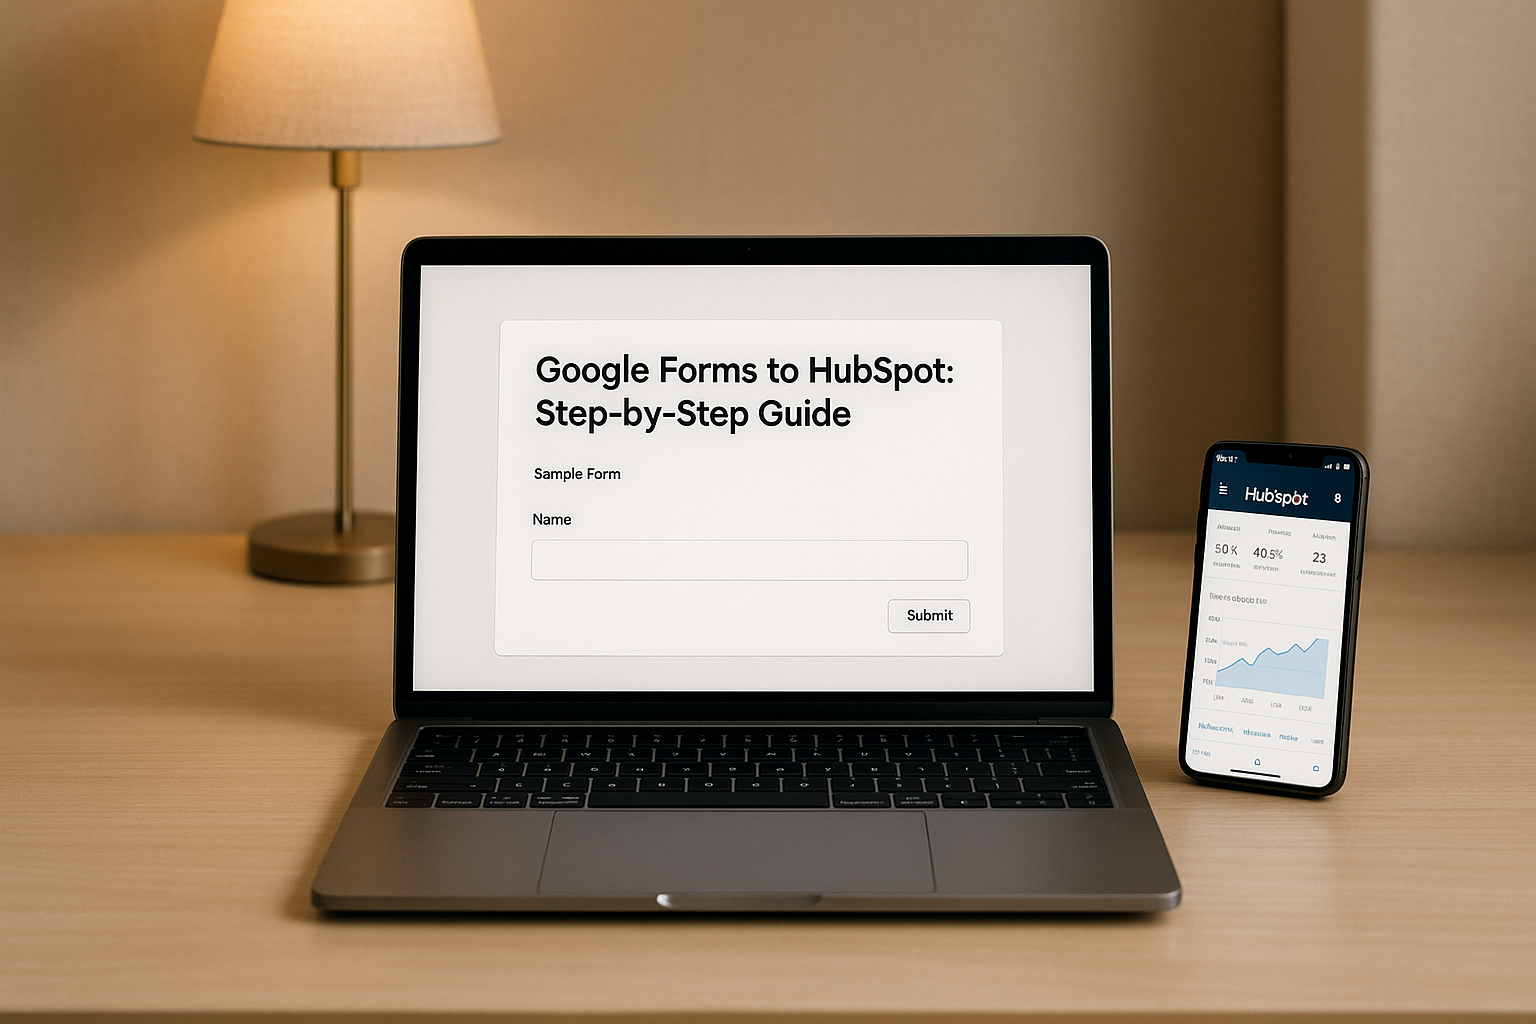
Google Forms to HubSpot: Step-by-Step Guide


Want to connect Google Forms to HubSpot without any technical headaches? Here's the quick answer: Use tools like Zapier or HubSpot’s "Form to HubSpot" add-on to automate data transfer, streamline lead management, and improve response times. This integration ensures your form submissions automatically create or update HubSpot contact records, trigger workflows, and assign leads to the right team members.
Key Steps:
- Set Up Permissions: Ensure you have Super Admin access in HubSpot and a Professional-tier plan for advanced workflows.
- Prepare Google Forms:
- Enable email collection (critical for contact mapping).
- Link your form to Google Sheets for automation.
- Use clear labels for fields to match HubSpot properties.
- Map Fields Accurately: Match form questions (like "Name" or "Email") to corresponding HubSpot fields. Create custom properties for unique data points.
- Automate with Tools: Use Zapier or similar platforms to connect Google Forms to HubSpot. Set triggers (form submission) and actions (create/update contact).
- Test Thoroughly: Submit test responses to ensure data flows correctly and workflows execute as expected.
- Monitor and Maintain: Regularly check for errors, update field mappings, and clean your database to avoid duplicates or incorrect entries.
Why it matters: Manual data entry slows down your team and increases the risk of errors. Automating this process saves time, improves lead follow-up speed, and ensures your CRM stays organized. Want better results? Consider tools like Reform for advanced forms that reduce drop-offs and improve data quality.
Follow these steps to simplify your workflow and make the most out of your Google Forms and HubSpot integration.
How to connect Google Forms to HubSpot - Easy Integration
Requirements and Setup Checklist
Before starting, ensure you have the right permissions and properly configure both platforms to enable smooth data transfer.
HubSpot Account Requirements
To set up the integration, you'll need Super Admin privileges in HubSpot. This allows you to create custom properties, set up workflows, and map fields. If you're part of a team account, ask your account owner to grant you Super Admin access.
Decide which HubSpot objects you plan to create or update. Most integrations with Google Forms focus on contact records, but depending on your form's purpose, you may also want to create deals, tickets, or company records. For instance, a form for requesting a product demo might create both a contact record and a deal, while a support inquiry form could generate a contact and a ticket.
Additionally, check your HubSpot subscription. Paid plans at the Professional tier or higher are required for access to custom workflows and advanced automation features.
Google Forms Setup
Once HubSpot is ready, adjust your Google Form settings accordingly.
- Collect email addresses: This option is essential and can be enabled under the settings gear icon in your form. It ensures that every submission includes an email field, which HubSpot uses as the primary identifier for contacts. Without this, the integration won't work properly for creating or updating records.
- Link to Google Sheets: Use the "Responses" tab in Google Forms to connect your form to a Google Sheets file. This spreadsheet acts as the data source for automation tools.
- Design clear form fields: Make sure your form fields are labeled in a way that aligns with HubSpot properties. Avoid generic labels like "Other" and use descriptive ones, such as "Company Size" or "Budget Range", to ensure they map correctly to HubSpot fields.
Data Mapping and Compliance
With your form set up, plan how data will flow into HubSpot and ensure compliance with data protection laws.
- Field mapping: Document which Google Forms questions correspond to specific HubSpot properties. This step ensures accurate data mapping and avoids confusion during the setup process.
- Data privacy: If you're using automation tools like Zapier, be aware that these tools may access all data from your Google Form - even if only some fields are mapped to HubSpot. To limit risks, follow the principle of data minimization, transferring only the data necessary for the intended purpose and for which you have obtained consent.
- Consent and transparency: Include a clear checkbox in your Google Form for email marketing consent and link to your privacy policy. Be specific about how you'll use the data. HubSpot offers tools like cookie consent banners, privacy policy generators, and user consent logs to help manage compliance.
- Legal responsibilities: Businesses must comply with all applicable data protection laws. This includes providing clear notices, obtaining required consents, and respecting opt-out preferences. Make sure your form links to your privacy policy and explains how the data will be used.
Finally, test your setup by submitting sample responses. Verify that all fields are captured correctly and that the integration with Google Sheets works as expected.
Step-by-Step Connection Using an Automation Tool
Connecting Google Forms to HubSpot using an automation tool is a streamlined way to handle data without diving into technical complexities. Platforms like Zapier, Make, or Relay.app simplify the process, allowing you to configure workflows with ease.
Setting Up the Automation
Start by choosing Google Forms as the trigger application. This step ensures the automation tool monitors your form for new submissions. You'll need to authenticate your Google account, granting the platform access to your forms and their linked Google Sheets.
Next, select the specific form you want to connect from your list of available forms. Most tools provide a preview of the form's structure, so you can confirm you're working with the right one.
Then, set HubSpot as the action application. Log in to your HubSpot account and authenticate it within the automation platform. For most integrations, the action you'll configure is "Create or Update Contact" - a common choice for syncing form data.
Once the trigger and action are set, proceed to map each form field to its corresponding HubSpot property.
Mapping Google Forms Fields to HubSpot Properties
Field mapping is a critical step that ensures data flows seamlessly between Google Forms and HubSpot. Accuracy here is key to maintaining clean and reliable contact records.
- Email Field: Map the email question from your Google Form to HubSpot's "Email" property. This field acts as the unique identifier, helping HubSpot decide whether to create a new contact or update an existing one.
- Standard Fields: Match other common fields like "First Name" to HubSpot's "First Name" property, "Company" to "Company Name", and "Phone" to "Phone Number."
- Custom Fields: If your form includes unique questions like "Budget Range" or "Industry", you may need to create custom properties in HubSpot or map them to existing dropdown properties.
Additionally, you can assign contact owners based on your lead routing rules. For instance:
- Assign all new contacts to a specific sales rep.
- Distribute leads evenly among team members using a round-robin method.
- Use conditional logic to assign leads based on form responses, such as directing enterprise leads to senior sales reps.
Finally, set the lifecycle stage for new contacts. Most submissions should be marked as "Lead" or "Marketing Qualified Lead", depending on your qualification process. This helps your team quickly identify where each contact fits in your sales funnel.
After mapping, it's crucial to test the setup to ensure everything is functioning as intended.
Testing and Activating the Workflow
Run a test by submitting a sample response with a new email address. Check HubSpot to confirm that a new contact has been created with all fields mapped correctly. Pay special attention to formatting for fields like phone numbers, dropdowns, and text entries.
If you've added extra actions - like sending automated follow-up emails, creating tasks, or generating deals - test those as well. For workflows with conditional logic, try submitting different responses to ensure the logic behaves as expected.
Once you're satisfied that everything is working, activate your automation workflow. Most automation tools require you to manually turn on or publish workflows after testing. This ensures incomplete setups don't process live submissions prematurely.
"Before fully implementing the integration, test it to ensure that data is syncing correctly and that actions are being executed as expected. Verify that form responses are accurately reflected in HubSpot." - Klamp.io
After activation, keep an eye on the logs for any errors. Automation platforms typically provide detailed logs that show successful data transfers and highlight any failed attempts. Regularly monitoring these logs helps you quickly identify and resolve issues, ensuring your workflow runs smoothly.
Advanced Mapping and Data Quality
Once you've set up the basic connection between Google Forms and HubSpot, the next step is to focus on improving data quality. Why? Because the quality of your data directly impacts how effectively your CRM performs. Poor data can mess up sales processes, skew reports, and create unnecessary headaches for your team. By using advanced mapping techniques, you can keep your CRM accurate and reliable, ensuring it remains a powerful tool for your business.
Custom Properties and Picklists
HubSpot’s default properties are great for standard details, but most businesses need to track more than just the basics. That’s where custom properties come in. They let you align Google Forms data with fields in HubSpot that are tailored to your specific needs, rather than cramming information into mismatched categories.
For example, single-line text properties are perfect for short details like job titles or referral sources. Multi-checkbox properties, on the other hand, work well for scenarios where respondents can select multiple options, like choosing several marketing channels they’re interested in. To avoid confusion, always use clear and consistent internal names for these properties.
If you’re mapping data to existing picklist properties in HubSpot, make sure the options in your Google Form match HubSpot’s values exactly. If they don’t, use transformation tools during the sync process to align them.
Data Validation and Normalization
Raw form data often needs some cleanup before it’s ready for your CRM. Validation and normalization processes can help you avoid data pollution and make your workflows smoother.
Start by standardizing critical fields like emails, phone numbers, and text formatting. For email addresses, don’t just check for an "@" symbol - use your automation platform to ensure they’re properly formatted and flag disposable or fake addresses. For phone numbers, standardize them into a consistent format, such as "+1-555-123-4567" for U.S. numbers. Also, trim unnecessary spaces and standardize the text case across entries.
Geographic data can be another trouble spot. For instance, convert abbreviations like "NY" into "New York" for consistency. Use conditional logic in your automation tool to handle tricky cases - if someone enters "N/A", you can either assign a default value or leave the field blank. These steps not only clean your data but also improve the accuracy of source tracking, which is covered next.
Source Tracking and Attribution
Knowing where your leads come from is essential for refining your marketing strategies and giving your sales team better insights. Source tracking captures both explicit details, like UTM parameters, and implicit information from form submissions.
If your Google Form is accessed via tracked links, your automation tool can pull UTM parameters from the referrer data and map them to HubSpot’s source tracking fields. When UTM parameters aren’t available, you can set a static value that identifies the form’s purpose, such as "2024 Webinar Registration" or "Product Demo Request."
You can also incorporate lead scoring into this process by asking qualifying questions about budget, timeline, or decision-making authority. For instance, a lead with a budget over $10,000 and a timeline of "within 3 months" might receive a higher score than someone who’s "just researching."
If you’re running campaigns across multiple channels, consider creating custom source hierarchies to categorize leads more effectively. This approach simplifies ROI tracking and ensures leads are assigned correctly. Adding a timestamp property to record the exact time of form submission in your local timezone can also be incredibly useful. It helps with time-sensitive follow-ups and gives you insights into submission patterns throughout the day.
sbb-itb-5f36581
Troubleshooting and Maintenance
Even the best integrations can run into problems. Authentication tokens might expire, form fields could change, or data formatting issues may pop up. To keep your systems running smoothly, it’s important to quickly identify and resolve these common hiccups while sticking to regular maintenance routines. These troubleshooting steps also tie into strategies for proactive monitoring, which we’ll explore later.
Fixing Common Errors
Authentication and permission issues are some of the most frequent problems. If your automation suddenly stops syncing data, the first thing to check is whether your authentication tokens are still valid. Tokens often expire quietly, leading to failures until refreshed. Look for error messages like "401 Unauthorized" or "403 Forbidden" in your automation logs - these are clear signs that re-authentication is required.
Missing email mapping errors can disrupt workflows, especially since HubSpot needs an email address to create or update contacts. If your Google Form isn’t set up to collect email addresses, or if the mapping between the form and HubSpot breaks, submissions may fail or create incomplete records. Always verify email field mapping as a first step when troubleshooting sync problems.
Data type mismatches can cause subtle yet ongoing issues. For example, if someone enters "25-30" in an age field mapped to a numeric property in HubSpot, that submission will fail. Similarly, phone numbers with extensions or varied formats can create problems. Applying text transformation rules to standardize data before syncing can help avoid these issues.
Rate limiting errors occur when too many requests are sent to HubSpot’s API in a short period. If you’re processing large batches of form submissions, these limits can kick in. To resolve this, add delays between API calls or process the data in smaller chunks.
Debugging and Testing
Once you’ve addressed common errors, systematic debugging is key to maintaining stability. If your integration starts acting up, a step-by-step approach can save time. Start by reviewing your automation tool’s task history or logs. Platforms like Zapier, Make, or Microsoft Power Automate typically provide detailed logs that help pinpoint where a workflow failed and why.
Test with simple submissions to isolate problems. Use basic data like a name, email, and phone number without special characters or formatting. If this works, gradually introduce more complex data to identify where issues arise - whether it’s in field mappings or the data itself.
Regularly review field mappings, especially after making changes to your Google Form or HubSpot properties. A common mistake is assuming mappings remain static. If you add new form questions or adjust existing ones, update your automation settings accordingly. The same goes for changes to HubSpot properties or the addition of custom fields.
Monitor submission volumes and patterns to catch anomalies early. For instance, if your form usually gets around 50 submissions a day but suddenly drops significantly, it’s worth investigating. Many automation tools let you set up alerts to notify you of workflow failures or unexpected dips in submission volume.
Regular Monitoring and Data Hygiene
Staying on top of your integration’s performance requires consistent monitoring and attention to data quality. Schedule monthly audits to compare Google Form submissions with new contacts in HubSpot. Export recent responses and cross-check them to ensure all data is syncing correctly.
Deduplication becomes critical as your database grows. People may submit forms multiple times - intentionally or by accident - leading to duplicate contacts if your integration isn’t configured to handle this. Use HubSpot’s deduplication tools (typically based on email addresses) and review your database regularly to merge duplicates.
Update integration settings whenever you modify your forms. If you change or add form fields, make sure to update your automation mappings. A simple checklist can help your team ensure that every form update is followed by adjustments to mappings, sample data testing, and final functionality checks.
Focus on monitoring key data fields that are essential to your business processes. For example, if lead scoring depends on budget ranges, ensure these values are being captured and formatted correctly. Similarly, if your sales team relies on accurate phone numbers, audit recent submissions periodically to confirm consistency in formatting.
Finally, back up your automation configurations by documenting your field mappings and workflow settings. Since many automation platforms lack robust backup features, keeping a simple record - like a spreadsheet showing which Google Form fields map to which HubSpot properties - can be a lifesaver when troubleshooting or rebuilding workflows.
Set up weekly reports to track submissions, workflow errors, and data quality. A high-level summary, like a weekly email report, can help you spot and address issues before they disrupt your marketing or sales efforts.
Better Forms with Reform
When it comes to generating quality leads, advanced forms can make all the difference. While Google Forms is a solid option for basic data collection, it often falls short in converting visitors into qualified leads. That’s where Reform steps in, transforming your approach to forms by improving conversion rates and refining data quality before it even reaches HubSpot.
Improving Conversion Rates with Reform
Google Forms’ single-page layout can feel overwhelming, leading to incomplete submissions. Reform solves this problem with multi-step forms that break down complex questions into manageable sections. This not only reduces form abandonment but also encourages visitors to complete the process.
Reform also uses conditional routing to tailor the experience. For instance, if a visitor is interested in enterprise-level solutions, simpler questions like basic pricing can be skipped entirely. This personalized approach keeps users engaged and ensures they only see what’s relevant to them.
Another standout feature is abandoned submission tracking. Reform captures partial data from incomplete forms, giving you the chance to follow up with leads who showed initial interest. With fully customizable designs, you can also create forms that align with your brand, build trust, and ultimately boost conversions.
Better Data Accuracy and Protection
Accurate data is essential for effective CRM integration, and Reform delivers on this front. Its real-time email validation catches typos and invalid addresses before they enter your system. Additionally, Reform’s lead enrichment feature automatically fills in extra details - like job title, company size, and industry - without requiring respondents to complete lengthy forms. This results in more detailed and useful HubSpot contact records.
Reform also includes robust spam prevention, filtering out bot submissions and low-quality leads. This means your database stays clean, reducing the need for manual data cleanup and ensuring you’re working with reliable information.
Using Analytics for Optimization
Reform doesn’t just stop at collecting data - it helps you make it better. Its built-in analytics highlight where users drop off and which questions might be causing friction. This allows you to fine-tune your forms for better performance.
With A/B testing, you can experiment with different form designs or question arrangements to see what resonates most with your audience. Whether it’s reducing the number of questions or tweaking the visual design, these insights let you create forms that truly convert.
Reform’s analytics also integrate seamlessly with HubSpot, providing a complete view of the customer journey - from the moment a form is submitted to the final closed deal. This comprehensive visibility helps you identify the strategies and forms that are driving real results, ensuring your efforts translate into revenue. Reform isn’t just about collecting data - it’s about making every lead count.
Conclusion
Connecting Google Forms with HubSpot transforms scattered responses into well-structured, actionable lead data. The key lies in accurate field mapping and thorough testing to ensure everything runs smoothly. While automation tools handle much of the heavy lifting, your careful setup is what guarantees the quality of the data.
Once the integration is in place, ongoing management is essential. Regularly monitor submissions, double-check field mappings, and keep an eye on data quality. This proactive approach helps you catch and fix any issues before they escalate into time-consuming cleanup tasks.
If you're looking to take lead generation to the next level, consider upgrading to tools like Reform. With features such as multi-step forms, real-time email validation, and lead enrichment, Reform not only boosts conversion rates but also ensures your data remains accurate - all while working seamlessly with HubSpot.
FAQs
How do I ensure data privacy and compliance when connecting Google Forms to HubSpot?
To ensure data privacy and compliance when connecting Google Forms with HubSpot, it's essential to follow regulations like GDPR and CCPA. Start by including clear consent options in your forms - like checkboxes that explicitly ask for permission to collect and use data. HubSpot provides tools to help you meet these compliance needs with ease.
When transferring data, prioritize secure integration methods to protect sensitive information. Use encrypted workflows and trusted platforms to keep personal data safe during the process. HubSpot's security features, such as end-to-end encryption and advanced privacy controls, also play a key role in safeguarding your data while meeting legal requirements.
What common issues might occur when integrating Google Forms with HubSpot, and how can I fix them?
When linking Google Forms with HubSpot, a few hiccups might come up. Here’s what to watch for:
- OAuth token expiration: If this happens, you’ll need to re-authenticate the connection to get things back on track.
- Field mismatches: Make sure the fields in your Google Form match the related properties in HubSpot. Misaligned fields can cause data transfer issues.
- Permission errors: Check that your HubSpot user roles and permissions are set up properly to avoid access problems.
It’s also a good idea to test the form URL in a separate browser tab. This can help pinpoint any setup issues. Taking a moment to double-check your configurations can save you from headaches and ensure the integration runs smoothly.
How can advanced tools like Reform help improve form submissions and boost conversion rates compared to Google Forms?
Advanced tools like Reform are built to make forms work smarter, not harder. With features like multi-step forms, conditional routing, lead enrichment, and email validation, businesses can create forms that feel intuitive and engaging to users. These tools also help cut down on spam submissions and ensure you're capturing leads that actually matter.
Reform goes a step further with real-time analytics and customization options, giving businesses the power to tweak and improve their forms for stronger results. Unlike basic tools such as Google Forms, Reform prioritizes a smooth user experience, which can lead to higher conversion rates and more effective lead generation.
Related posts
Get new content delivered straight to your inbox

The Response
Updates on the Reform platform, insights on optimizing conversion rates, and tips to craft forms that convert.


Drive real results with form optimizations
Tested across hundreds of experiments, our strategies deliver a 215% lift in qualified leads for B2B and SaaS companies.
