
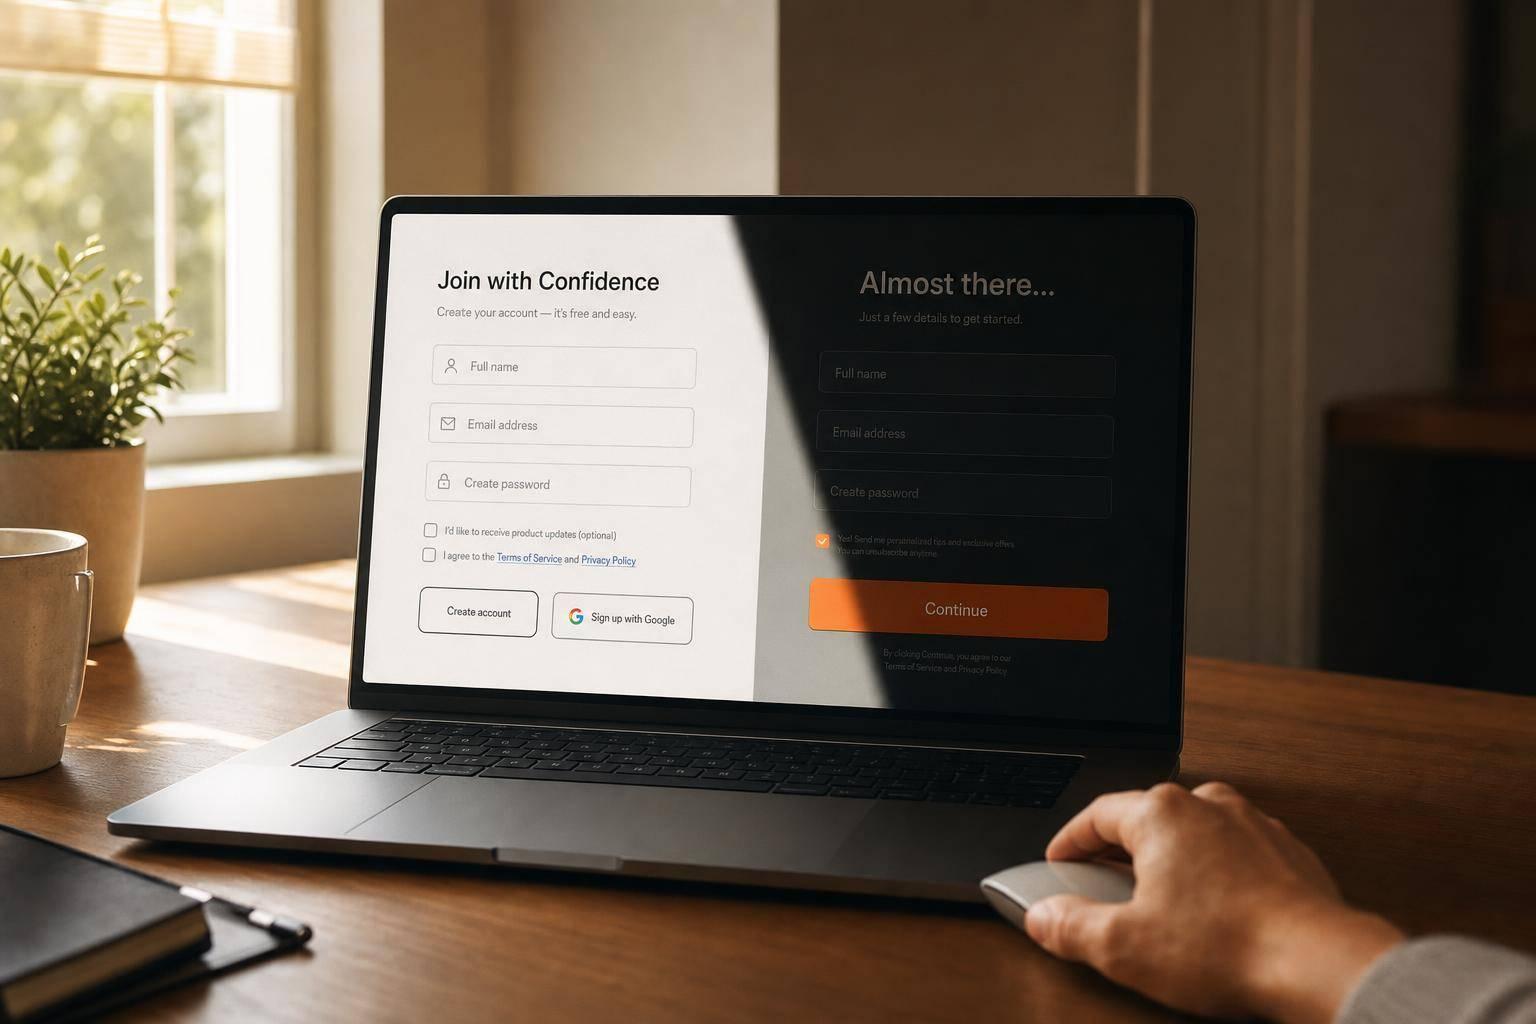
.webp)
Set Up Form Notifications in HubSpot


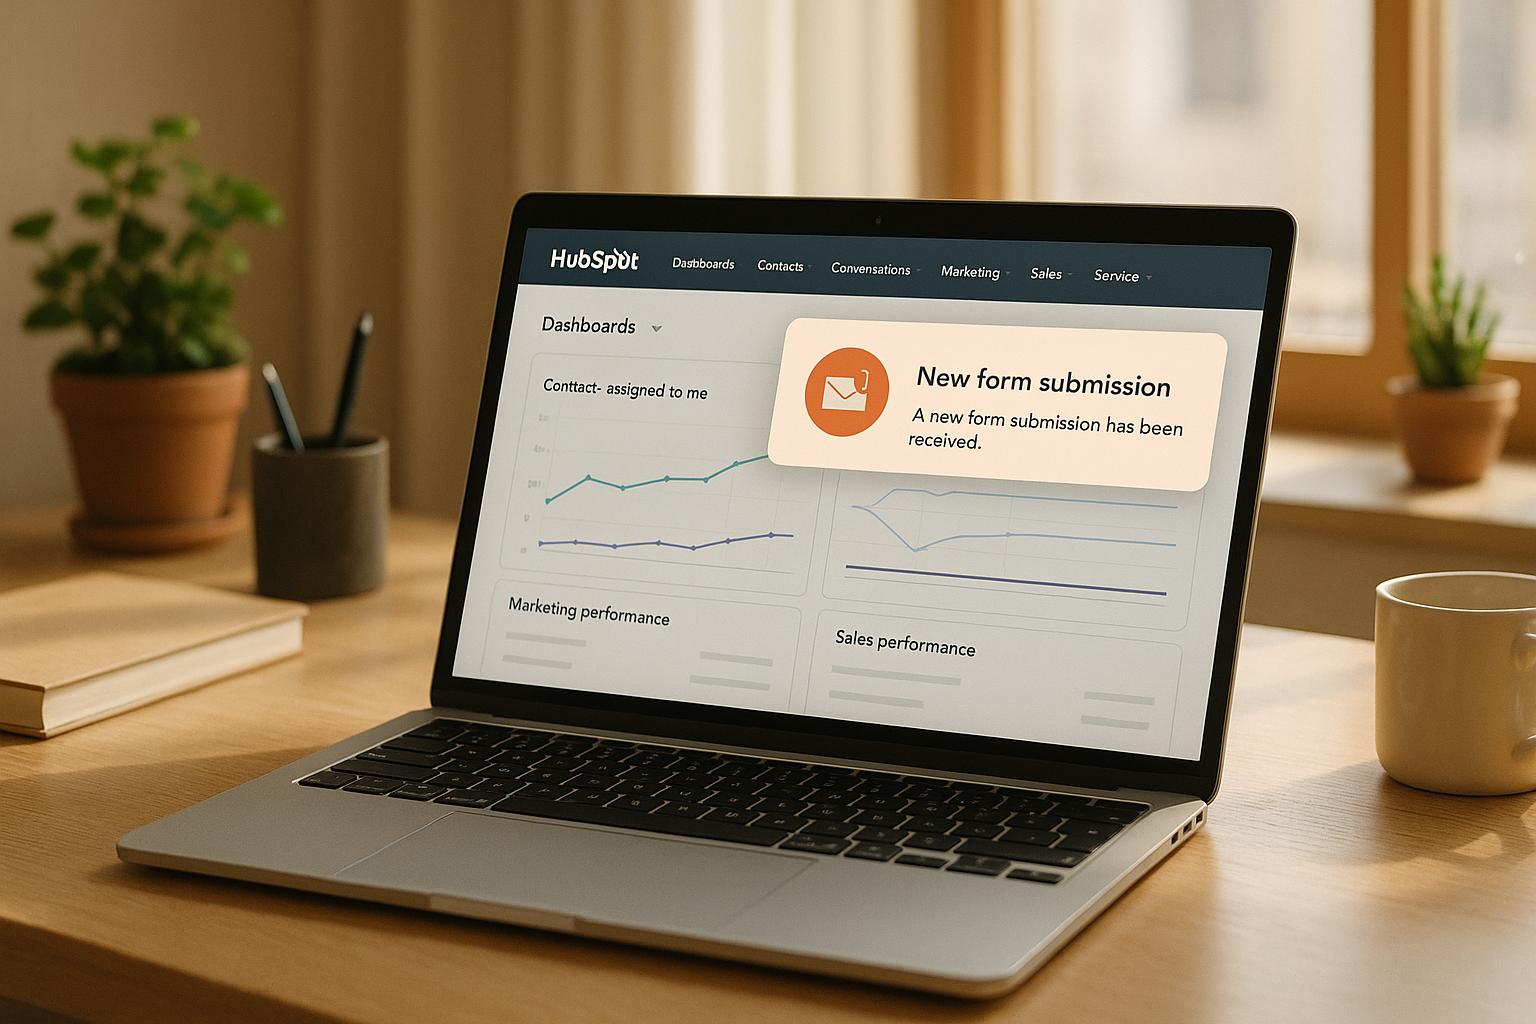
HubSpot form notifications ensure your team promptly responds to leads by sending email alerts whenever someone submits a form. For Professional and Enterprise users, you can expand functionality with tools like Slack or Microsoft Teams for real-time updates. Notifications can be tailored to specific team members, departments, or even customized for individual forms and landing pages, ensuring the right people are alerted every time.
Key Takeaways:
- Default Notifications: Assign contact owners or specific users/teams to receive alerts for all forms.
- Form-Specific Notifications: Customize alerts for individual forms or pages to fit team workflows.
- Notification Channels: Receive updates via email, desktop, mobile app, Slack, or Microsoft Teams.
- Troubleshooting: Fix issues by checking notification settings, active user accounts, and email filters.
- Reform Integration: Sync Reform forms with HubSpot for real-time submissions and advanced notification features like conditional routing and lead enrichment.
By fine-tuning notification settings, you can streamline lead management and ensure no opportunities are missed.
How to set up form submission notifications in HubSpot
How to Access HubSpot Forms
Getting started with HubSpot forms is straightforward. The Forms tool brings everything - creation and notification settings - into one place.
Finding the Forms Section
To access your forms, head over to Marketing > Lead Capture > Forms. This will take you to the Forms dashboard, where you can manage existing forms or click "Create form" to start building a new one. If you want to make changes to an existing form, just click on its name to open the editor.
Now, let’s dive into the interface and tools you’ll use to set up notifications.
Understanding the Forms Interface
Once you’re in the Forms dashboard, the editor becomes your workspace for configuring notifications. HubSpot provides two types of editors: the legacy builder and the updated builder. While they look a bit different, their core features work the same.
Inside the editor, you can fine-tune notification settings by navigating to the Options tab or the Submission Settings tab. If you’re looking for a quicker way, check the Notifications option in the left sidebar for direct access.
The layout is designed to be user-friendly, helping you quickly adjust notification recipients or troubleshoot any delivery problems without wasting time.
How to Set Up Notification Recipients
Make sure the right people - whether it's specific team members, entire departments, or the contact owner - get notified every time a form is submitted. HubSpot allows you to tailor notifications to fit your team's structure, ensuring no lead slips through the cracks.
Setting Default Recipients
Default recipients are your go-to setup for form notifications. They ensure someone always gets notified unless you specify otherwise. You can either notify the contact owner assigned to the lead or pick specific users and teams.
To set this up, go to Marketing > Forms. Hover over the form you want to configure and click Edit. If you want the assigned contact owner to receive notifications, simply check the box to notify them.
For broader coverage, use the Send submission notifications to dropdown. Here, you can select specific HubSpot users or teams by checking their names. This is especially useful for marketing teams that need multiple eyes on form submissions or for businesses where leads require immediate attention across departments.
One important note: only active HubSpot users in your account can receive notifications. If a user hasn’t accepted their invite or completed their setup, they won’t appear as an option and won’t receive notifications until their account is fully activated.
Setting Up Form-Specific Notifications
Sometimes, different forms or landing pages require unique notification setups. For example, you might want submissions from a pricing page form to go to sales, while newsletter signups only notify marketing. HubSpot makes it easy to override default settings for specific forms or pages.
To customize notifications for a specific form, edit the page containing the form and click on the form module. Then, check the box for Send form notifications to specified email addresses instead of the form defaults. This will unlock an Email Addresses dropdown where you can select which HubSpot users should receive notifications for submissions on that particular page.
This setup is ideal for workflows involving multiple teams. For instance, a webinar registration form can notify your events team, while a demo request form can alert your sales team - all without needing to create separate forms.
The best part? Customizing notifications for a single form doesn’t affect its default settings. If you reuse the form elsewhere, it will follow the original notification rules, giving you precise control while keeping your lead capture process consistent.
Next, learn how to fine-tune these settings for even better notification management.
How to Customize Notification Settings
Take control of your alerts with HubSpot's flexible notification settings. You can decide when, where, and how you receive updates about form submissions to stay informed without feeling overwhelmed.
Choosing Notification Channels
HubSpot offers multiple ways to receive form submission alerts, including email, desktop notifications, and the HubSpot mobile app. To set these up:
- Email & Desktop Notifications: Head to the Notifications tab in the left sidebar of your HubSpot settings. Under Email & Desktop, check the boxes for the notification types you want. If HubSpot is open, desktop alerts will pop up immediately.
- Mobile Notifications: Open the HubSpot app on your device, tap Menu in the top left corner, then tap the settings icon. Navigate to Notifications and enable Form submissions to receive push alerts.
For teams using Slack, you can integrate it with HubSpot to receive form submission alerts directly in specific Slack channels. To enable this, click the settings icon in HubSpot's top navigation bar. Go to Notifications in the left sidebar, then select the Other apps tab. Toggle on the Slack option and expand the topics to choose the notifications you want.
If your team uses Microsoft Teams, HubSpot also supports integration with this platform. You can send form submission notifications to specific users or channels, which can be especially helpful for teams working within Microsoft's ecosystem.
Managing Personal Notification Preferences
HubSpot makes it easy for each user to customize their notification settings to fit their workflow. Here's how to adjust your preferences:
- Click the settings icon in the top navigation bar.
- Go to Notifications in the left sidebar.
- Choose from the Email & Desktop, Other apps, or Mobile app tabs to fine-tune the alerts you want to receive.
For Enterprise accounts, Super Admins can set default notifications for team members and create custom profiles. To create a new notification profile, click Create notification profile, adjust the toggles for specific notification types, expand the groups to select topics, and then click Save.
Customizing notifications to match your role ensures you're getting the updates that matter most. For instance, sales reps might want instant alerts for high-value leads, while others may prefer a daily summary. Regularly reviewing and tweaking your settings can help you avoid unnecessary interruptions and stay focused on what’s important.
Next, we’ll cover how to resolve common notification issues.
sbb-itb-5f36581
How to Fix Notification Problems
Fine-tuning your notification setup is crucial to maintaining a smooth lead flow. Addressing notification hiccups quickly helps ensure timely responses and keeps your processes running efficiently.
Fixing Common Notification Errors
Notification issues often stem from misconfigured settings. Start by heading to the settings icon in your top navigation bar. From there, select Notifications in the left sidebar and confirm that form submission notifications are turned on.
Next, check your email filtering rules. Email providers often sort automated messages into spam or quarantine folders. Search for emails from "noreply@notifications.hubspot.com" to locate missing alerts. If you're using Microsoft Outlook, confirm these emails aren’t being redirected to a separate folder or quarantine area.
"If you aren't receiving form submission notifications, try the following troubleshooting steps: Check your form submission notification settings to ensure you have notifications turned on." - HubSpot Knowledge Base
Inactive user accounts can also block notifications. Verify that the designated recipient of form submissions is an active user in your HubSpot account. If a distribution list is being used, ensure none of its members have opted out of receiving these emails.
Did you recently update notification recipients? If so, remember to republish the form - changes won’t apply until this step is completed.
Also, confirm that the default email field is correctly filled out and tracking cookies are active. When using an embedded form on an external site, test its standalone page URL to pinpoint whether the issue lies with the form itself or the hosting page.
For more technical issues, such as whitelisting problems, collaborate with your IT team. Add HubSpot as a safe sender and whitelist HubSpot’s IP addresses to ensure reliable delivery of notifications.
Best Practices for Managing Notifications
Fixing errors is just one part of the equation. Adopting best practices can help you stay ahead of potential issues and ensure notifications are consistently delivered.
- Segment notifications by role: Different teams need different updates. For example, sales teams benefit from lead engagement alerts, while support teams prioritize updates on service tickets. Tailoring notifications to each team’s needs ensures relevance and avoids information overload.
- Set up custom triggers: Instead of receiving alerts for every submission, create triggers based on specific criteria like lead scores, company size, or form responses. This helps your team focus on what matters most.
- Conduct periodic audits: Regularly review your notification settings to remove unnecessary alerts and adjust triggers as your business evolves. Train your team to manage their preferences effectively, and test third-party integrations to ensure they’re functioning as expected.
For critical notifications, consider setting up backup methods to avoid missing essential alerts if your primary system encounters issues. Keeping your notification process streamlined and proactive will save time and improve efficiency across your teams.
How to Connect Reform Forms with HubSpot
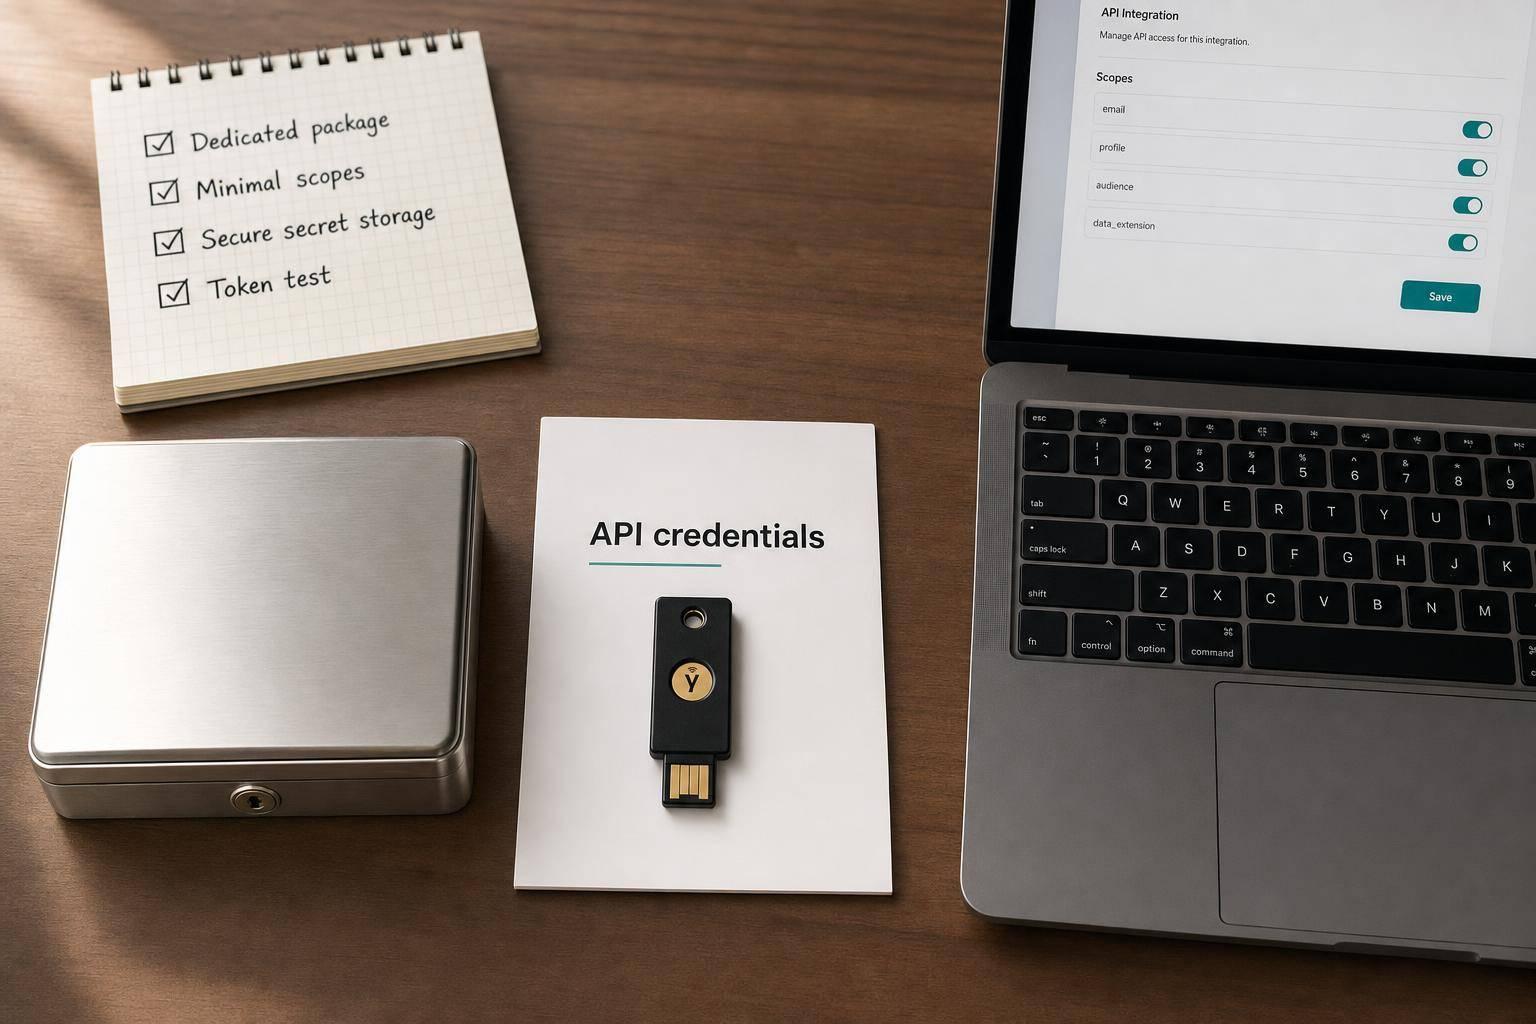
Integrating Reform forms with HubSpot allows you to sync submissions in real-time and trigger notifications without delay. To set this up, you'll need a Reform Pro plan, as the integration uses HubSpot's Forms API for seamless data syncing.
Start by logging into your Reform account. Head over to the Integrations section, select HubSpot, and click Add integration. Next, click Connect to HubSpot, enter your HubSpot credentials, and grant the necessary permissions to complete the connection.
Once connected, it's time to configure field mapping. Use the gear icon to match your Reform form blocks with the appropriate HubSpot properties. If you're handling sales-related data, you can also set up mappings for companies and deals. After verifying your configurations, click Save integration to activate the connection.
Pro Tip: Make sure to add reform.app to your HubSpot analytics tracking domain list. This prevents bot traffic from being flagged and ensures accurate data tracking.
With this integration in place, Reform forms will automatically sync contacts, companies, or deals into HubSpot. Even partial submissions are captured, so you won’t miss out on potential leads. Plus, your existing notification workflows in HubSpot will trigger as expected.
Improving Notifications with Reform
Once your forms are connected, Reform takes your notification process to the next level. Its conditional routing feature ensures that leads are sent to the right team members, making notifications more precise and actionable.
For example, you can set up logic to route high-value leads directly to your sales team while forwarding general inquiries to customer support. When these submissions hit HubSpot, they’ll trigger tailored notification workflows based on the criteria you’ve set.
Reform also enhances notifications with lead enrichment. This feature validates email addresses and enriches contact data before sending it to HubSpot. The result? Your team gets cleaner, more detailed information, saving time on manual data checks.
Additionally, spam prevention filters out low-quality submissions before they even reach HubSpot. By focusing on legitimate prospects, your team can avoid notification overload and prioritize genuine leads.
To keep everything running smoothly, regularly check the data flow between Reform and HubSpot. Visit the Integrations page in your Reform account whenever you need to update settings or reauthorize the connection. This simple maintenance step ensures your notification system stays efficient and reliable.
Conclusion
Enable form submissions and set up default recipients to ensure you capture every lead effectively. HubSpot's default settings are a great starting point, but you can tweak them for individual pages as needed.
Keep your notification system running smoothly by conducting regular tests and checking deliverability. Consistent testing and clear user preferences help prevent missed alerts and cut down on unnecessary noise.
If issues arise, review your settings, active accounts, or email filters to find the root cause. Addressing these promptly ensures your team stays on top of important notifications without interruptions.
For businesses using Reform forms integrated with HubSpot, the notification process becomes even more streamlined. Reform forms enhance HubSpot by automating detailed, filtered notifications. Features like conditional routing, lead enrichment, and spam prevention ensure your team only gets alerts about high-quality prospects. This targeted approach minimizes notification fatigue while improving response times to valuable leads. Together, these tools simplify notifications and improve lead management across your team.
By adopting strong notification practices, you can leverage HubSpot's updated forms editor for even better results. While older tools still work, using the latest features ensures smoother performance and prepares your system for the future.
Well-optimized notifications empower sales and marketing teams to respond quickly to prospects. Instead of constantly monitoring dashboards or worrying about missed opportunities, your team can focus on what truly matters - turning leads into customers. Fine-tuning your notifications leads to faster responses and better lead management, helping you close deals more efficiently.
FAQs
How do I set up real-time form submission notifications in HubSpot for my team?
To configure real-time notifications for form submissions in HubSpot, head over to the form settings and turn on email notifications for the relevant team members. Additionally, you can set up custom workflows to send alerts through email, SMS, or other channels triggered by specific actions.
Double-check that your team members have updated their notification preferences in their HubSpot profiles. This step helps make sure no one misses important updates about new submissions.
What should I do if I’m not receiving form submission notifications in HubSpot?
If you're not getting form submission notifications in HubSpot, the first step is to check your notification settings in your profile to make sure they're turned on. Then, double-check that notifications are enabled for the specific form you're working with.
Still having trouble? Try testing the form by opening its standalone URL in a different browser to confirm that submissions are going through properly. Also, don’t forget to check your spam or junk folder - sometimes notifications can end up there. Review any email filters you’ve set up to ensure they’re not accidentally blocking these messages. If emails are bouncing, you might need to tweak your email settings or reach out to your email provider for help.
How can integrating Reform forms with HubSpot improve form submission notifications?
Integrating Reform forms with HubSpot simplifies the way notifications are handled by syncing form submissions directly into HubSpot. This setup ensures your team gets instant alerts for new leads or inquiries, allowing for faster responses and smoother operations.
This connection helps businesses stay on top of lead information, tailor notification settings to their needs, and ensure quick follow-ups. The result? A more organized approach to managing leads and improving communication workflows.
Related posts
Get new content delivered straight to your inbox

The Response
Updates on the Reform platform, insights on optimizing conversion rates, and tips to craft forms that convert.


Drive real results with form optimizations
Tested across hundreds of experiments, our strategies deliver a 215% lift in qualified leads for B2B and SaaS companies.
