
.webp)
YouTube Lead Form Integration Checklist


YouTube lead forms simplify collecting contact information directly from video ads, eliminating the need for external landing pages. With pre-filled fields for logged-in users, they enhance form completion rates, making them a powerful tool for generating leads. This guide covers everything you need to know - from eligibility requirements and form creation to CRM integration and optimization.
Key Takeaways:
- Eligibility: Requires $50,000 lifetime ad spend or $1,000 individual spend with verification.
- Privacy Policy: A live URL is mandatory for compliance.
- Form Types: Choose between "Higher intent" (quality) or "More volume" (quantity).
- Data Capture: Options include manual CSV download, webhooks, or Google Ads API.
- Testing: Verify integration with test data to avoid errors.
- Optimization: Use short forms, qualifying questions, and real-time CRM sync for better results.
Whether you're aiming for B2B leads, webinar sign-ups, or email list growth, this step-by-step guide ensures you're ready to launch your campaign effectively.

YouTube Lead Form Integration: 5-Step Setup Process
Step 1: Pre-Integration Setup
Check Eligibility and Account Access
Before diving into creating your first YouTube lead form using powerful form templates, make sure your Google Ads account meets the necessary requirements. Google mandates a lifetime spend of over $50,000 USD to unlock lead forms for Video campaigns. If you don’t meet this threshold, accounts spending at least $1,000 USD individually (or $15,000 USD combined) can qualify through Google’s Advertiser verification program.
Your account also needs to maintain a strong compliance record and operate in an approved industry. Certain industries - like those involving sexual content, gambling, alcohol, healthcare, or politics - are strictly off-limits. Additionally, lead forms are restricted to first-party advertisers or agencies directly tied to the products or services being promoted. Affiliate networks and lead aggregators are not eligible.
You’ll need access to the "Campaigns" and "Assets" menus in Google Ads to create and manage lead form assets. If you’re using Display & Video 360 (DV360), ensure you have access to the "Insertion Orders" and "Line Item details" sections instead.
Once you’ve confirmed eligibility, the next step is ensuring your privacy compliance is in order.
Ensure Privacy Compliance
A valid privacy policy URL is non-negotiable - you won’t be able to save or serve a lead form without one. This link is automatically included at the end of your lead form, giving users clear insight into how their data will be used. Make sure your privacy policy is hosted on a live, easily accessible URL before starting the setup process.
It’s your responsibility to ensure that your data collection practices align with all relevant regulations, such as GDPR and CCPA. Only request the information you genuinely need - like a name, email, or phone number - to adhere to data minimization principles. Also, remember that using personal information for purposes beyond what users have explicitly agreed to is strictly prohibited.
sbb-itb-5f36581
Add Lead Form in Google Ads
Step 2: Create the Lead Form in Google Ads
Now that you've completed the pre-integration setup, it's time to create and verify your lead form in Google Ads. Here's how to do it step-by-step.
Build the Lead Form Asset
Start by logging into Google Ads and setting up a Video campaign with the goal set to Leads. Within the campaign settings, locate the "Lead form" section and click "Form" to open the editor.
When filling out the form, you'll need to add a headline (up to 30 characters), your business name, and a description (up to 200 characters). Make sure your headline is direct and action-driven - phrases like "Get Your Free Quote" tend to perform better than vague wording. The description should clearly communicate what users will gain by sharing their information.
Next, design the post-submission "Thank You" screen. This step involves creating a headline, a brief description, and a call-to-action (CTA) button. The CTA should align with the offer in your ad. For instance, if your ad promotes a free guide, the button should say "Download guide" rather than something generic like "Learn more."
Once your lead form asset is ready, move on to setting up the data fields.
Configure Form Fields
The next step is to decide what user information you want to collect. Google Ads allows you to include up to 10 form fields, pulling from standard options like Name, Email, Phone Number, City, and Zip Code. You can also add work-related fields, such as Company Name, Job Title, Work Email, or Work Phone Number.
However, it's important to keep the form simple by using multi-step designs where possible. As John Moran, Senior Client Strategist at Solutions 8, advises:
Think bare minimum in terms of what you really need
Too many fields can discourage potential leads, with research showing that excessive fields can lead to a drop-off rate of up to 80%. To improve lead quality, you can include qualifying questions, such as "What is your budget?" or "When do you plan to buy?" These can be tagged as "qualified" to help automate lead scoring.
You'll also need to choose an optimization setting: "More volume" (easier to complete) or "More qualified" (adds extra steps to filter for higher-intent leads). Many advertisers start with "More volume" and switch to "More qualified" if they begin receiving too many unqualified leads.
Preview and Test
Before finalizing, test your form to ensure it's working properly. Click "Send test data" to verify that everything is functioning as expected. Skipping this step can result in "Error state A", which may delay your campaign launch.
Once the test data is sent, confirm that your CRM or integration tool (like Zapier) has received the information. For the integration to work correctly, your system must return an HTTP 200 response. Any other response indicates a problem that needs fixing.
Keep in mind that YouTube lead forms are primarily designed for Android mobile devices and tablets. They typically don't appear on iOS devices or desktop browsers. Additionally, Google will review your lead form asset before your campaign goes live, so make sure to monitor the "review status" in your campaign settings.
| Integration State | What It Means |
|---|---|
| Success State | Data sent with HTTP 200 response |
| Error State A | Form saved without sending test data |
| Error State B | Data not sent |
| Error State C | Data sent with no response |
| Error State D | Data sent with incorrect response |
Step 3: Set Up Lead Data Capture
After creating your lead form in Google Ads, the next step is to determine how you'll collect and manage the submitted leads. This decision affects whether you'll handle leads manually or automate the process entirely.
Choose Your Capture Method
There are three primary ways to capture lead data from YouTube forms:
- Manual CSV Download: Export leads directly from the Google Ads asset table. Keep in mind, Google only retains this data for 30 days.
- Webhook Integration: Automatically sends lead information to your CRM in real time via an HTTP POST request.
- Google Ads API: A more technical option that requires developer resources but offers access to 60 days of lead data.
Here’s a breakdown of the pros, cons, and ideal use cases for each method:
| Method | Pros | Cons | Best Use Case |
|---|---|---|---|
| Manual CSV Download | No technical setup; free | Data expires after 30 days; manual effort; not real-time | Low-volume campaigns or initial testing |
| Webhook Integration | Real-time data transfer; fully automated; CRM sync | Requires webhook URL/Key; may need third-party tools like Zapier | High-volume lead generation with immediate follow-up needs |
| Google Ads API | Highly customizable; 60-day data retention | Developer resources required | Enterprise-level businesses with custom CRM setups |
For most businesses, webhook automation is the preferred choice. It eliminates manual work and ensures leads are delivered to your sales team instantly. This is crucial because delayed follow-ups can lead to a drop in prospect engagement.
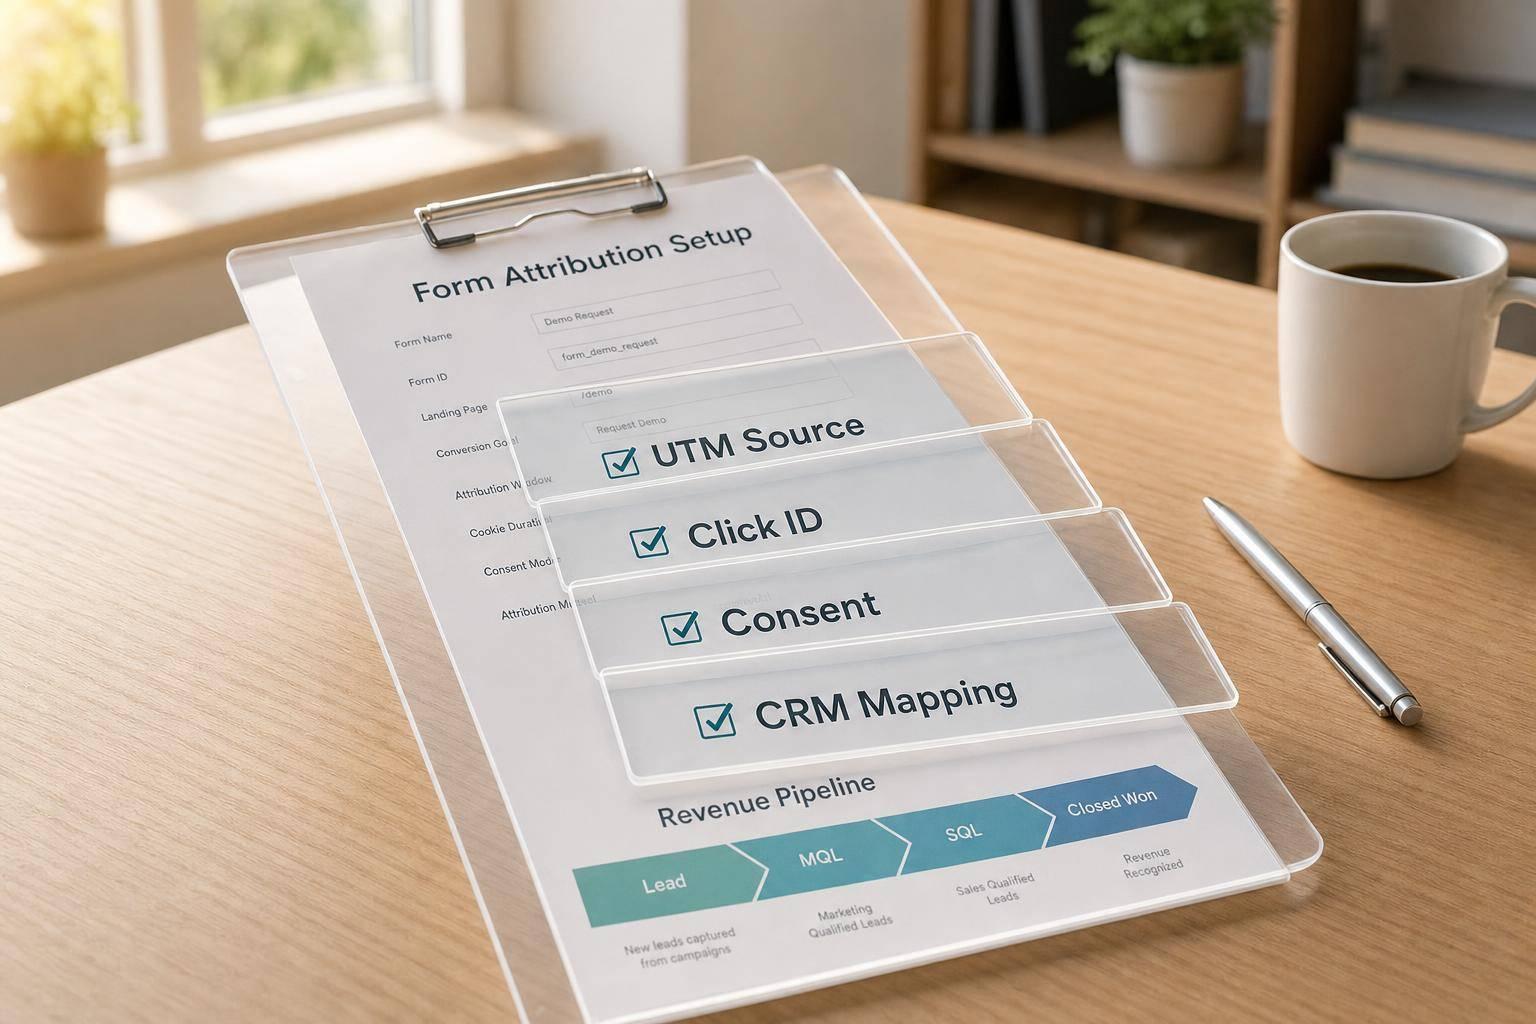
Connect Leads to Reform
To set up webhook automation with Reform, you’ll need two key components: a Webhook URL (the delivery path) and a Key (used to validate the leads). If you’re using tools like Zapier, it can generate these credentials for you.
Once you have your webhook credentials, navigate to the "Lead delivery" section in your YouTube lead form asset. Enter the Webhook URL and Key. Before launching your campaign, test the integration by clicking "Send test data." Your system must return an HTTP 200 response to confirm everything is working properly.
Reform processes lead data in real time and uses SHA-256 HMAC signatures to ensure secure and unaltered transmissions. Afterward, you can map YouTube form fields - like Name, Email, and Job Title - to corresponding fields in your CRM through Reform’s integration settings. This setup enriches your leads and ensures your sales team has all the data they need for effective follow-ups.
Step 4: Improve Lead Forms with Reform
Once you've set up lead data capture, it's time to refine the user experience. Beyond automated data collection through webhooks, integrating Reform forms into landing pages can enhance both engagement and the quality of the data you collect. These forms are especially useful for capturing more detailed information from users who click through video descriptions or seek additional details.
Add Reform Forms to Landing Pages
YouTube lead forms are great for quick data collection - usually just a name, email, and phone number. However, some prospects may want to share more context before connecting with your sales team. This is where Reform shines. With Reform's no-code builder, you can create branded forms tailored to your needs and embed them on dedicated landing pages or link them directly in your YouTube video descriptions.
For example, if your ad promises "Get Your Free Quote", make sure your landing page and form align with that message. Consistency is key. Reform also offers tools like conditional logic and lead enrichment, which can increase conversion rates by 25–40%, according to marketing benchmarks. These features make the process smoother and help capture higher-quality leads.
Apply Reform's Advanced Features
Reform’s lead enrichment feature automatically pulls company data from email addresses, allowing you to keep your forms short - just 3–5 fields. This minimizes effort for users and reduces cognitive load. Additionally, features like email validation can cut bounce rates by up to 40%, while spam prevention tools like reCAPTCHA v3 and IP blacklisting can eliminate up to 99% of spam submissions.
For longer forms, consider breaking them into multi-step sections with progress indicators, such as "Contact Info" and "Details", to make the process feel manageable. If you're targeting high-value leads, use conditional routing to direct prospects with larger budgets to a scheduling page, while guiding others to self-service resources. This tailored approach ensures every lead gets the appropriate level of attention.
Step 5: Test and Monitor Performance
Run End-to-End Tests
Before launching, submit a test lead and ensure all fields (up to 10) are correctly mapped in Reform's dashboard and through webhook payloads. This step helps confirm that data flows seamlessly.
Make sure automation triggers work as expected, and check that follow-up emails land in your inbox, not in the spam folder. If emails don't arrive, consider switching to SMTP. Test with invalid data to confirm that error messages display correctly. Also, test on both desktop and mobile devices - multi-column layouts can sometimes fail on mobile, leading to higher abandonment rates.
For ad campaigns, Google suggests a 14-day test period with a budget set at 10× your Target CPA. This allows the algorithm to collect enough data for optimization. During this time, monitor your account-level conversion tracking to ensure lead form submissions are recorded accurately in Google Ads. As Solutions 8 emphasizes:
No matter what you do, make sure you're tracking conversions
Once you've confirmed functionality through testing, shift your attention to monitoring performance metrics.
Track Lead Metrics
After successful testing, keep an eye on key metrics to maintain performance. Use Reform's real-time analytics to track form views (how many times the form loaded), submissions (completed leads), and conversion rate (submissions divided by views). These numbers indicate how engaging your form is and can highlight drop-off points. For example, if a specific field has a high abandonment rate, you might want to reword the question or split the form into multiple steps.
In addition to volume, focus on improving lead quality - the percentage of leads that meet your qualification criteria. For instance, a secondary-education client found that YouTube lead forms delivered leads 29% cheaper than Search ads. Segment your data by device, location, and traffic source to pinpoint which campaigns perform best. If you're using multiple videos, include at least five different creatives within an ad group to test which ones drive the highest-quality leads.
As your campaign progresses, gradually lower your Target CPA by 10% every one to two weeks, as long as Google continues to meet your goals and maintains steady impression rates.
Final Checklist
Before launching your YouTube lead form campaign, it's crucial to double-check every detail to ensure everything runs smoothly. Start by confirming that data fields are correctly mapped. Each field in your YouTube lead form should align with the corresponding field in Reform or your CRM. This step is essential to avoid data mismatches or loss. Use the "Send test data" button in Google Ads to verify that your destination system receives data correctly and that Google returns an HTTP 200 response.
Next, take steps to prevent spam. Reform's advanced validation tools can help screen out bot-generated entries and low-quality leads, ensuring your campaigns attract meaningful prospects. As Reform puts it:
At Reform, we understand that successful marketing isn't just about collecting leads - it's about collecting the right leads that convert.
Check your integration dashboard to confirm syncing is active. Then, perform an end-to-end test by submitting a test lead. Ensure the lead appears in your connected tools, whether that's Google Sheets, your CRM, or Reform's dashboard.
Finally, review error state codes (A–D) in Google Ads. If any errors are detected, inspect your webhook URL and connection settings immediately. Reform simplifies troubleshooting by automating data entry, organizing submissions, and enabling real-time updates. This allows your sales team to act on new leads without delays.
With these steps complete, you're all set to launch your campaign confidently.
FAQs
How do I know if my Google Ads account is eligible for YouTube lead forms?
Your Google Ads account may qualify for YouTube lead forms if it meets specific criteria. These include a total ad spend exceeding $50,000 USD, a solid history of responsible advertising, and adherence to Google's policies. Accounts with over $1,000 USD in ad spend per account or $15,000 USD across multiple accounts are also more likely to meet the requirements. Additionally, having a clear privacy policy and a strong compliance track record plays a key role in eligibility.
Which lead delivery option should I use for real-time CRM sync?
With the Real-Time Sync feature, you can instantly transfer data to your CRM using webhooks. This allows for immediate synchronization of leads, ensuring your system stays up-to-date without delays. By keeping everything in sync as it happens, you can manage leads more efficiently and respond faster when opportunities arise.
What’s the fastest way to improve lead quality without lowering conversions?
To improve lead quality without sacrificing conversions, try using multi-step forms with qualification questions at the start. This approach keeps the user experience seamless while increasing engagement, gathering better data, and ensuring leads are directed appropriately.
For an added layer of precision, incorporate real-time lead verification. This instantly checks contact details, filters out unqualified leads, and guarantees data accuracy. By combining these methods, you can elevate lead quality while keeping your conversion rates intact.
Related Blog Posts
Get new content delivered straight to your inbox

The Response
Updates on the Reform platform, insights on optimizing conversion rates, and tips to craft forms that convert.


Drive real results with form optimizations
Tested across hundreds of experiments, our strategies deliver a 215% lift in qualified leads for B2B and SaaS companies.
