

Form-to-CRM Email Follow-Up: No-Code Setup Guide


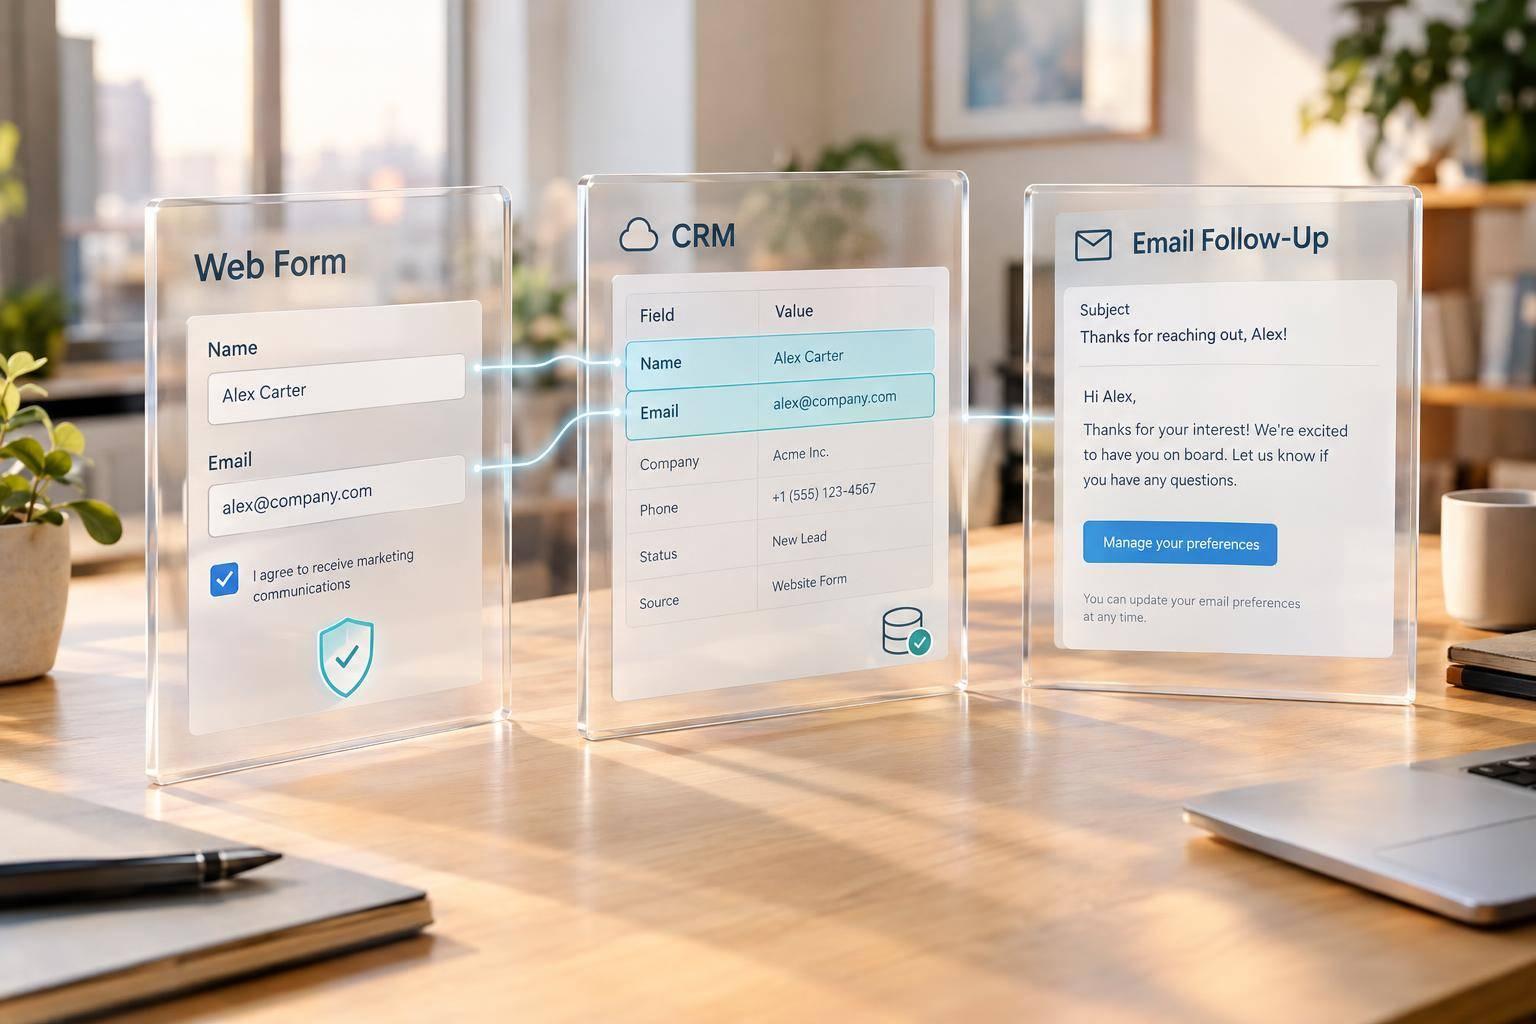
Connect Reform to your CRM without code in 3 steps: map fields, set follow-up rules, and test before launch. Use a supported integration or Zapier to create or update contacts by email, route qualified leads, and send the right follow-up.
The setup should cover:
- Data and permissions: Check account access and sending-domain settings. Map contact details, source, and consent records without overwriting protected values.
- Email rules: Keep acknowledgments, sales alerts, and marketing separate. A valid email address does not mean permission to send marketing.
- Repeat submissions: Prevent duplicate sends and set a nurture re-entry limit, such as once every 30 days.
- Testing and launch: Test new, existing, no-consent, and conditional-route leads. Check delivered emails and unsubscribe handling before enabling live enrollment.
After launch, monitor contact updates, routing, delivery, and consent checks - and pause sending if those checks fail.

Form-to-CRM Email Follow-Up Workflow
How to Build An Automated Email Series with Zapier & HubSpot Starter [No PRO Upgrades Required] 🔥
sbb-itb-5f36581
2. Map Form Fields and Connect Reform to Your CRM
Use the rules from the previous section to map each form answer to a CRM field.
Map Form Fields to CRM Properties
When creating high-converting lead forms, build a contact-mapping worksheet with each field’s internal name, accepted values, and overwrite rule. If no standard CRM property fits, create a custom one.
| Form field | CRM property | Data format | Required status | Workflow use |
|---|---|---|---|---|
| First name | First name | Text | Required | Personalize the acknowledgment and sales alert |
| Last name | Last name | Text | Required | Identify the contact |
| Work email | Valid email address | Required | Send follow-up | |
| Phone | Phone | International format with country code | Optional | Enable sales outreach or call routing |
| Company | Company name | Text | Optional | Associate the contact with an organization |
| Interest | Interest or product-interest custom property | Controlled value | Required on all leads or only on routed branches | Route to the relevant team or email sequence |
| Budget | Budget-range custom property | Controlled value | Required on all leads or only on routed branches | Prioritize or segment qualified leads |
| Consent | Consent or marketing-permission property | Boolean plus evidence fields | Required for marketing enrollment | Control marketing eligibility and retain consent evidence |
| UTM parameters | Corresponding source, medium, campaign, and term custom properties | Text: utm_source, utm_medium, utm_campaign, utm_term |
Hidden, optional | Preserve acquisition attribution |
| Form identifier | Form-name or submission-source custom property | Text | Hidden, required for reporting | Identify the originating form |
| Landing page | Landing-page URL custom property | URL | Hidden, optional | Preserve the page that generated the submission |
| Submission timestamp | Submission-date custom property | ISO timestamp or CRM-supported date/time | Hidden, required for auditability | Trigger recency-based workflows |
| Requested timeframe | Buying-timeframe custom property | Controlled value | Optional or used only on routed branches | Prioritize urgent requests |
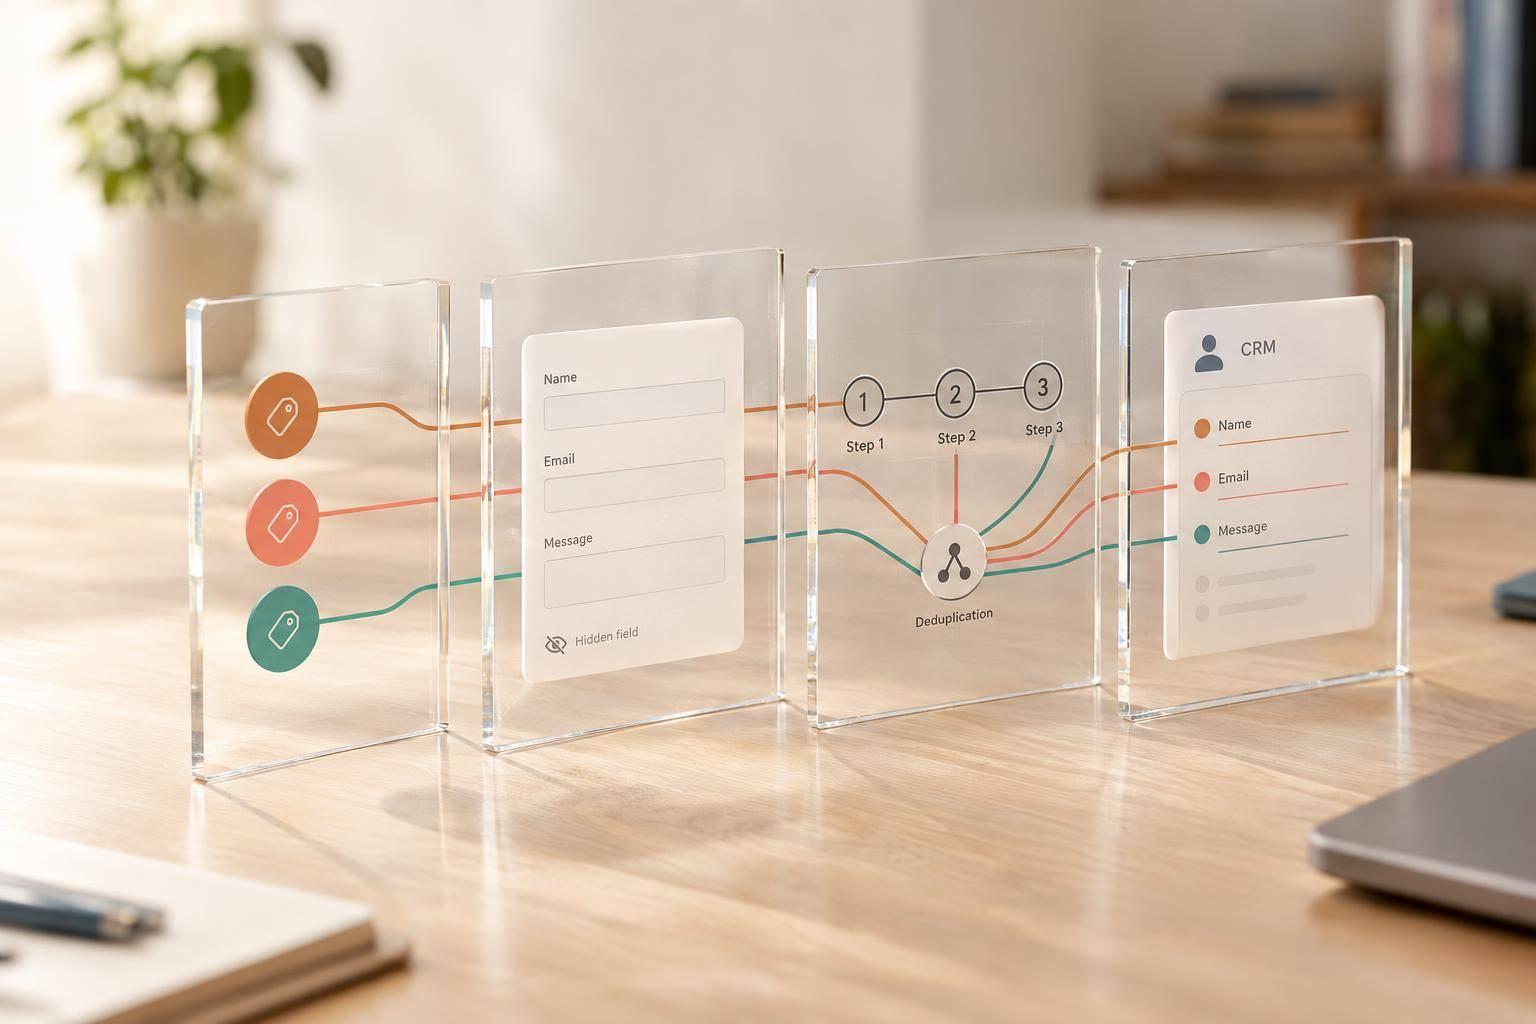
Keep hidden tracking fields separate from the questions customers see. For fields tied to a routed branch, populate them only when someone completes that path.
Store consent wording, source, and timestamp separately from subscription status.
Standardize Values and Protect Existing Data
Match dropdown values exactly to the values your CRM accepts. Store phone numbers with country codes and timestamps with an explicit time zone, following the integration’s required format. Display dates in en-US format, and map budget answers to an approved USD range.
Set an overwrite rule for every property. Ignore blanks for enrichment fields, and fill original-attribution properties only when they’re empty. Save new attribution in separate latest-source properties or submission records.
Don’t assume “create or update” protects existing values. Keep unsubscribe status and past consent evidence intact. A later checkbox must not silently reverse suppression.
Authorize the Connection and Set Contact Actions
Before choosing a supported direct connection or Zapier, check Reform’s available integrations and the requirements for your CRM, connector, and account plan. Grant only the permissions needed, select contacts as the target record type, and apply your field mappings and email-matching rule.
For Zapier, confirm that the Reform submission trigger includes hidden fields and metadata. Then use the CRM’s supported create-or-update action - or find the contact by email and conditionally create or update the record. Check that blank values won’t overwrite existing data, and keep production email enrollment disabled during testing.
Once the mapping is live, define which submissions trigger each follow-up path.
3. Set Follow-Up Triggers and Email Rules
Once fields are mapped, define which submissions start each follow-up path.
Set Enrollment and Repeat-Submission Rules
Trigger workflows from the specific form-submission event, not a general contact update. Require a valid email, a matched contact, and the consent or subscription status that the workflow needs. Store each processed submission ID to prevent duplicate sends.
Send one acknowledgment per valid submission, but limit nurture enrollment to once per contact every 30 days. Decide what happens when someone submits again: Does their active sequence stay unchanged, or does a higher-priority path take over? Set these re-enrollment rules before turning on the workflow.
Personalize Emails and Route Qualified Leads
Send the acknowledgment immediately or after a short delay. Include the person’s first name, service, and timeframe, with brief fallback text for missing fields.
Branch based on service interest, budget, and readiness. Then assign qualified leads to an owner and create a task with a due date. Set explicit delays and business hours for later emails.
Stop promotional steps after a reply, booked meeting, conversion, unsubscribe, bounce, or suppression change. Recheck eligibility before every send.
Separate Acknowledgments, Sales Alerts, and Marketing Emails
Give each message type its own template and path so sales alerts never trigger nurture enrollment.
| Message type | Trigger | Recipient | Timing | Purpose | Eligibility |
|---|---|---|---|---|---|
| Submission acknowledgment | Valid submission | Lead or requester | Immediately or after a short delay | Confirm receipt and next steps | Valid email; no technical suppression |
| Internal sales alert | Qualified submission or lead-score threshold | Assigned salesperson or sales queue | After routing | Prompt sales action | Qualification fields present; no duplicate active assignment |
| Promotional nurture sequence | Marketing-eligible submission or lifecycle event | Lead or subscriber | Over days or weeks | Develop interest and drive conversion | Marketing eligibility; no unsubscribe, bounce, conversion, or workflow suppression |
A form-triggered acknowledgment is transactional only when its content and purpose qualify it as such. If it contains promotional offers or sales messaging, apply commercial-email controls: accurate sender details, nondeceptive subject lines, a valid physical postal address, and a clear opt-out. Keep the opt-out mechanism available for at least 30 days after sending, and honor requests within 10 business days.
Sync unsubscribe status across connected systems before testing sample leads.
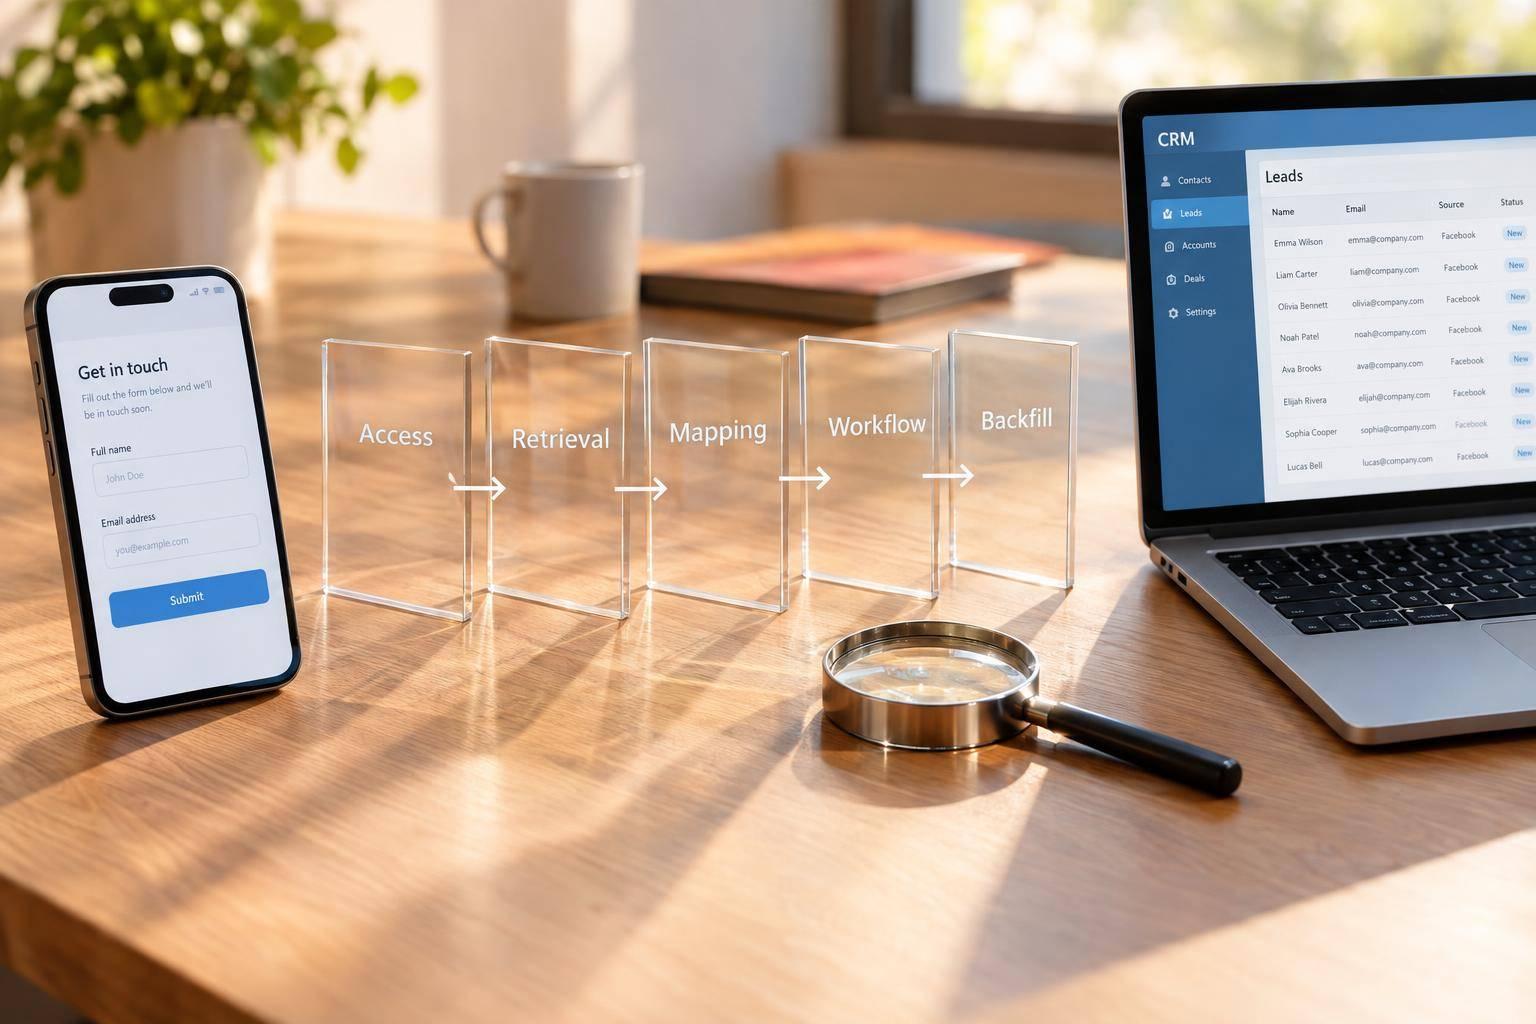
4. Test Sample Leads and Launch
Test Four Sample-Lead Scenarios
Once mappings and triggers are in place, test each path before enabling live enrollment. Apply the same matching, consent, and routing rules defined above.
Use a test-only audience and team-owned inboxes. Tag every test record TEST_DO_NOT_CONTACT, then run these four scenarios:
- New complete lead: Valid contact details, consent, source, and qualifying answers.
- Existing lead with changed details: Updated company, phone, or job title.
- No-consent lead: No marketing permission.
- Conditional-route lead: Answers that should select a specific branch.
Before each test, record the expected CRM contact, branch, and email outcome.
Submit the same email twice. Confirm that the CRM matches the existing contact without starting a duplicate nurture sequence. Check that the no-consent lead stays out of consent-based nurture and receives only eligible transactional mail. Also test an already-unsubscribed contact: their subscription status should stay unchanged, and no nurture should start.
Check Records, Routing, and Delivered Emails
Compare each submission with its CRM record. Check the contact match, mapped values, contact updates, protected values, owner assignment, branch selection, and task creation.
Review the delivered email - not just the send log. Check fallback text, links, sender and reply-to details, unsubscribe controls, mobile rendering, and delivery timing.
Follow each submission through connector history, CRM activity, and workflow logs. Look for permission errors, skipped enrollment, failed actions, and duplicate sends. Fix the mapping, authorization, or enrollment rule responsible, then rerun the affected test with a new labeled record. Test missing data and a failed action, too, to confirm that incomplete submissions cannot enter the wrong path.
Enable Live Enrollment and Monitor Results
Before launch, exclude test-tagged records from production workflows and reports. Check whether activation would enroll existing contacts who already meet the trigger. If it would, narrow the trigger, add a submitted-after-activation condition, or use a controlled backfill plan.
Keep acknowledgment, sales alerts, and nurture workflows separate. One activation should not send all three to every contact.
Assign a monitoring owner, then enable only the intended audience. During the first few days, compare submissions against contact updates, attribution completeness, enrollments, and delivered emails. Track time to first follow-up, duplicates, bounces, replies, and booked meetings.
Pause sending if you see enrollment without permission, unexpected subscription changes, duplicate messages, or connector failures. Fix the cause and rerun the affected tests before resuming.
5. Conclusion: Check Mappings, Rules, and Tests
Before launch, check your mappings, overwrite rules, source attribution, and consent records - including the consent timestamp and policy version.
Make sure repeat submissions don’t trigger enrollment again unless that’s what you want.
Once the sample-lead test passes, connect your published Reform form to your CRM through the connected integration, then turn on live follow-up.
FAQs
What if a lead uses different email addresses?
Set clear matching rules in your CRM to keep records clean. Reform checks the submitted email address for an existing contact. If it finds a match, it updates that record instead of creating a duplicate.
When leads use different email addresses, use your CRM’s duplicate management tools to find and merge records based on consistent identifiers. Audit records quarterly and standardize contact information to keep each lead’s history together and accurate.
How can I retry failed submissions without duplicate emails?
Save raw submissions first. Before retrying, check that your CRM connector logs errors and keeps failed records for another attempt, rather than dropping them or treating them as new entries.
Use identifiers such as email addresses to deduplicate CRM records. Test that retries run at controlled intervals without triggering duplicate automation paths or emails.
How do I safely update a live follow-up workflow?
Before deploying changes, check CRM field mappings, routing rules, and suppression settings, especially if CRM fields have changed. Test the full workflow in a controlled setting with representative data. Include duplicates, missing fields, integration failures, and invalid data.
Deploy during a low-volume window and monitor closely. Keep a documented rollback plan that lets you pause assignments without losing submissions. For each update, record the reason, date, and expected result.
Related Blog Posts
Get new content delivered straight to your inbox

The Response
Updates on the Reform platform, insights on optimizing conversion rates, and tips to craft forms that convert.

Drive real results with form optimizations
Tested across hundreds of experiments, our strategies deliver a 215% lift in qualified leads for B2B and SaaS companies.
