
.webp)
Ultimate Guide to Klaviyo Forms on Shopify


Klaviyo forms are a powerful tool for Shopify store owners to collect customer information, like emails and phone numbers, directly on their website. These forms help create email and SMS lists, enabling automated marketing campaigns such as welcome emails and cart reminders. They also allow you to gather data like customer preferences and birthdays, helping you tailor your marketing efforts.
Here’s what you need to know:
- Types of Forms: Popups, flyouts, embedded forms, and full-page overlays.
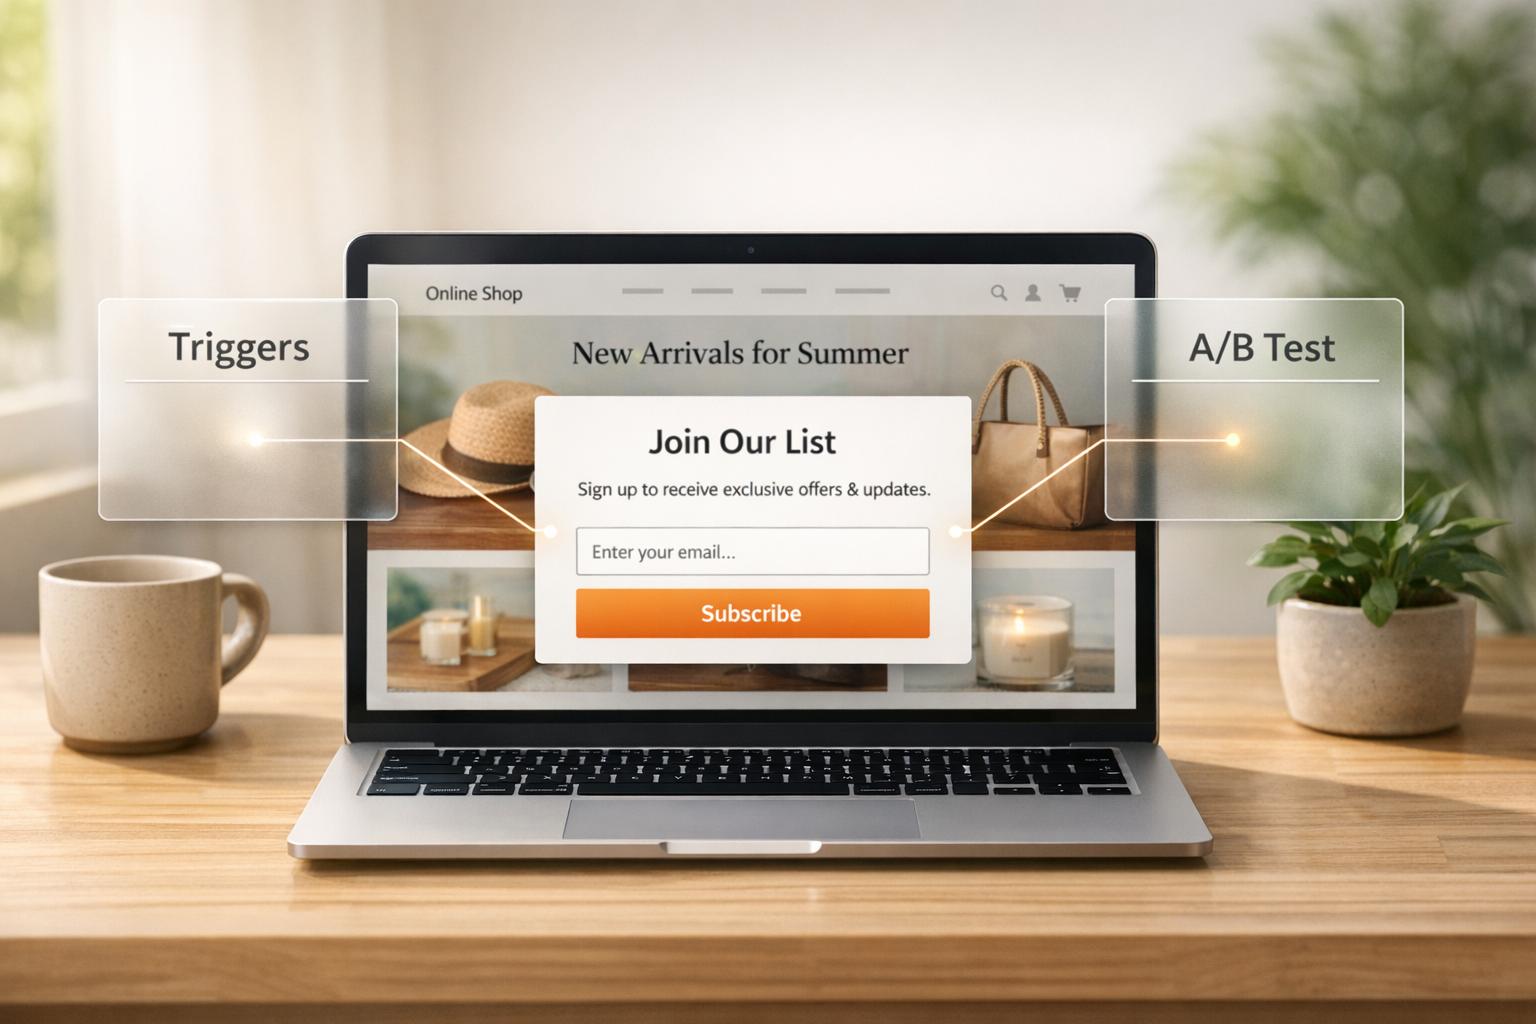
- Triggers: Forms can appear based on exit intent, time spent on a page, or scroll depth.
- Integration: Easily link Klaviyo to Shopify for seamless data syncing.
- Customization: Adjust form design, targeting, and behavior settings to match your store's needs.
- Performance Stats: Shop Pay users identified via Klaviyo forms show an 85% repeat purchase rate, and stores using Klaviyo’s lead capture tools see up to a 91% higher conversion rate.
Whether you’re embedding forms in your footer or using popups for promotions, Klaviyo forms can help you turn visitors into loyal customers. This guide covers setup, embedding, triggers, and troubleshooting to ensure your forms perform effectively.
How To Create Signup Forms for your Shopify Store in Klaviyo (2026)

sbb-itb-5f36581
Setting Up Klaviyo Forms on Shopify
Getting Klaviyo forms up and running on Shopify is a straightforward process. It all comes down to two key steps: connecting the platforms and creating your first form. Before diving in, make sure to disconnect any previous email service provider (ESP) from Shopify. This prevents duplicate opt-in emails from being sent to your subscribers. Also, confirm that your Shopify store is live - password-protected or unpublished stores can cause issues during setup. Once you've got that sorted, you can start linking Klaviyo to your Shopify store.
Connecting Klaviyo to Your Shopify Store
To connect Klaviyo with Shopify, head to Integrations > Explore apps in your Klaviyo dashboard. Search for "Shopify" and click Install. Enter your store's URL in this format: mystore.myshopify.com, then click Connect to Shopify. Shopify will prompt you to review permissions. Simply click Install app, and you'll be redirected back to Klaviyo to complete the setup.
During configuration, assign separate Klaviyo lists for your email and SMS subscribers. Keeping these lists distinct ensures proper consent management. Next, enable Onsite Tracking by selecting "Track behavioral events" and clicking Turn on. This step activates the Klaviyo app embed within Shopify's theme editor, which is essential for displaying forms and syncing data. If you see a yellow banner in the Klaviyo integration settings, click Turn on to open Shopify's theme editor. From there, toggle the Klaviyo app embed on and click Save. This ensures your forms will display and function properly on your Shopify store.
"If you are migrating from another ESP that is currently integrated with your Shopify store, make sure to disconnect your prior ESP from Shopify before integrating Shopify with Klaviyo." - Klaviyo Help Center
With the connection established, you're ready to create your first form.
Creating Your First Klaviyo Form
Once your store is linked, it's time to build your form. Navigate to the Sign-up forms tab in Klaviyo and click Create form. You can either choose a pre-made template from the library or start fresh by selecting Create new form. Give your form a name, assign it to the appropriate subscriber list(s), and pick a form type under the Styles tab. Use Add Blocks to include elements like text, buttons, and input fields for email or phone numbers.
To control when and how your form appears, adjust the Targeting & Behaviors settings. For example, you can set the form to show on exit intent or after a specific delay. You can also limit visibility to unknown visitors, ensuring you don't bother existing subscribers. If you're collecting both email and SMS consent, consider using a multi-step form. This approach gathers information on separate pages, improving user experience and boosting conversions. Once you're satisfied, click Publish to activate the form.
For embedded forms, copy the Form ID from the Klaviyo form editor's Targeting & Behaviors section. In Shopify, go to Online Store > Themes > Customize, select Add section > Apps > Klaviyo Embedded Form, paste the Form ID into the app block settings, and click Save. Always test new forms in an incognito or private browser window to confirm they display correctly for unknown visitors. Be aware that ad blockers, like AdGuard, can interfere with Klaviyo.js, potentially preventing forms from loading or submitting properly.
Embedding and Displaying Klaviyo Forms

Klaviyo Form Triggers and Display Rules Comparison Guide
After creating your forms, the next big step is figuring out how to place them effectively on your Shopify store. Proper placement determines whether visitors notice your forms - and ultimately, whether they convert.
Embedding Klaviyo Forms in Shopify Themes
If you’re using a Shopify 2.0 theme, the easiest way to embed a Klaviyo form is through the Klaviyo Embedded Form app block. Here’s how to do it:
- Go to Online Store > Themes > Customize in your Shopify admin.
- Select Add section > Apps > Klaviyo Embedded Form.
- Paste your 6-character Form ID (found in the Targeting & Behavior tab of your Klaviyo form editor) into the app block settings.
- Hit Save.
This method keeps your code clean and ensures your site’s design stays intact.
Want your form to appear on every page? Add the Klaviyo Embedded Form app block to your Footer. This creates a consistent signup option that follows visitors as they browse. According to Klaviyo, "Embedding a sign-up form in the footer of your site to work in tandem with your other published forms is a Klaviyo best practice for optimizing list growth".
For older themes or specific placements like blog posts, you’ll need to use the manual code method. First, set your form to "Embedded" in Klaviyo, then copy the <div> snippet provided. Paste this snippet into Shopify’s HTML editor wherever you want the form to appear. Before doing this, make sure the Klaviyo app embed is enabled in your theme settings. You’ll know it’s working if you see a green banner in Klaviyo’s integration settings.
One technical note: Starting December 6, 2024, Klaviyo will only record embedded form views when the form is visible in the user’s viewport. This ensures your submission rates are accurate.
Once your forms are in place, the next step is deciding when and how they’ll appear to visitors.
Configuring Form Triggers and Display Rules
Embedding a form is just the start - configuring triggers is where you can fine-tune how and when your forms appear. Timing is everything. While embedded forms are static and always visible, multi-step forms and popup, flyout, and full-page forms let you set specific triggers. Here are the most common ones:
- Exit Intent: Targets visitors about to leave (e.g., mouse moves to the top of the browser or a quick upward scroll on mobile).
- Time Delays: Shows the form after a visitor spends a certain number of seconds on a page.
- Scroll Percentage: Activates when someone scrolls to a specific depth (e.g., 50%) on a page.
- Page View Count: Displays after a visitor views a set number of unique pages in a session.
Here’s a quick breakdown of these triggers:
| Trigger Type | Best Use Case | When It Activates |
|---|---|---|
| Exit Intent | Reducing cart abandonment | Mouse leaves viewport or fast upward scroll |
| Time Delay | Engaging interested visitors | After X seconds on page |
| Scroll Percentage | Long-form content engagement | At specific page depth (e.g., 50%) |
| Page View Count | Targeting returning browsers | After viewing X unique URLs in session |
| Cart Contents | Upselling and threshold offers | Based on cart value or specific products |
For Shopify stores, you can also trigger forms based on cart details. For instance, show a form saying, "You're $20 away from free shipping" when a shopper’s cart is below your free shipping threshold.
To refine targeting, enable the "Show only when all of the selected rules are met" option. This applies AND logic, meaning all conditions (like timing and cart value) must be met for the form to display. If you’re running multiple forms, use URL targeting to avoid overlap. For example, you can set rules like "Don’t show on certain URLs" to prevent forms from clashing.
For button-triggered forms, you’ll need a custom JavaScript snippet since embedded forms don’t support this feature.
Always test your triggers in an incognito browser to ensure they work as intended. If you’re targeting EU or UK visitors, keep in mind that Klaviyo may restrict certain rules (like "Don’t show to existing profiles") unless explicit consent is given through Shopify’s privacy settings.
Getting your triggers and placement right lays the groundwork for the advanced customization techniques covered in the next section.
Customizing and Optimizing Klaviyo Forms
Advanced Customization with CSS and JavaScript
Once you've set up your forms, you can take things further by customizing their behavior to align with your specific goals. After embedding your forms, tweak their appearance and functionality using CSS and JavaScript. Klaviyo forms automatically trigger a klaviyoForms event for actions like open, close, and submit. These events come with details like the formId and submitted fields, such as email or phone number.
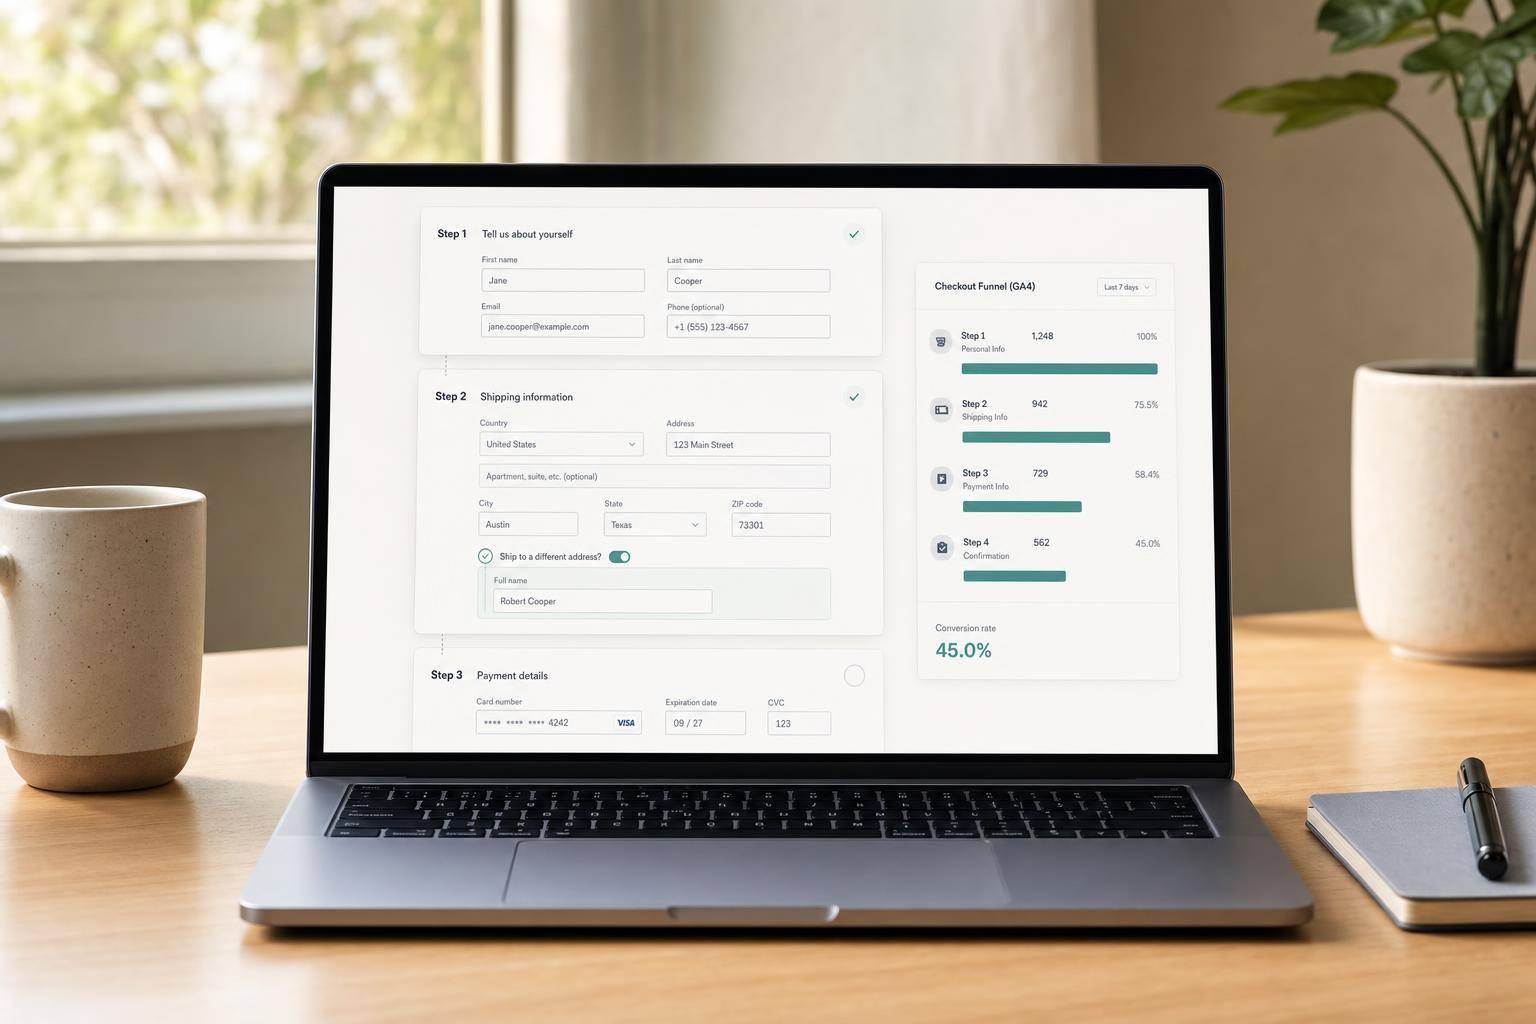
You can listen for specific event types - like open, embedOpen, close, redirectedToUrl, submit, and stepSubmit. Each event includes a detail object containing the formId, companyId, and metaData. The metaData holds information about submitted fields and custom properties. For example, if you want to send form submission data to Google Analytics, you can add an event listener for the submit event and include your GA4 event logic in that function.
Want to trigger a form with a custom button? Set your popup or flyout to "Only show on custom trigger" and use the following script:
window._klOnsite.push(['openForm', 'FORM_ID']);
You can find the six-digit Form ID in the URL when editing the form in Klaviyo. To create custom redirects based on user inputs, use the submit event listener. A switch statement on e.detail.metaData['Property Name'] can determine the redirect URL using window.location.replace().
These advanced techniques let you fine-tune your forms, creating a foundation for improving conversions.
Optimizing Forms for Conversions
Improving form conversions takes more than just good design - it requires a thoughtful approach. For instance, using multi-step forms to reduce friction can help improve lead generation. Start by asking for an email, then follow up with SMS consent. This way, even if users abandon the second step, you'll still have their email.
"Sign-up forms that collect email consent have higher conversion rates than forms that collect phone numbers. When collecting phone number and email consent in a single form, you can inadvertently slow down the growth of your email list." – Klaviyo Help Center
When testing changes, stick to one variable at a time. Whether it’s a coupon offer, a headline, or a button color, A/B testing can help you find what works best. Klaviyo’s built-in A/B testing tool uses a data-driven model to declare a winner once results are statistically reliable. To qualify for Klaviyo’s AI-driven tests, your account needs at least 400,000 profiles. During testing, each variation usually requires at least 600 views over a two-day period.
For mobile users, make forms more user-friendly by adding larger close icons, disabling the ability to close forms by clicking outside, and docking flyouts at the top or bottom of the screen. Adding form "teasers" (small widgets that stay visible) allows visitors to reopen a form after closing it. Also, include a static embedded form in your Shopify store footer for consistent sign-up opportunities.
Timing is everything. Avoid showing forms immediately upon page load, as this can hurt your SEO. Instead, use triggers like scroll percentage, time spent on the page, or exit intent. If you’re running multiple forms, enable collision prevention settings to avoid overwhelming users with multiple popups at once.
Troubleshooting and Best Practices
Common Issues and How to Fix Them
If your forms aren't showing up, the issue often lies with overly restrictive targeting settings or Klaviyo's one-year cookies. When the "Don't show to existing Klaviyo profiles" option is enabled, users already in your database won't see the form.
"We cookie browsers for 1 year, so once someone closes a popup, they won't see the same popup again for another year (unless they clear their cookies)." – Klaviyo Help Center
For Shopify 2.0 themes, forms won't display or sync data unless the Klaviyo app embed is manually enabled. To fix this, navigate to Online Store > Themes > Customize, then activate the Klaviyo embed in the app settings. Syncing issues can also occur if your Shopify integration isn't authenticated, your store has an unpaid balance, or users haven't confirmed their email due to double opt-in being enabled.
| Issue | Common Cause | Resolution |
|---|---|---|
| Form not appearing | Restrictive targeting or cookies | Test in incognito mode; check "Targeting & Behavior" settings |
| Embed form missing | Klaviyo embed disabled in Shopify | Enable the Klaviyo app embed in Shopify Theme Editor |
| Data not syncing | Unconfirmed double opt-in or integration error | Check for confirmation emails; re-authenticate Shopify integration |
| Styling looks wrong | CSS overrides | Remove !important tags in site CSS or use developer tools to find conflicts |
Testing in incognito mode can help bypass cookie-related restrictions. If a form isn’t submitting, check in the Klaviyo editor to ensure the button is set up as a "Submit" button, not a "Close" button. For embed forms that aren't appearing, inspect the live page source by right-clicking and selecting "View Page Source." Then, search for the Klaviyo Form ID or "company_id" to confirm the code is present.
Once you've addressed these common problems, you can shift your focus to keeping your forms running at their best. This often requires using high-converting form features that prioritize user experience.
Maintaining High-Performing Forms
As highlighted earlier, enabling the Klaviyo app embed is key for proper form functionality on Shopify. Regularly verify that the app embed remains active - this ensures forms display and sync as intended. Using multi-step forms can help collect information gradually, such as asking for an email first and a phone number later. This approach reduces friction for users and helps maintain compliance. For optimal performance, keep image file sizes between 50-100 KB to ensure fast loading times without compromising quality.
Tailor your forms to match visitor behavior. For example, use different forms on blog pages versus shop pages or display exit-intent forms for users about to leave the site. Klaviyo's internal data shows that full-page email sign-up forms perform the best, followed by pop-ups, fly-outs, and embedded forms. Multi-step forms outperform single-step forms by 0.58% for email and 0.40% for SMS, while including a coupon boosts performance by approximately 0.52% for email and 0.37% for SMS.
"If you don't have a sign-up form that converts a user - gets someone to actually sign up for your list - generating real revenue out of your owned marketing program is going to be a challenge." – Ben Zettler, Founder, Zettler Digital
For visitors in regions like the EU, EEA, UK, and Switzerland, Shopify's Customer Privacy settings may block forms unless users have given consent. If you're managing multiple Klaviyo accounts for a single Shopify store, make sure the "Automatically add Klaviyo onsite javascript" option is disabled in all but one account to avoid JavaScript conflicts.
Conclusion
Klaviyo forms offer a powerful way to boost conversions and enable smarter marketing on Shopify. Their seamless integration transforms each signup into a detailed profile, fueling personalized automations like welcome emails, cart recovery, and back-in-stock alerts. This goes beyond just gathering email addresses - it's about laying the groundwork for lasting customer relationships.
The results speak for themselves. Stores using Lead Capture with Shop can achieve a 91% higher conversion rate compared to standard checkout processes. Plus, Shop Pay users not only check out 4x faster but also boast an 85% average repeat purchase rate.
"A well-placed Klaviyo form is about qualifying intent, personalizing the journey, and increasing customer lifetime value before they even hit checkout." – Alisa Nemova, E-commerce Specialist
To keep performance strong, regular optimization is essential. Enable the Klaviyo app embed in your Shopify theme, experiment with different offers and triggers, and track your benchmarks. Features like multi-step forms, mobile-friendly designs, and thoughtful placement across your site can ensure sustained success.
With Klaviyo's free plan covering up to 250 contacts, getting started is straightforward. The real challenge isn't deciding whether to use Klaviyo forms on Shopify - it’s how soon you can start leveraging them to turn casual visitors into loyal, repeat customers.
FAQs
Why isn’t my Klaviyo form showing on Shopify?
If your Klaviyo form isn't showing up on Shopify, it could be due to a few setup hiccups. First, make sure the form is published in Klaviyo and that you've added the embed code correctly to your Shopify theme or page's HTML. Double-check that the Shopify app embed is enabled and that your site is live. Other potential culprits include ad blockers, custom theme modifications, or incorrect targeting and display settings in Klaviyo, all of which can interfere with the form's visibility.
How do I stop multiple forms from popping up at once?
To avoid multiple forms showing up simultaneously on your Shopify site, you can activate collision prevention in Klaviyo. Here's how: navigate to Sign-up forms, click the gear icon to access settings, and select the option "Don’t show multiple forms at the same time." Don’t forget to save your changes.
Keep in mind, this setting won’t apply to embedded or custom-triggered forms. You can also tweak other display settings, like session limits, to ensure a smoother experience for your users.
How can I track Klaviyo form submissions in GA4?
To monitor Klaviyo form submissions in GA4, you can use custom JavaScript to send form data to the data layer. Here's a script you can add to a Google Tag Manager (GTM) custom HTML tag:
<script>
  window.dataLayer = window.dataLayer || [];
  window.addEventListener("klaviyoForms", function(e) {
    if (e.detail.type == 'submit') {
      dataLayer.push({
        'event': 'klaviyo_form_submit',
        'formId': e.detail.formId,
        'formTitle': e.detail.metaData.$source
      });
    }
  });
</script>
Once you've added this script, make sure the tag is set to fire on all pages. Next, create Data Layer Variables in GTM to capture formId and other form details. These variables can then be used to trigger specific GA4 events or track conversions.
Related Blog Posts
Get new content delivered straight to your inbox

The Response
Updates on the Reform platform, insights on optimizing conversion rates, and tips to craft forms that convert.


Drive real results with form optimizations
Tested across hundreds of experiments, our strategies deliver a 215% lift in qualified leads for B2B and SaaS companies.
