
.webp)
How to Embed Forms on Third-Party Platforms


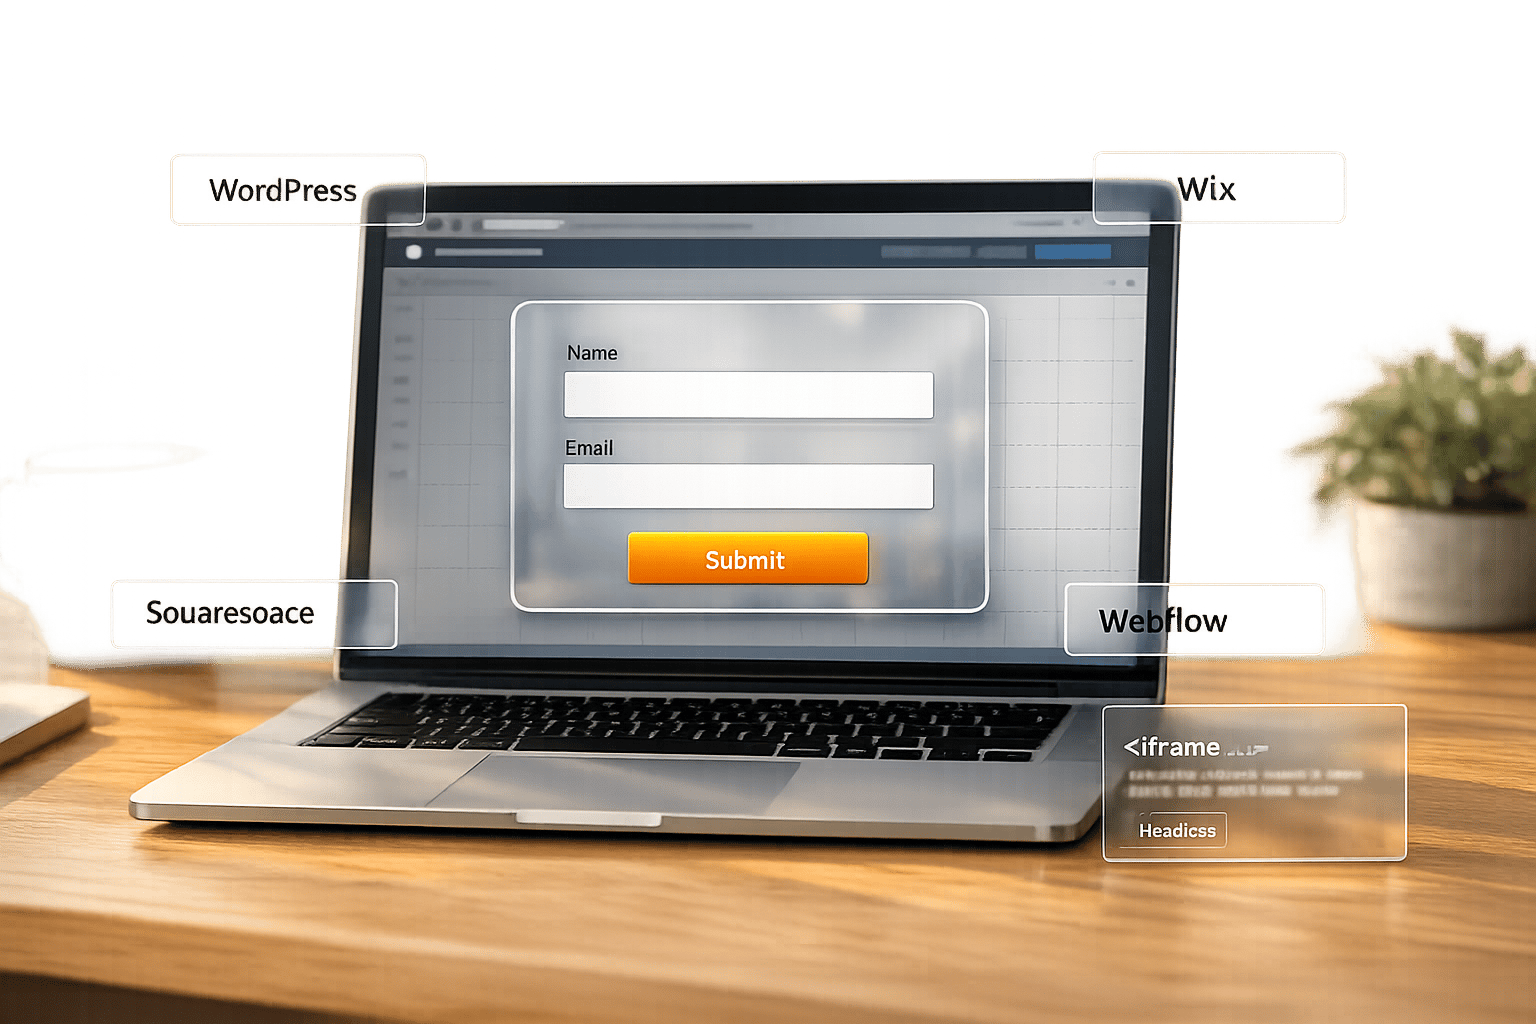
Embedding forms directly into platforms like WordPress, Wix, Squarespace, or Webflow can reduce friction for users and improve form completion rates. Instead of redirecting visitors to a separate page, you keep them engaged where they are. Reform offers two embedding options - iframe for simplicity and headless for advanced customization - making it easy to integrate forms with minimal effort and no coding skills required.
Key Steps to Embed Forms:
- Publish Your Form: Ensure your form is live in the Reform dashboard.
- Access Embed Settings: Navigate to the "Share" tab for iframe or headless embed codes.
- Choose Embed Type:
- Iframe: Best for most users; auto-resizes and tracks performance via query parameters.
- Headless: Ideal for developers needing full design control.
- Customize Embed Code: Adjust dimensions, enable transparent backgrounds, and tweak branding in Reform.
- Platform-Specific Instructions:
- WordPress: Use a Custom HTML block in the Gutenberg editor.
- Wix: Add an Embed HTML widget and paste the code.
- Squarespace: Use a Code Block and disable Ajax Loading if needed.
- Webflow: Drag and drop an Embed component, then paste the code.
Tips for Success:
- Test your form on both desktop and mobile devices.
- Use Reform’s branding tools to match your site’s design.
- Set up conditional logic or multi-step forms for better user experience.
- Troubleshoot common issues like responsiveness or loading errors by checking the form’s status, embed code, and browser console.
Reform’s plans start at $15/month, including features like conditional logic, spam prevention, and analytics to track performance. Whether you’re collecting leads, conducting surveys, or qualifying prospects, embedding forms simplifies the process for both you and your users.
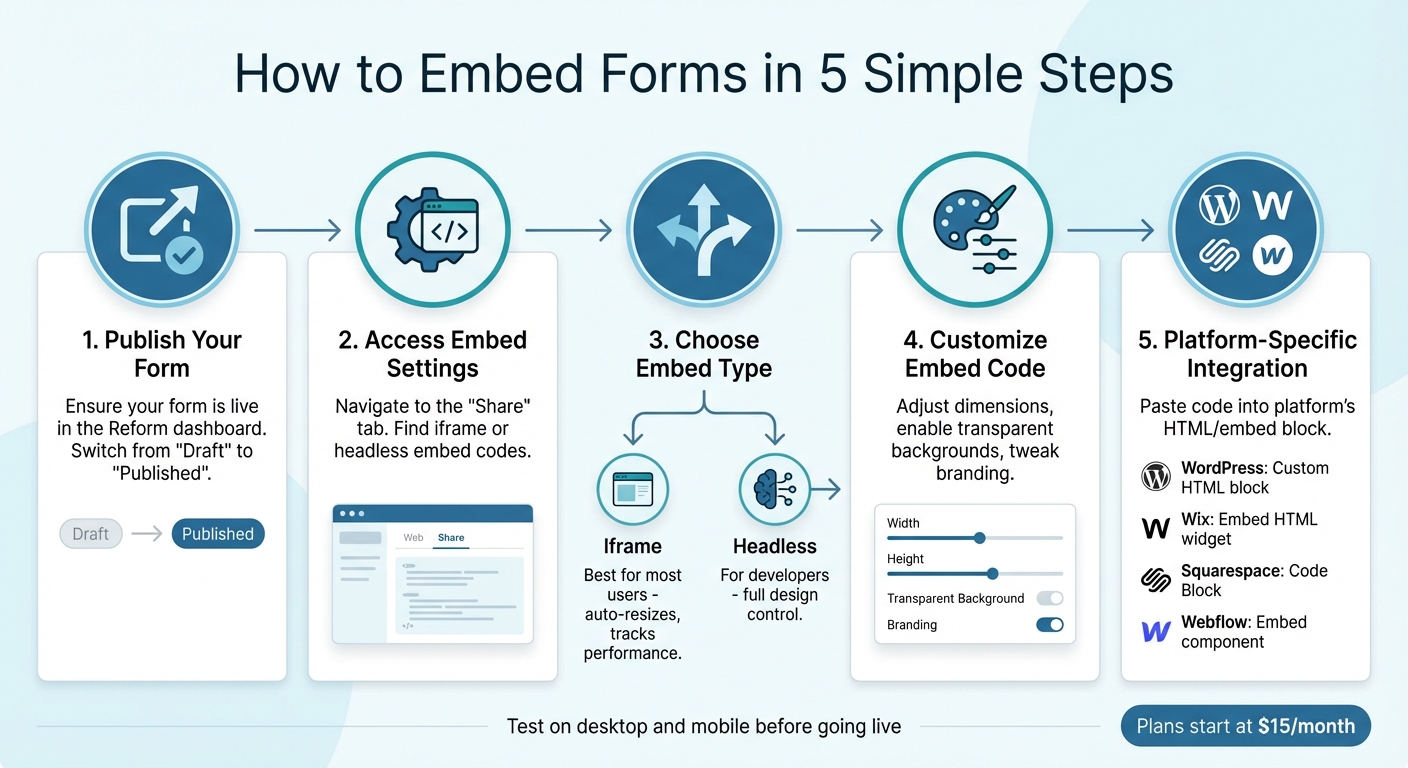
5 Steps to Embed Forms on Any Platform
How to Generate Embed Code in Reform

Finding Your Form in the Dashboard
Start by signing in to your Reform dashboard and heading over to the Forms section in the main menu. Here, you'll find a list of all your forms. Pick the one you want to work with and open its editor. Before you can access the embed options, make sure the form is published. To do this, click the Draft button in the bottom-right corner and publish the form. Once it’s live, you’ll see an overlay with a More Sharing Options button that leads to embed settings.
The Share tab in the top navigation menu of the form builder is where you’ll find all the embedding tools you need. Whether you’re looking for a standard iframe or a headless snippet for custom setups, this tab has you covered. Just remember, embedding is only available if you’re on the Basic Plan ($15/month) or the Pro Plan ($35/month). It’s not included in the free tier.
Once you’ve published the form, you can choose the embed type that works best for your project.
Selecting Your Embed Type
Reform provides two main ways to embed your form: iframe and headless.
- Iframe Embed: This is the go-to option for most users. It’s easy to set up and includes a script that automatically adjusts the form’s height to eliminate scrollbars, ensures smooth transitions between multi-step pages, and passes query parameters for tracking lead sources. This option works great with popular platforms and requires minimal effort.
- Headless Embed: If you’re a developer looking for more control, this option is for you. Found under Share → Headless, it lets you fully customize the form’s design using your own HTML and CSS. However, it comes with some limitations - headless embeds don’t support Reform’s file upload blocks or custom code features. If you need these, the iframe option is better.
Once you know which embed type fits your needs, you’re ready to move on to copying and tweaking the code.
Copying and Adjusting the Embed Code
After selecting your preferred embed type, click the Copy Code or Copy to Clipboard button next to the snippet. For an iframe embed, you can adjust the dimensions by modifying the width and height attributes (e.g., width="100%", height="600px"). If your site has a colored background, enable the transparent background option in the embed settings for a cleaner look.
For headless embeds, you’ll need to connect your HTML input fields to the corresponding Reform blocks using the name attribute answers[block-id]. You can find the unique block ID by clicking the gear icon in the form builder. Additionally, you can customize the form’s branding - like uploading a logo or tweaking button colors with HEX codes - under Team Settings → Branding before generating your embed code.
sbb-itb-5f36581
Platform-Specific Embedding Instructions
Once you've set up your embed code, here’s how to integrate your form into specific platforms effectively.
Embedding Forms in WordPress

Using the WordPress Gutenberg editor, locate and add a Custom HTML block. Paste your Reform iframe code directly into this block. The embedded auto-resize script will ensure the form adjusts its height automatically.
Before copying the code from Reform, you can enable the transparent background option to help the form blend seamlessly with your WordPress theme. After embedding, preview the page to check that the form aligns properly with your layout and that the auto-resizing works as expected. Any query parameters from your WordPress URL will automatically pass to the form, which is useful for pre-filling fields or tracking leads.
Embedding Forms in Wix
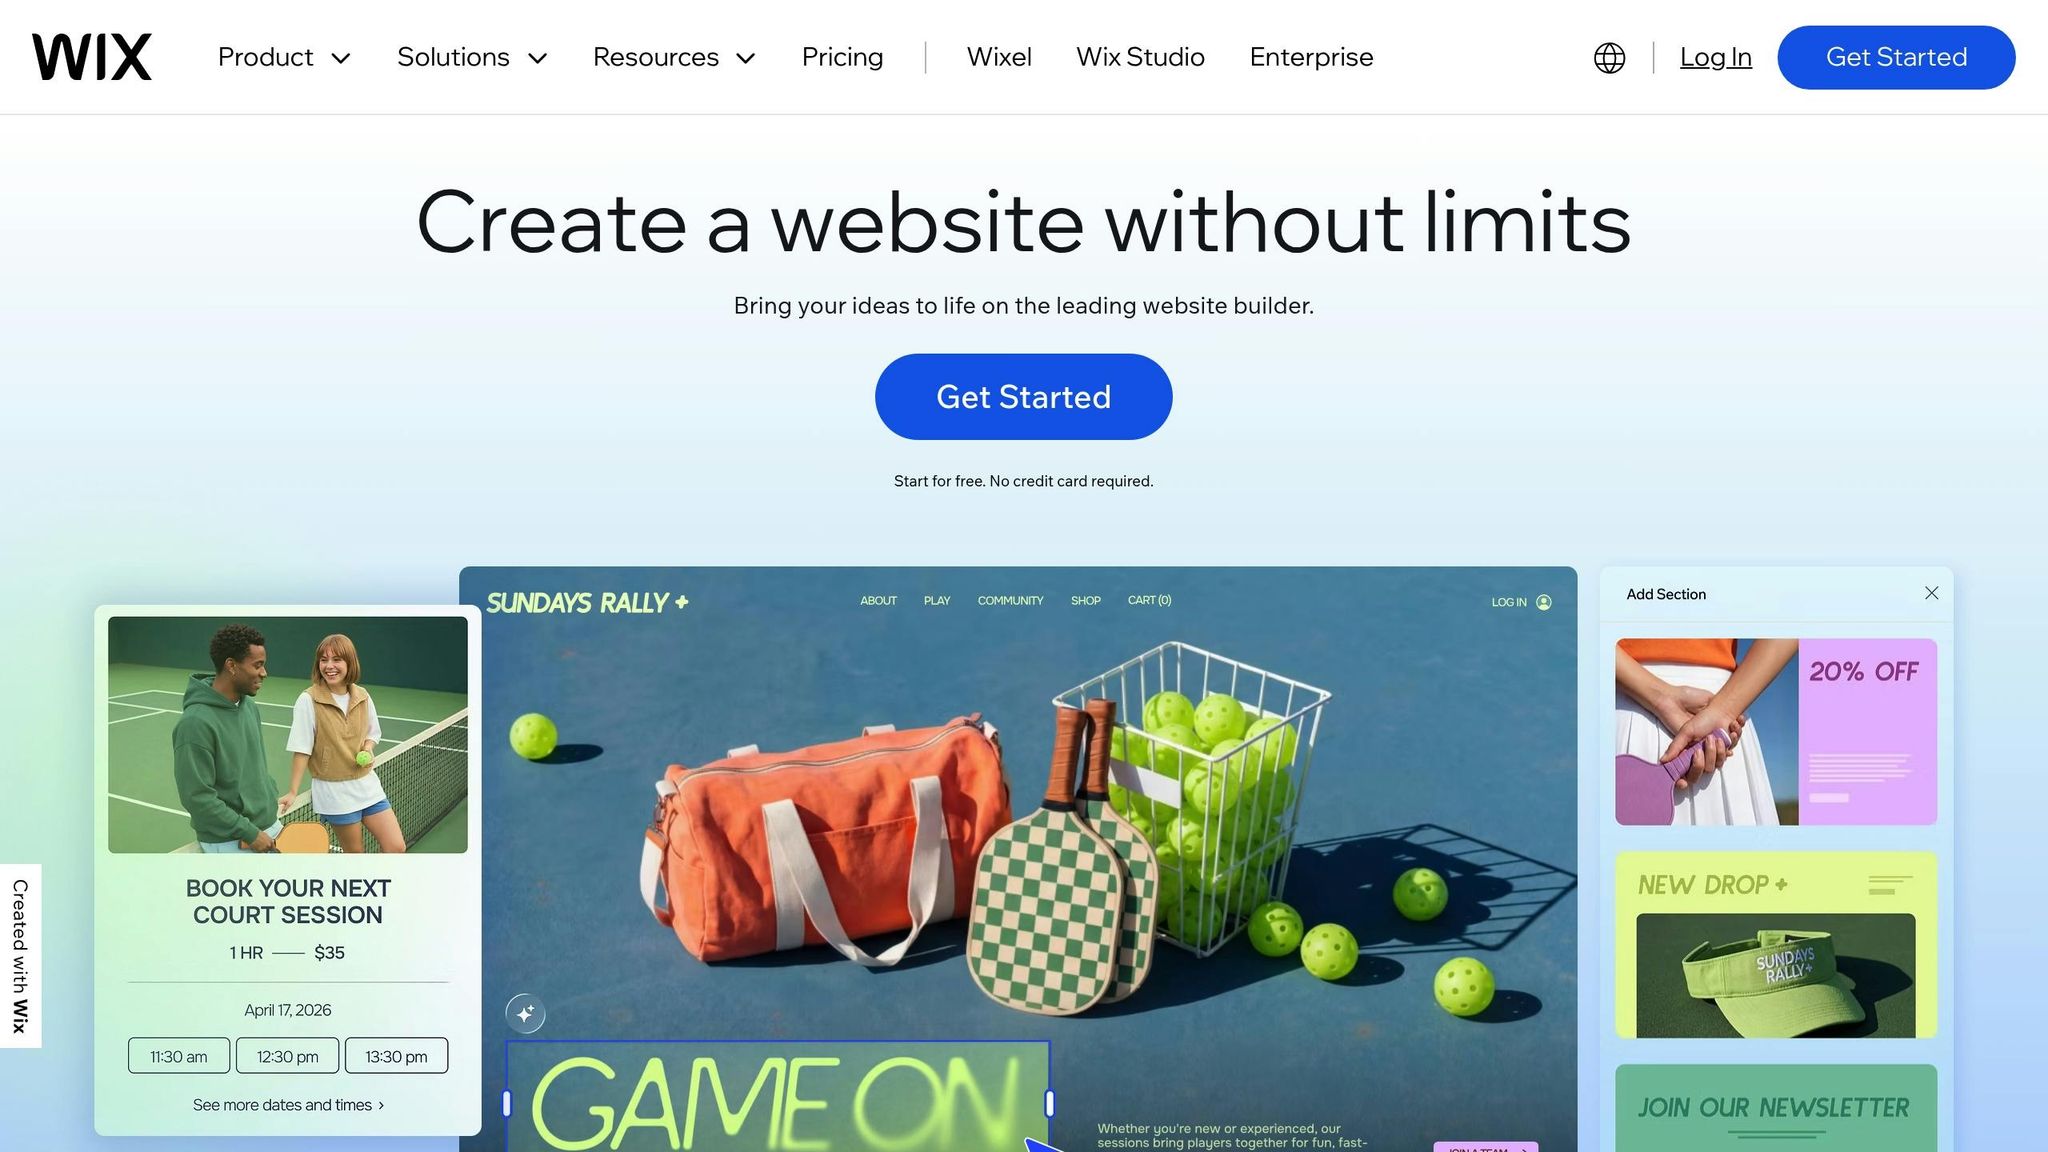
In the Wix Editor, click Add Elements (+), then choose Embed Code and select Embed HTML. Paste your Reform iframe code into the Embed HTML widget, click Update, and adjust the widget's size to fit the form.
After embedding, switch to Wix’s Mobile view to confirm the form is positioned and sized correctly. The Reform script will handle height adjustments, but ensure the widget container doesn’t limit the form’s width. Keep in mind that while basic HTML embeds may work on free Wix plans, you’ll likely need a premium plan to access advanced custom code options.
Embedding Forms in Squarespace

For Squarespace, use a Code Block instead of an Embed Block. Add the Code Block to your page, set it to HTML, and turn off the "Display Source Code" option. Paste your Reform iframe code into the block and save.
If the form doesn't load in Squarespace 7.0, disable Ajax Loading in your design settings. Note that embedding custom scripts requires a Business or Commerce plan. Always preview the page on a mobile device to ensure the container doesn’t restrict the form’s width.
Embedding Forms in Webflow
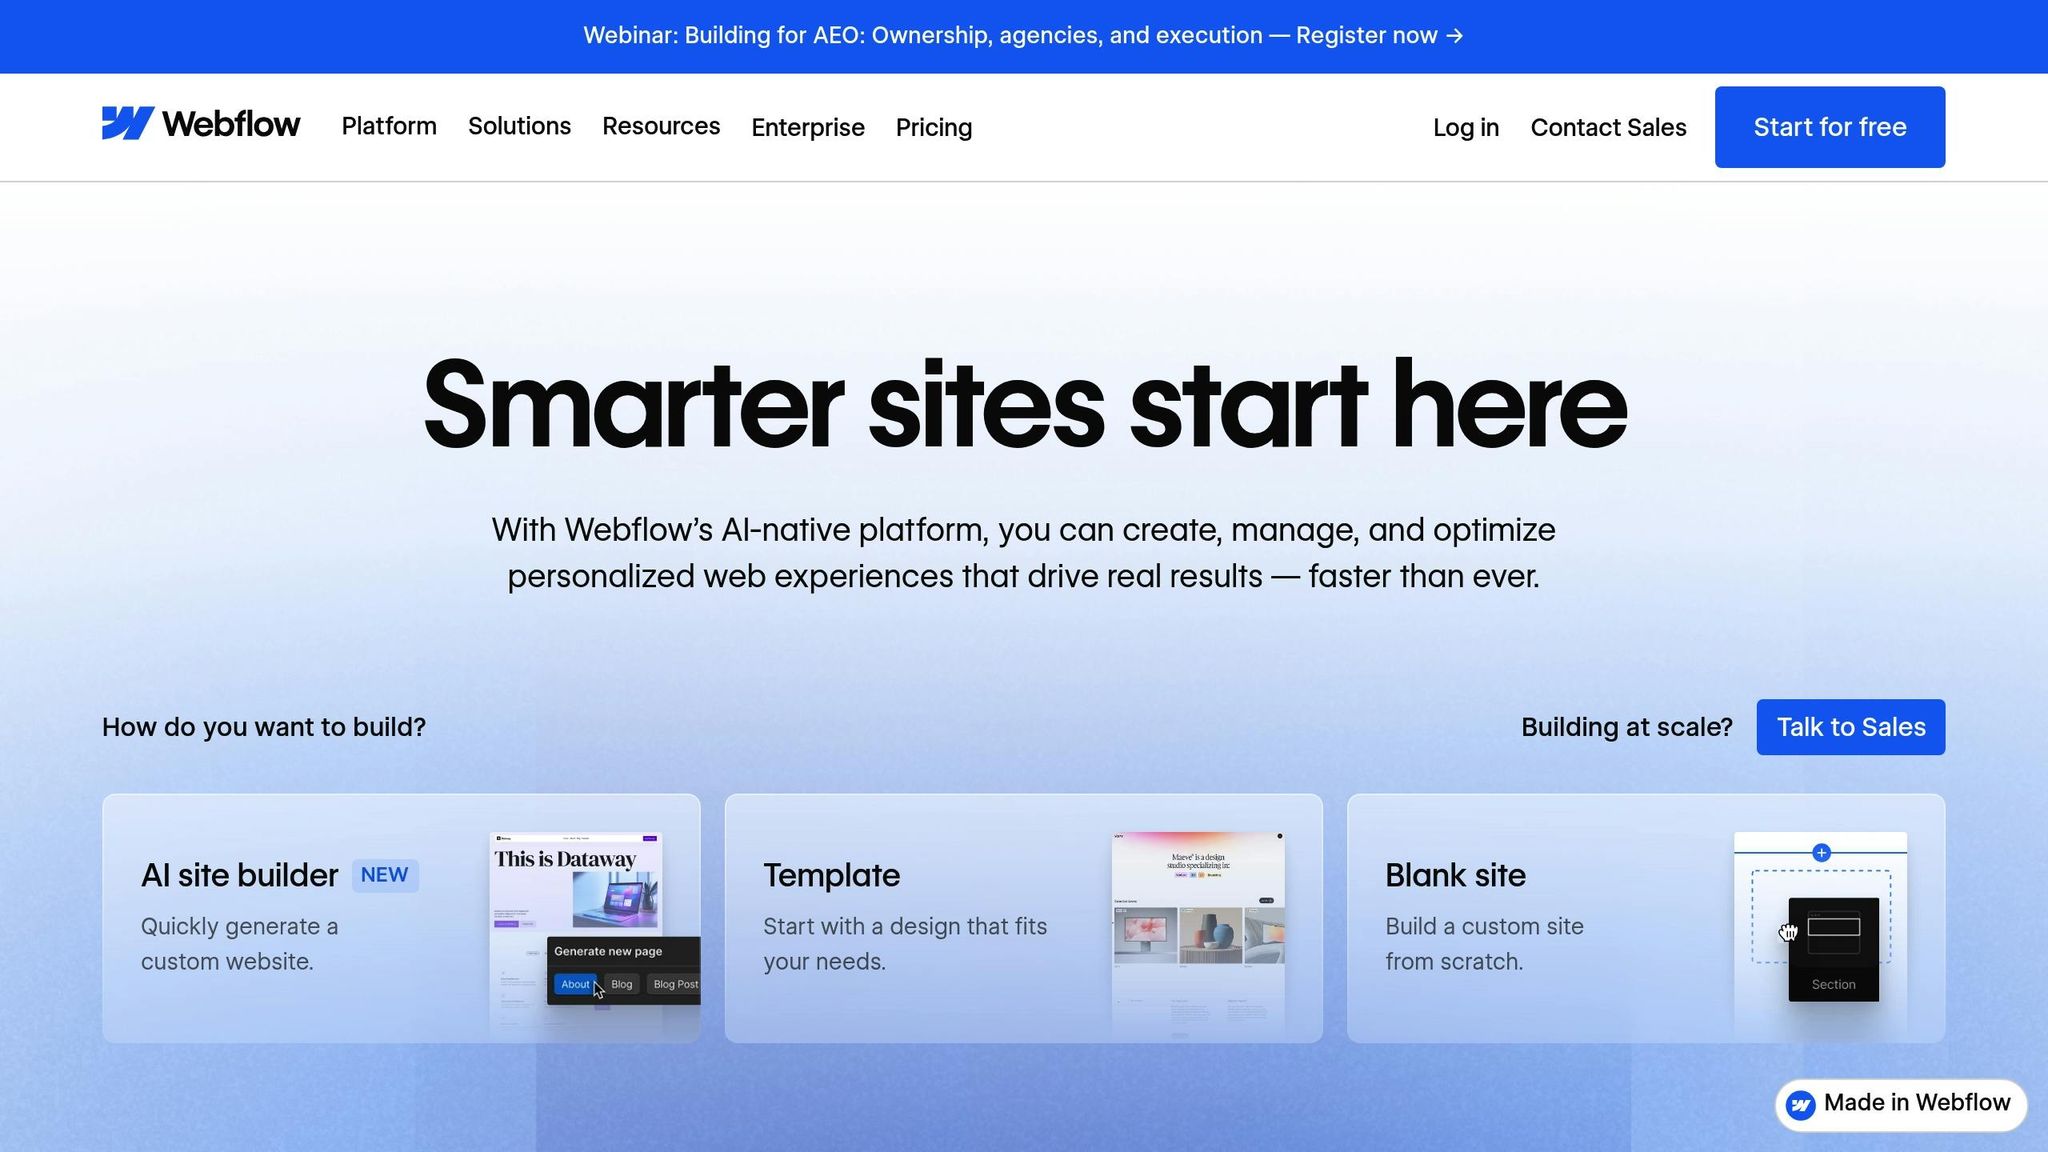
In Webflow, drag and drop an Embed component onto your page where you want the form to appear. Open the component and paste your Reform iframe code into the custom code field. The embed script will automatically handle height adjustments and multi-step navigation.
Webflow offers more design flexibility compared to other platforms. You can position the embed component within your layout and even apply custom styling to the container, mirroring the customization options available in the Reform dashboard.
Customizing Your Embedded Forms
Make your embedded forms blend seamlessly with your site's design using Reform's customization tools. These features not only enhance your form's appearance but also improve user engagement.
Adding Custom CSS and JavaScript
If you're on Reform's Pro Plan, you can access the CSS editor under the Code tab to tweak fonts, colors, and spacing. For precise adjustments, use block selectors like .block-email. Want to mirror your site's typography? The CSS editor makes it easy. For instance, applying border-radius: 8px; background-color: #f8f9fa; to input fields can help match a rounded aesthetic.
JavaScript event handlers are another powerful tool. In the Code tab under Form Events, you can trigger scripts for actions such as onFormLoaded, onInput, or onPageSubmitted. For example, you could use JavaScript to validate inputs in real time, changing border colors to signal valid or invalid entries. Just be sure to test your customizations across major browsers to ensure everything looks and works as intended.
Setting Up Conditional Logic and Multi-Step Forms
Conditional logic ensures users only see fields that are relevant to them, making forms more efficient and user-friendly. To set this up, go to the Logic tab in Reform's form builder before generating your embed code. For example, you can create a rule like "If 'Industry' = 'Tech', show 'Budget' field." By tailoring the form to the user, you reduce unnecessary distractions, which can lead to higher completion rates - dynamic forms with conditional logic have been shown to increase conversions by up to 50%.
Multi-step forms take this a step further by breaking up the form into smaller, more digestible sections. You can add steps via the Steps panel in the builder. For example, Step 1 might collect basic contact details, while Step 2 gathers preferences based on earlier responses. The embed script ensures smooth transitions between steps, scrolling users to the top of each new page. This approach reduces form abandonment by presenting shorter, more focused sections.
Applying Branding and Accessibility Features
Reform makes it easy to align your forms with your site's branding. In the Branding tab, you can upload custom logos, set color palettes (e.g., #007BFF for primary buttons), and choose fonts from Google Fonts. You can apply these settings globally at the team level or customize them for individual forms. For a seamless look, enable the transparent background option when generating your embed code.
Accessibility is another key focus. Reform automatically includes features like ARIA labels, keyboard navigation, and high-contrast modes, ensuring WCAG 2.1 AA compliance. This is particularly important for US-based sites that need to meet ADA requirements. If you're adding custom CSS, make sure to maintain high color contrast and use clear, readable fonts. Before going live, test your form using browser dev tools (F12) to check responsiveness on both mobile and desktop, inspect elements, and identify any console errors.
Fixing Common Embedding Problems
If you're working on embedding forms and hit a snag, don’t worry - most issues are easy to resolve with a few tweaks. Let’s dive into common problems and how to fix them.
Common Problems and How to Fix Them
First, check your form's status in the Reform dashboard. If the form isn’t visible, it might still be in "Draft" mode. Make sure it’s set to "Published." If users see a message saying the form is no longer accepting responses, it may have been accidentally marked as "Closed".
Responsiveness issues can also crop up, especially on mobile. To address this, ensure your iframe includes responsive attributes like width="100%". You can also use custom CSS if needed. Test this by resizing your browser window or using Chrome DevTools' mobile emulation (press F12 and toggle the device toolbar).
For loading errors, JavaScript conflicts or ad blockers are often the culprits. Get the latest embed code from the "Embed" tab in the Reform dashboard - it’s optimized for lazy loading and speeds up form load times. Paste the code into an HTML block on your platform, then check your browser console (F12) for errors like "Failed to load resource." If you spot issues, try clearing your cache or disabling browser extensions temporarily.
CORS (Cross-Origin Resource Sharing) issues can block form submissions when your site’s domain differs from Reform’s. Reform’s CDN-hosted scripts usually handle this, but persistent issues might require you to append ?nocache=1 to your embed URL. On platforms like Webflow, you may need to add reform.app to your CORS allowlist. To confirm everything is working, check the Network tab in DevTools after submitting test data - POST requests should return a "200 OK" status.
| Problem | Symptoms | Fix | Check |
|---|---|---|---|
| Form not visible | Blank space where the form should be | Set the status to "Published" in the builder | Test in an incognito window |
| Not responsive on mobile | Horizontal scrolling or clipped content | Add width="100%" to the iframe code |
Test on a phone or via DevTools emulator |
| Submission fails | Error message on submit | Add reform.app to your CORS allowlist; use JS embed | Check the Network tab for 200 OK response |
| Unwanted scrollbars | Scrollbars within the form | Use the full Reform embed script | Verify the script tag is present in the page source |
| Styling conflicts | Broken layout or fonts | Wrap in a shadow DOM or use !important in CSS |
Preview in different themes using DevTools |
Once you’ve implemented these fixes, it’s time to test your embedded form thoroughly.
Testing Your Embedded Forms
Testing is essential to ensure everything works smoothly. Start by previewing your form in Reform’s embed simulator. Then, embed the code on your target platform and submit test entries using desktop browsers like Chrome and Firefox. Don’t forget to test on mobile devices - browser emulation can help, but real devices often reveal additional quirks.
While testing, open your browser console (F12) to check for JavaScript errors. Make sure submissions appear in Reform’s "Responses" tab. Enable test mode in the dashboard to log submissions without cluttering your actual data. Aim for at least five successful test submissions.
For multi-step forms, confirm that clicking "Next" scrolls the window to the top of the form automatically. Test all conditional logic paths to ensure fields show or hide correctly based on user input. If you’ve added custom CSS or JavaScript, test across multiple browsers like Edge or Opera to catch compatibility issues. Perform a hard refresh between tests to ensure you’re loading the latest version.
If problems persist, regenerate your embed code from the Reform dashboard. This simple step resolves about 90% of lingering issues. Additionally, Reform’s real-time analytics can help diagnose problems by tracking load success rates and submission errors by device type. If your load rate drops below 95%, it could signal interference from ad blockers or script conflicts.
Summary
You can embed your form in less than 10 minutes by switching it from "Draft" to "Published" in the Reform builder. This generates a live URL and provides access to embed options.
The standard iframe embed automatically adjusts your form's size to fit your content, eliminating scrollbars for a cleaner look. For developers seeking more control, the headless embedding option allows you to link custom HTML inputs to Reform's backend using unique block IDs.
Once you've chosen your embedding method, you can customize your form's appearance and functionality. Use Reform's branding tools to align the form with your company's colors and logo, enable transparent backgrounds for seamless integration, and create multi-step forms with progress bars to guide users. Features like conditional routing, spam prevention, and real-time analytics help improve lead quality while keeping visitors on your site. With Reform's no-code setup, you can avoid layout shifts and improve SEO performance.
Before going live, test your form on both desktop and mobile devices to ensure data is correctly captured in the "Responses" tab.
Reform also integrates with tools like HubSpot and Google Tag Manager, enabling event tracking for actions like onFormLoaded and onFormCompleted. All responses are stored in one "Responses" tab for easy analysis. Plans start at $15 per month, offering unlimited responses, conditional logic, and basic integrations - no developer needed.
FAQs
Which embed option should I use: iframe or headless?
If you’re looking for more control and are comfortable working with your website’s HTML, go with the headless embed option. It offers seamless integration and gives you the flexibility to customize as needed.
On the other hand, if you prefer a straightforward setup with minimal coding and no worries about CSS conflicts, the iframe embed is a great choice. It’s a simple, copy-and-paste solution for embedding forms without requiring much customization. Reform supports both options, so the decision comes down to your technical expertise and how much customization you want.
Why isn’t my embedded form showing up or loading?
If your embedded form isn’t showing up, it could be due to a few common issues: the embed code might not be placed correctly, there could be conflicts with JavaScript or CSS, or platform-specific problems like caching or plugin interference might be at play.
To troubleshoot, double-check that the embed code is inserted properly in your site’s HTML. Use your browser’s developer tools to spot any JavaScript errors. Clearing your cache can also help, and make sure no platform settings or plugins are blocking the form from loading.
How do I make the embedded form match my site’s design?
To align your embedded form with your website’s design, you can tweak its appearance using custom CSS. Head to the form’s Code tab to adjust elements like fonts, colors, spacing, and layout. If you need more flexibility, embed the form headlessly and pair it with your own HTML and CSS for complete control. However, for most users, using custom CSS within Reform is the simplest way to create a seamless design.
Related Blog Posts
Get new content delivered straight to your inbox

The Response
Updates on the Reform platform, insights on optimizing conversion rates, and tips to craft forms that convert.


Drive real results with form optimizations
Tested across hundreds of experiments, our strategies deliver a 215% lift in qualified leads for B2B and SaaS companies.
